
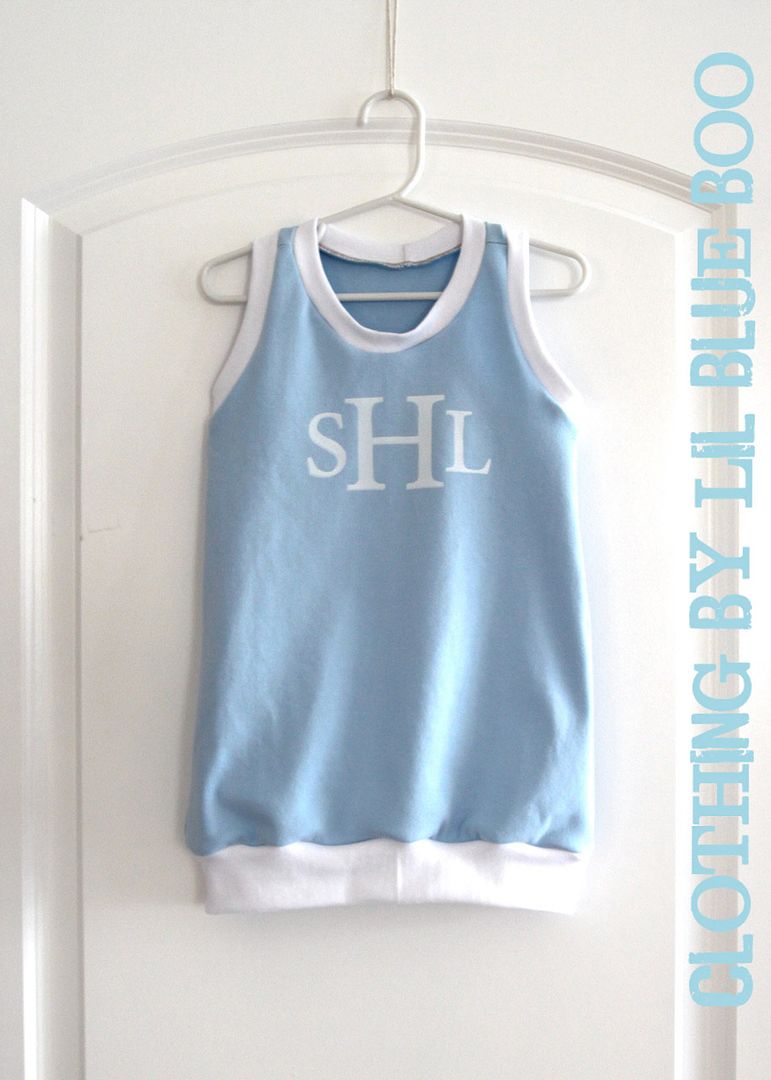
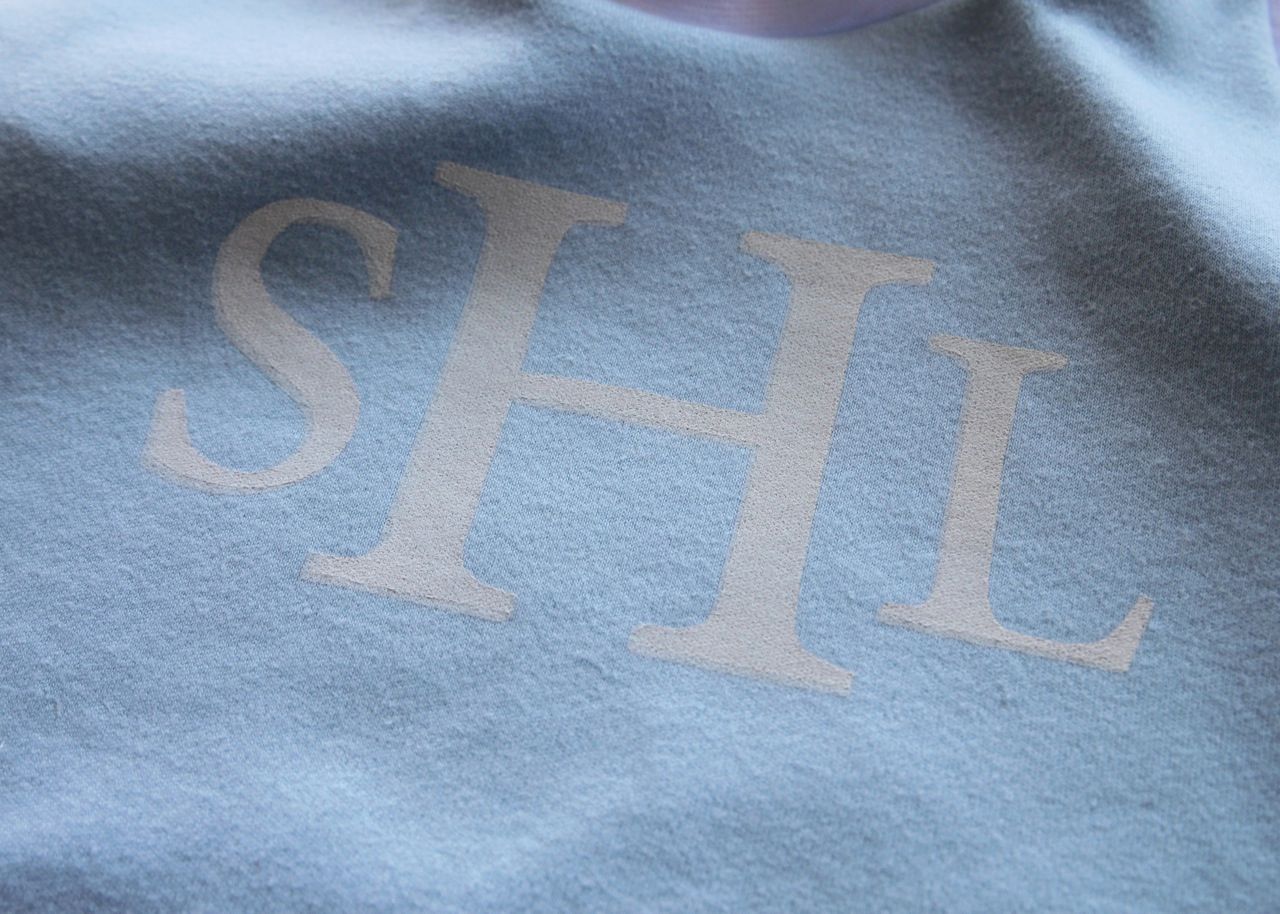
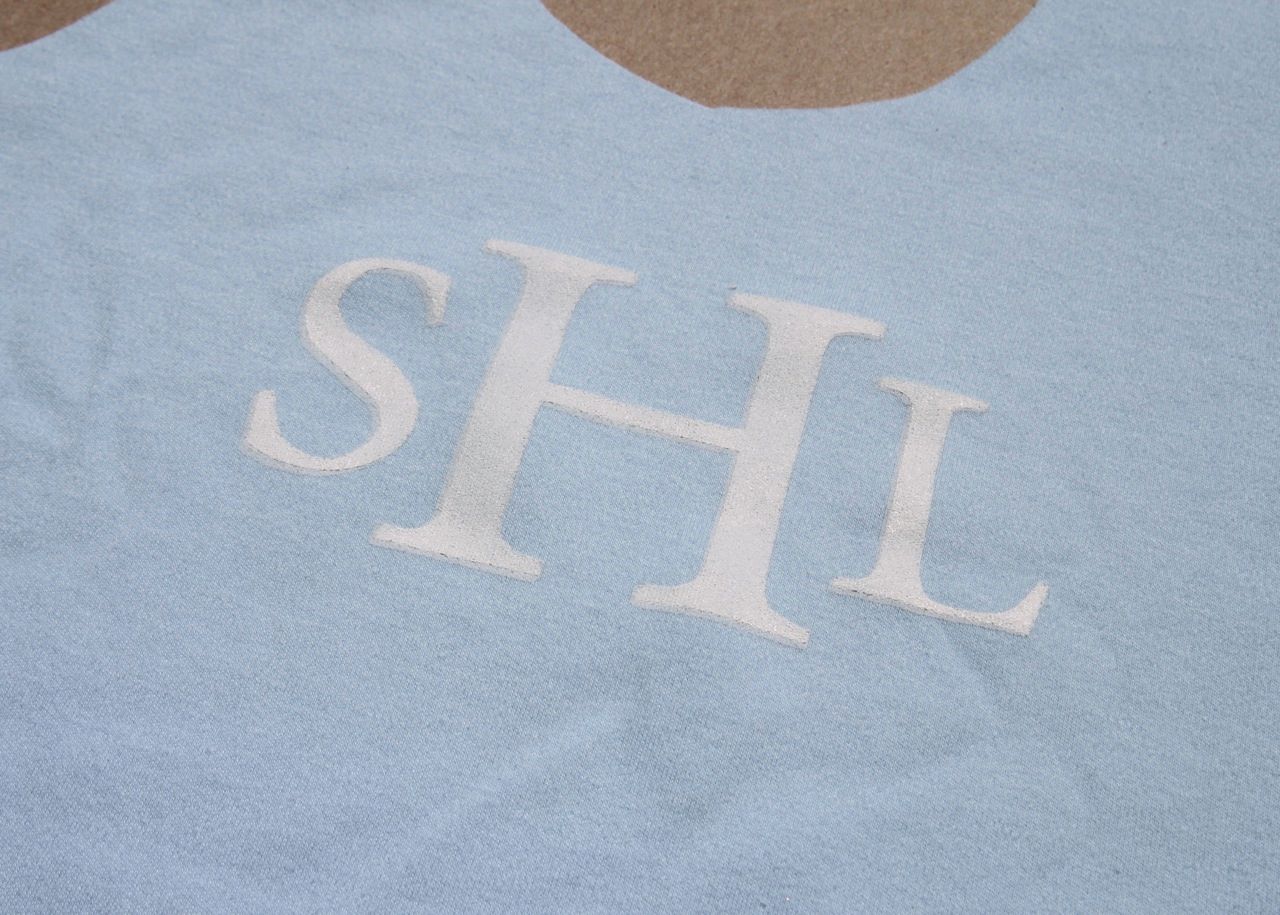
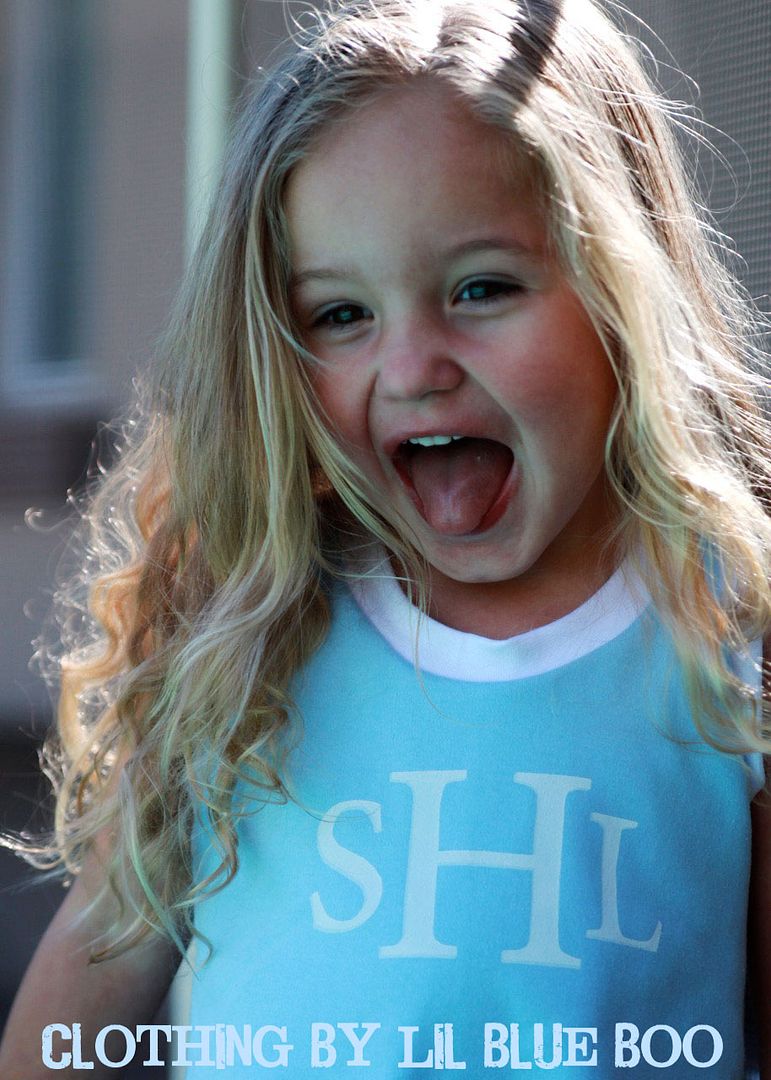
The initials have a dimensional 2-layer look to them.
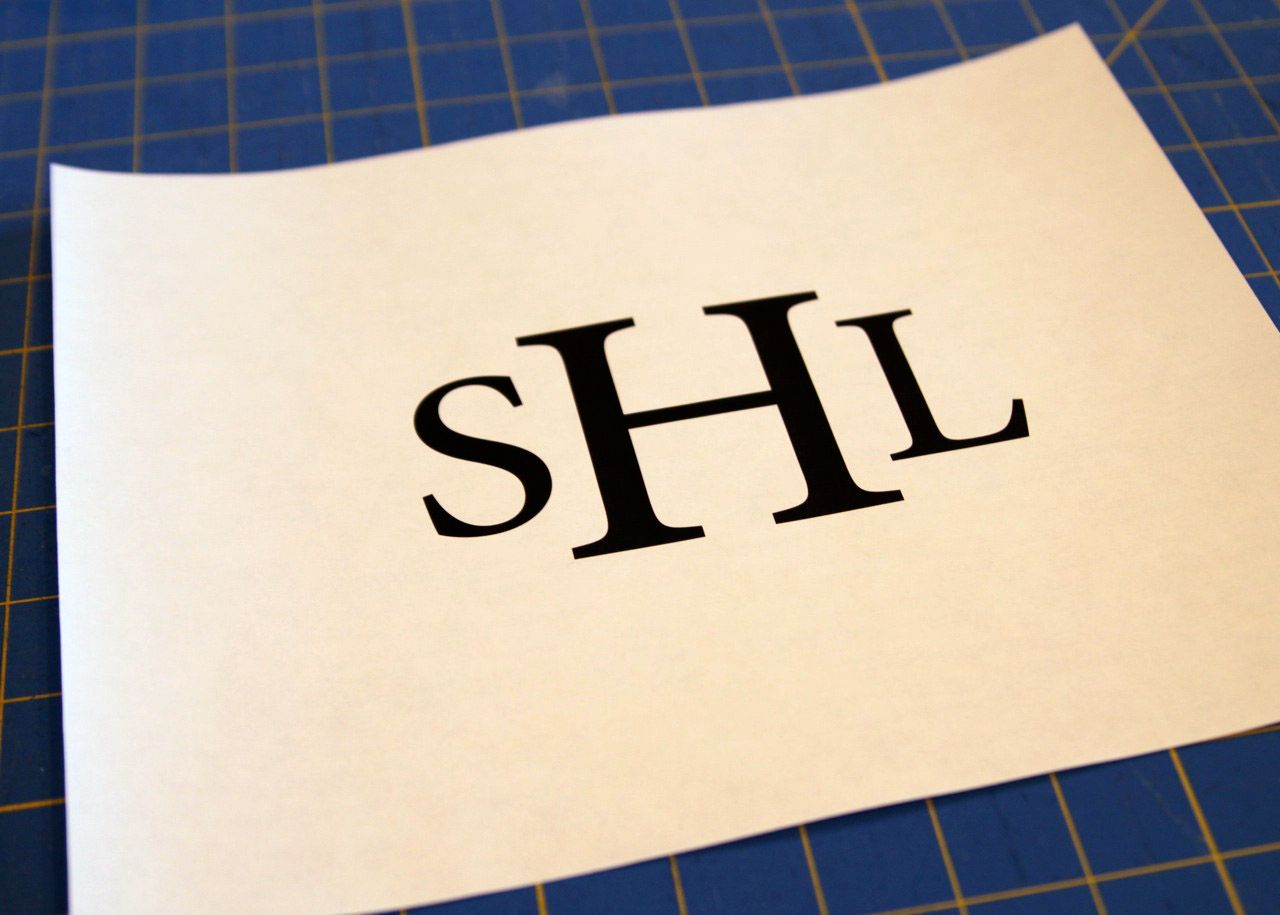
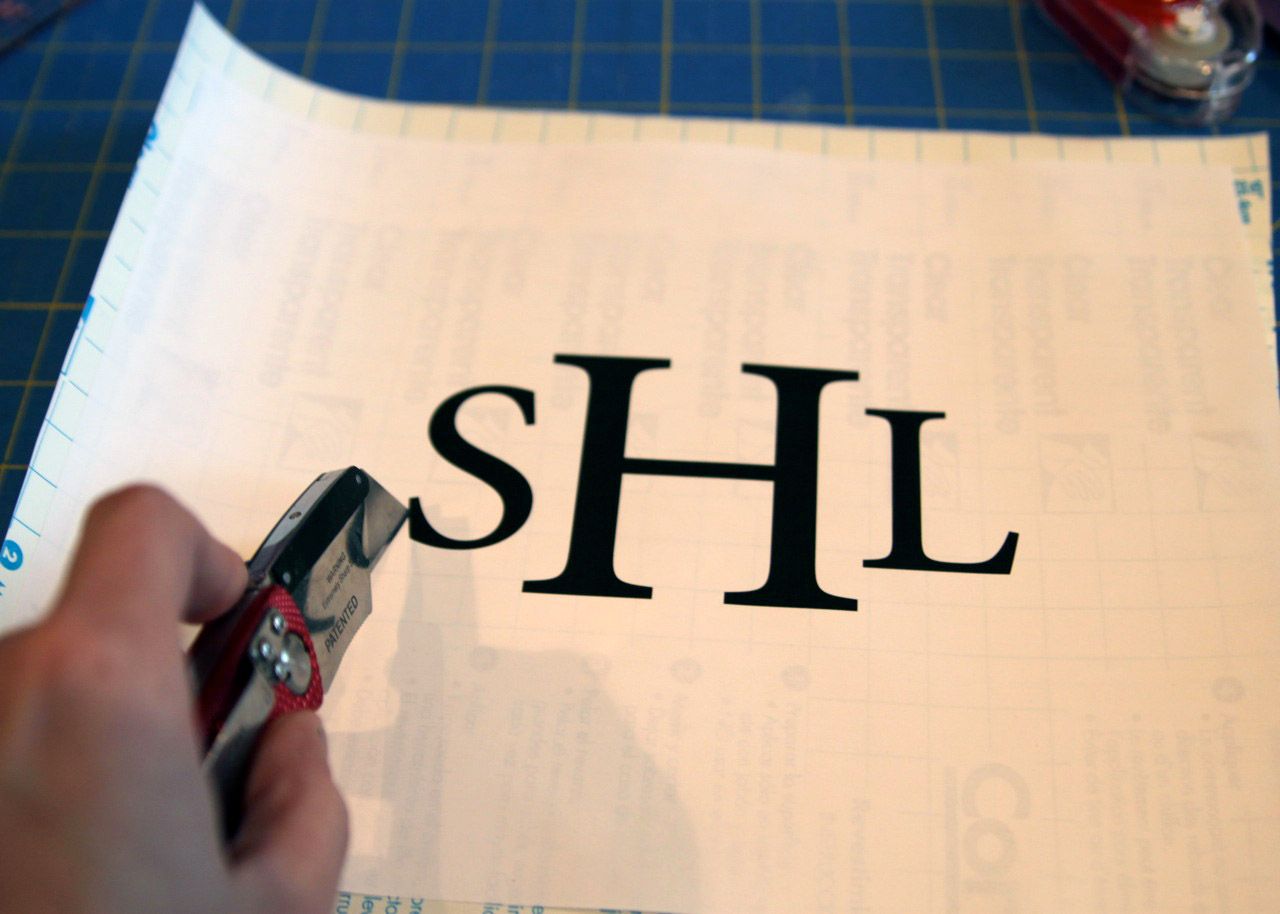
First I printed out the initials I wanted to use:
Then I used double sided tape on the back of a sheet of contact paper.....
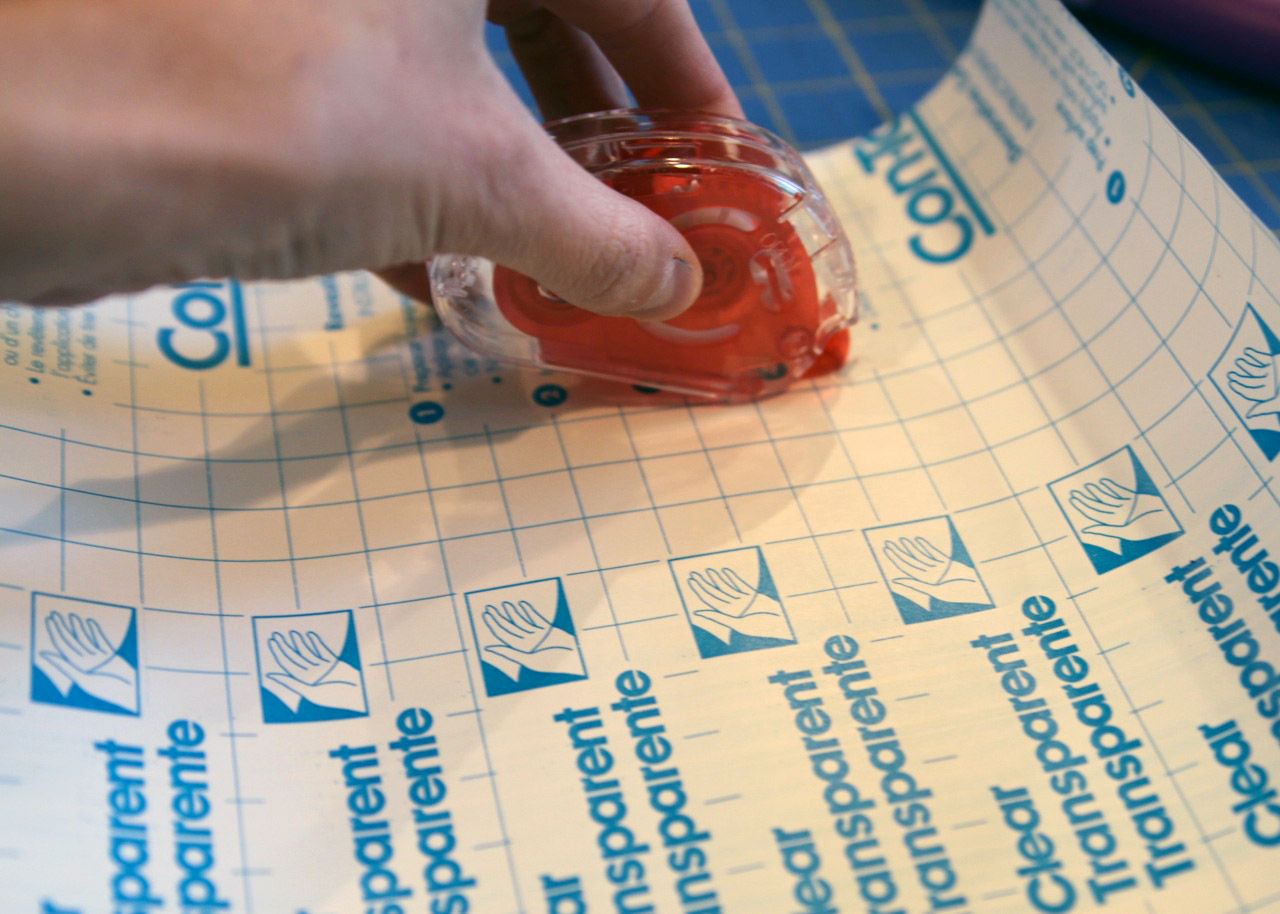
....to keep my initials in place on the back of the contact paper to make them easier to cut out. I used a razor blade to carefully cut them out.
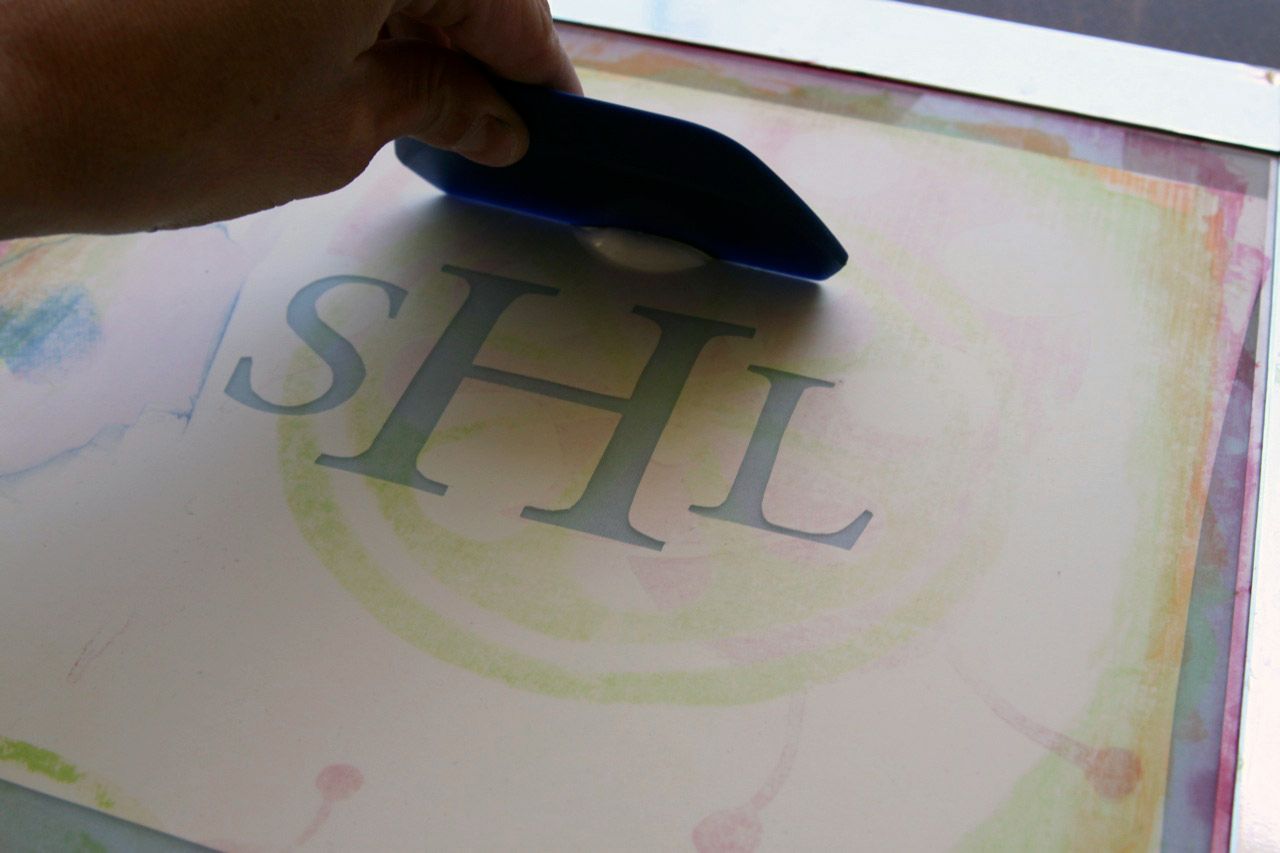
You can read my full tutorial on screen printing with contact paper, but in a nutshell I placed the contact paper stencil on the back of my screen and applied a glob of white screen printing ink at the top. Note: I've used many different kinds of white screen printing ink.....all with different results. I love the Versatex white ink because it doesn't crack and is very soft when washed.

To get the three dimensional look, I pulled the ink DOWN the image and then repeated several times using enough pressure to bleed some of the ink under the contact paper. Then I repeated the same process pulling the ink from RIGHT to LEFT over the image to get the ink to bleed under the other way.
Note: You might want to practice this on a scrap piece of fabric to get the pressure right.....but since the ink is going under the contact paper you will need to wash and dry your screen for each print.
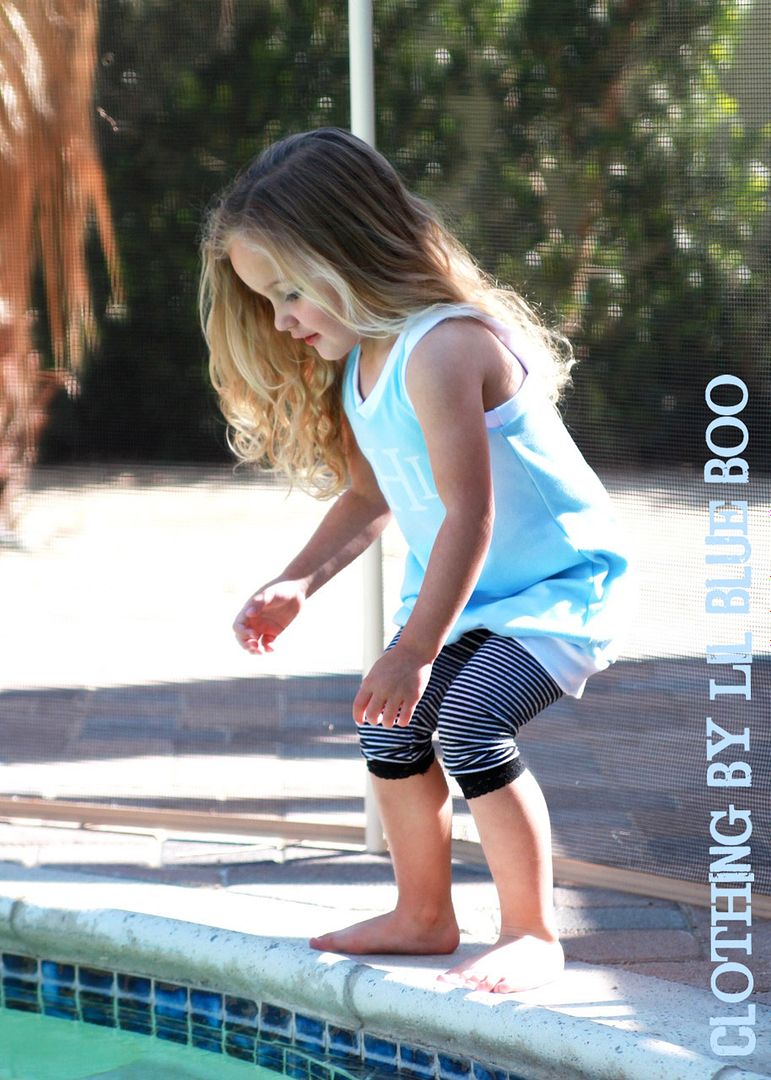
The finished print has a slight "shadow" to the left and bottom.
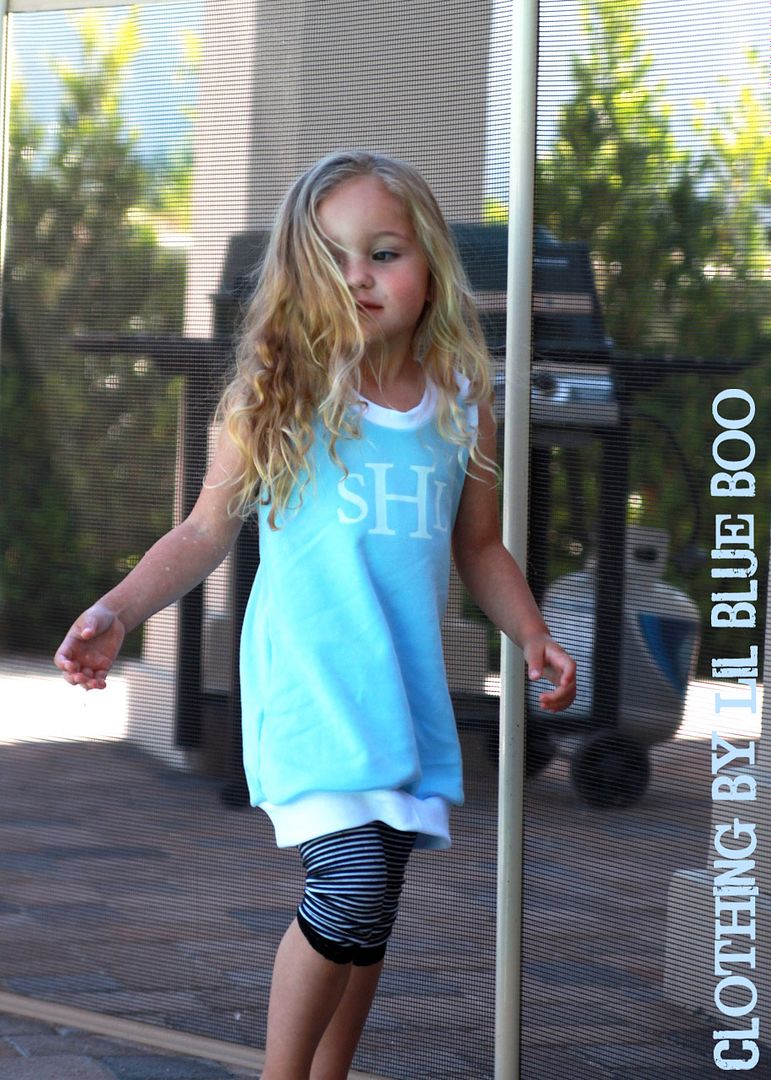
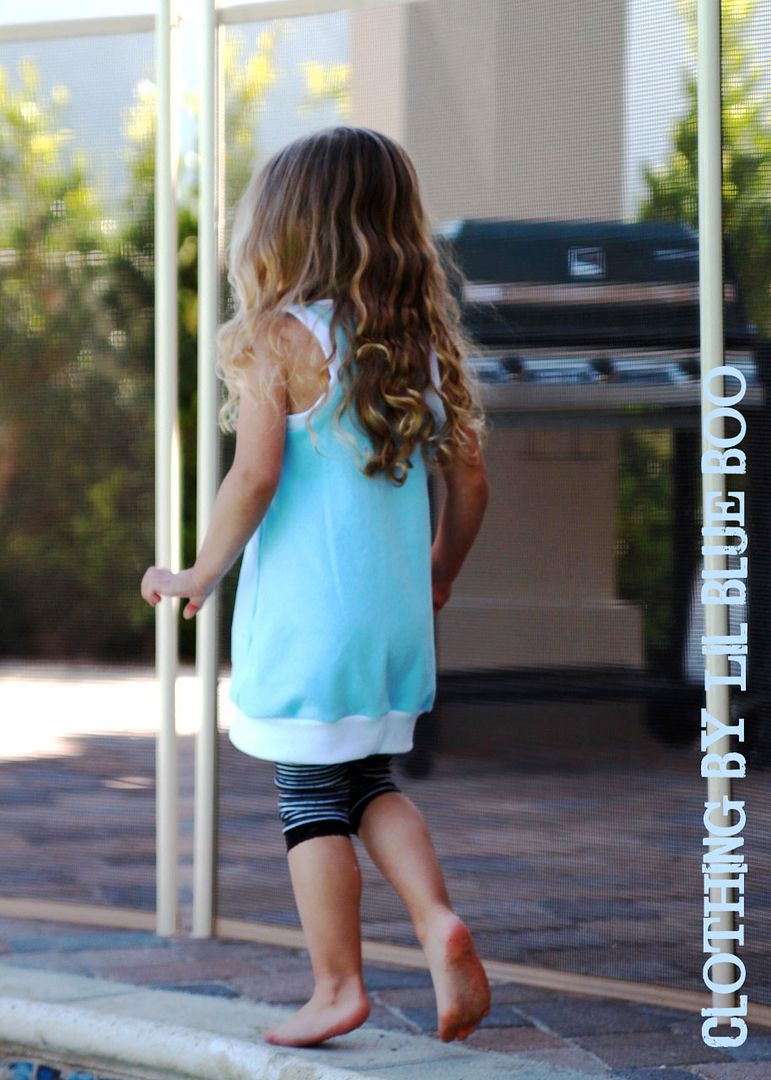
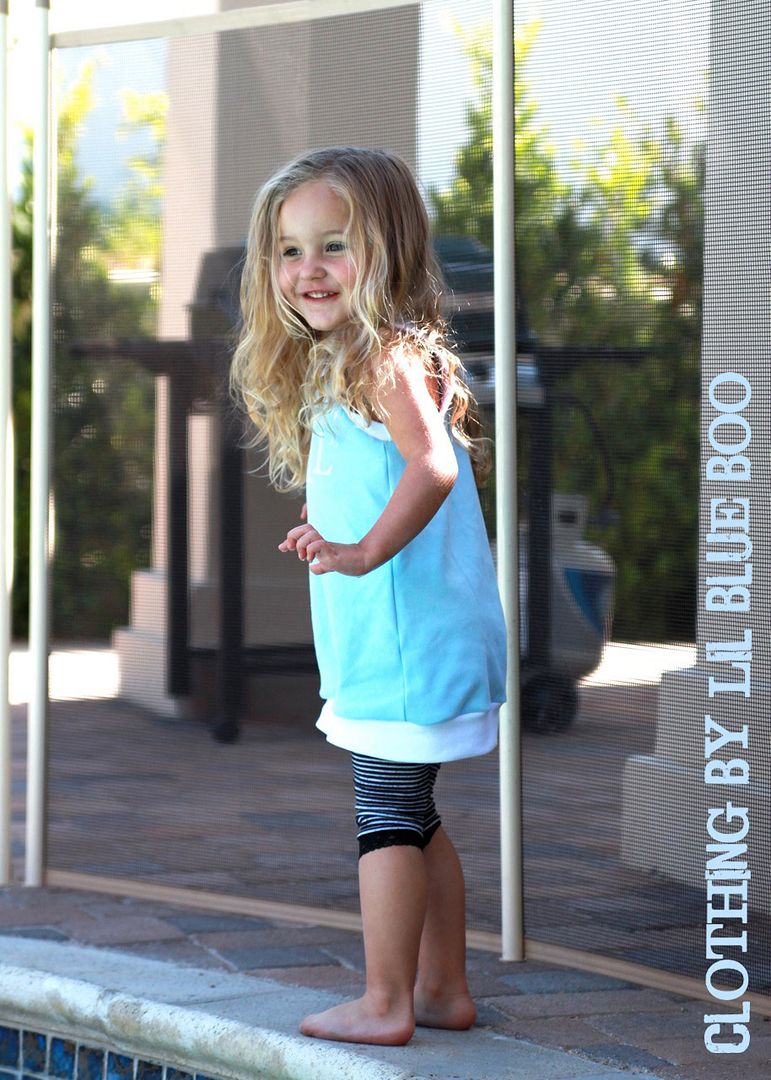
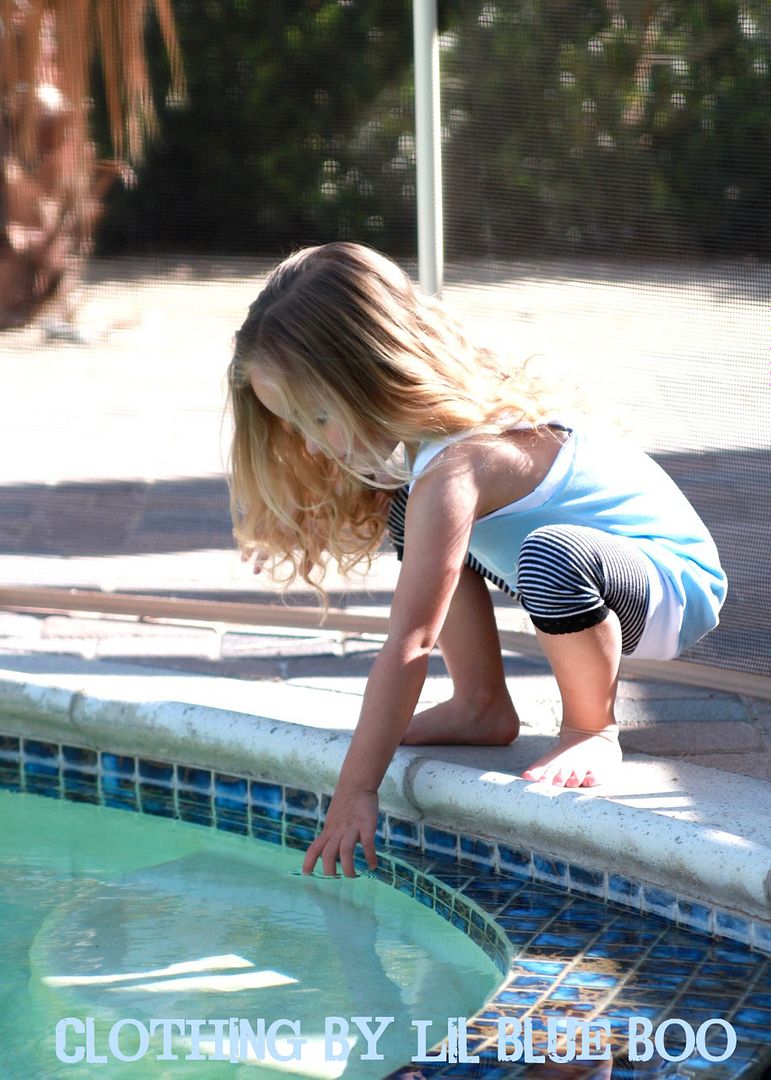
The finished dress!
Now onto my next project.....adding initials to our bedding!
That dress is awesome!!!! Pattern please? Please please please?!?!?!
ReplyDeleteI love that top! So cute, if you made it you should consider selling them. I'd buy!
ReplyDeleteJust wondered if you had tried using the "Cricut Expression" to cut out letters and shapes? I used it to cut out letters out of freezer paper for one of my challenge dresses and it worked AWESOME!! I also use it to cut out fabric for applique. Anyway, just a thought.....
ReplyDeleteThat dress is adorable and so is your sweet girl!!
Lindsay
Magical process! Magical little girl! Precious...just precious!
ReplyDeleteMalisa
Well, I think the outfit is pretty cute, but your little girl is awfully cute, too. :)
ReplyDeleteGreat tutorial !! Thank you ! And the dress is I think my favorite! I love bubble dresses.
ReplyDeleteThank you for another great tutorial Ashley!
ReplyDeleteI love it! Do you have a pattern for sale yet for the racer back?
ReplyDeleteTHAT is SUPER cute!!!
ReplyDeleteyour baby girl has "princess" written in her genes. She is adorable, and the little dress you've made is just as adorable. Blue really suits her :)
ReplyDelete♥ Erika
this is adorable, and her hair is just gorgeous!
ReplyDeleteJust a quick note to let you know that a link to this post will be placed on CraftCrave today [02 Apr 02:00pm GMT]. Thanks, Maria
ReplyDeleteLove it! Great job!
ReplyDeleteYour monograms look fantastic! Thanks so much for sharing this, I'll be linking.
ReplyDeleteSo cute! Any plans for a pattern? Would love it :)
ReplyDeleteOMG I love love love this!
ReplyDeleteHi Ashley, lovely as usual ! I have a couple of questions for you: how and where do you store your screenprints once you have used them ? What fabric do you use to make them ? And how many times can you use them ? Thanks !
ReplyDeleteI want the pattern to please!
ReplyDeleteOh I love this Ashley (I know, I say this about all of them) but this one is my fav!!! (I know I say that about all of them) but, oh well, I adore it!!
ReplyDeleteoh wow! I totally love this. thank you so much. You always have the funnest, more wide-use-application ideas. awesome.
ReplyDeletei just spent an hour catching up on your blog and will absolutely buy a pattern to this bubble racer top dress if one comes available (in all your spare time, right?!)
ReplyDeleteHappy almost weekend!