
Step 1: I made a template using my daughter's hand and cut out 2 mitten shapes for each hand (4 total) from a soft ice blue microfiber golf shirt. These are the outsides of the mittens.
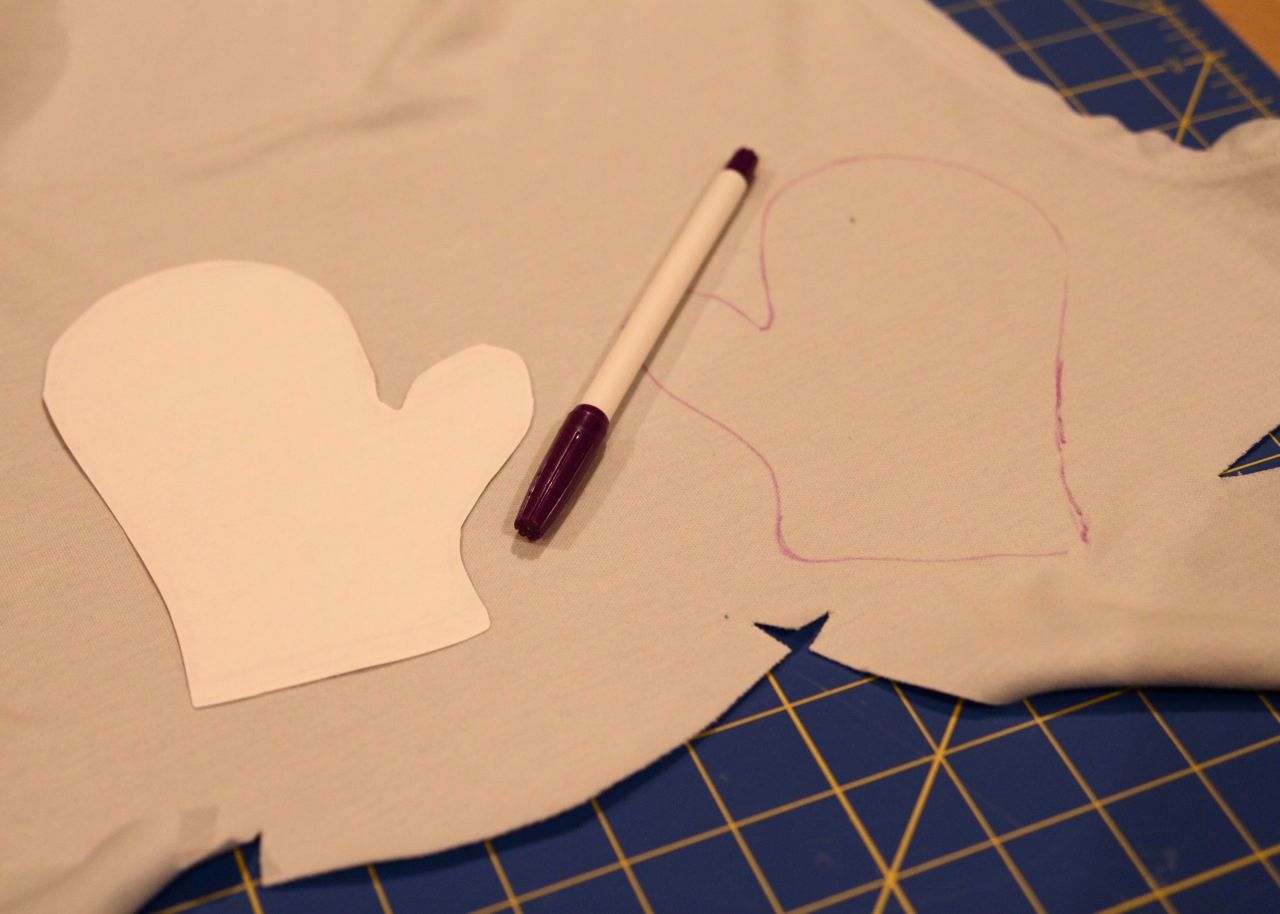
I cut out 2 mitten shapes for each hand (4 total) from a pair of white stretchy sweatpants. These are the warm insides of the mittens.
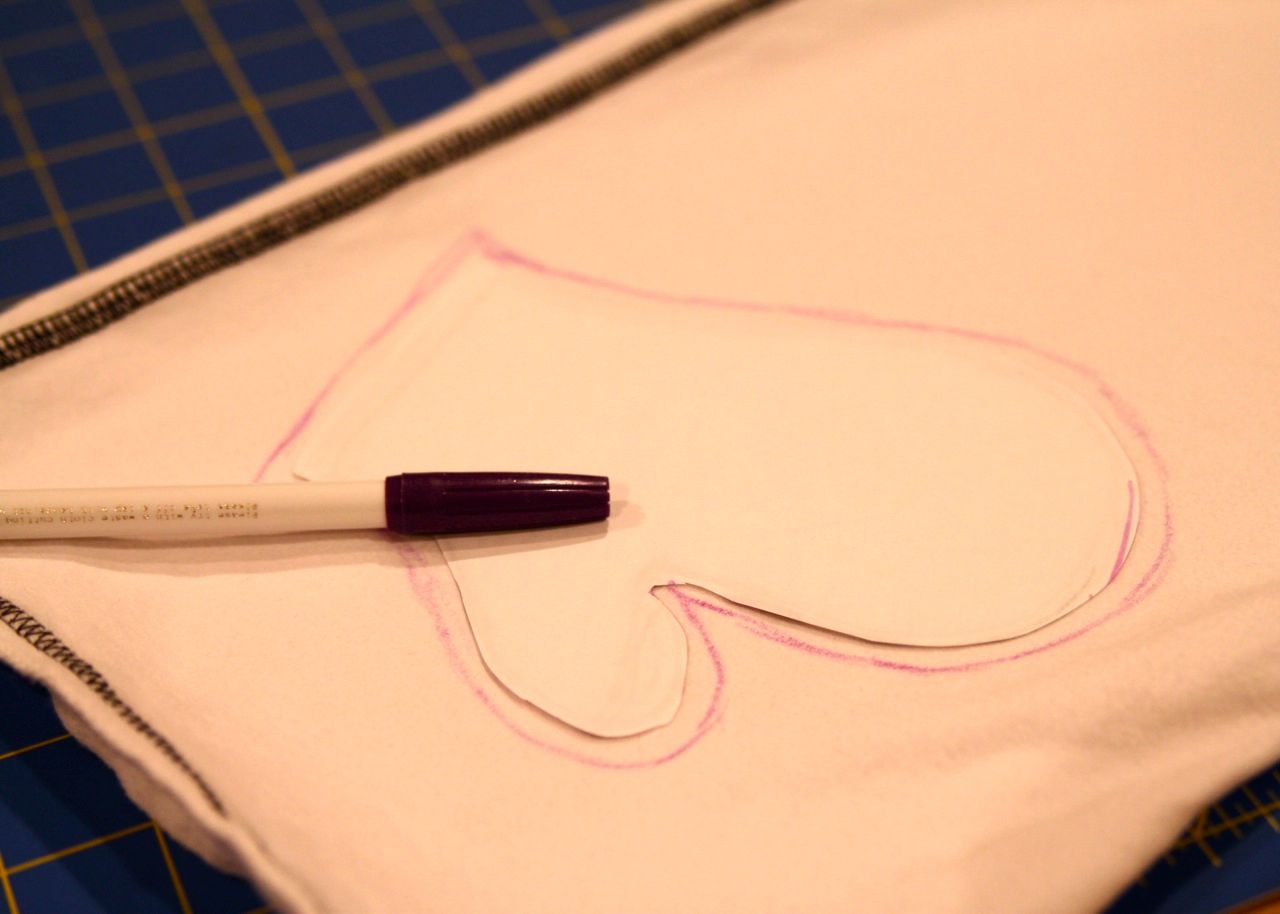
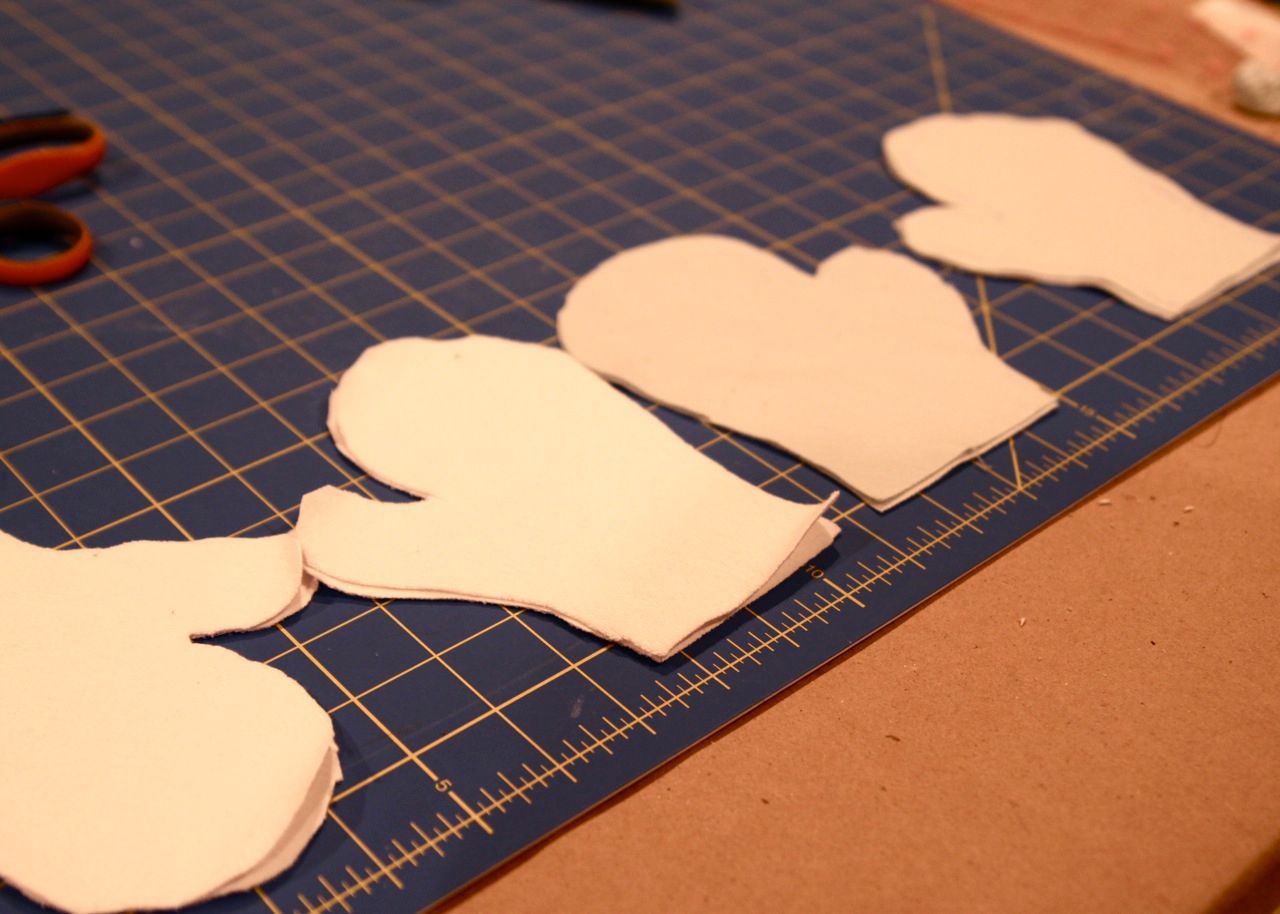
You should have 4 pieces for each mitten: 2 insides, and 2 outsides.
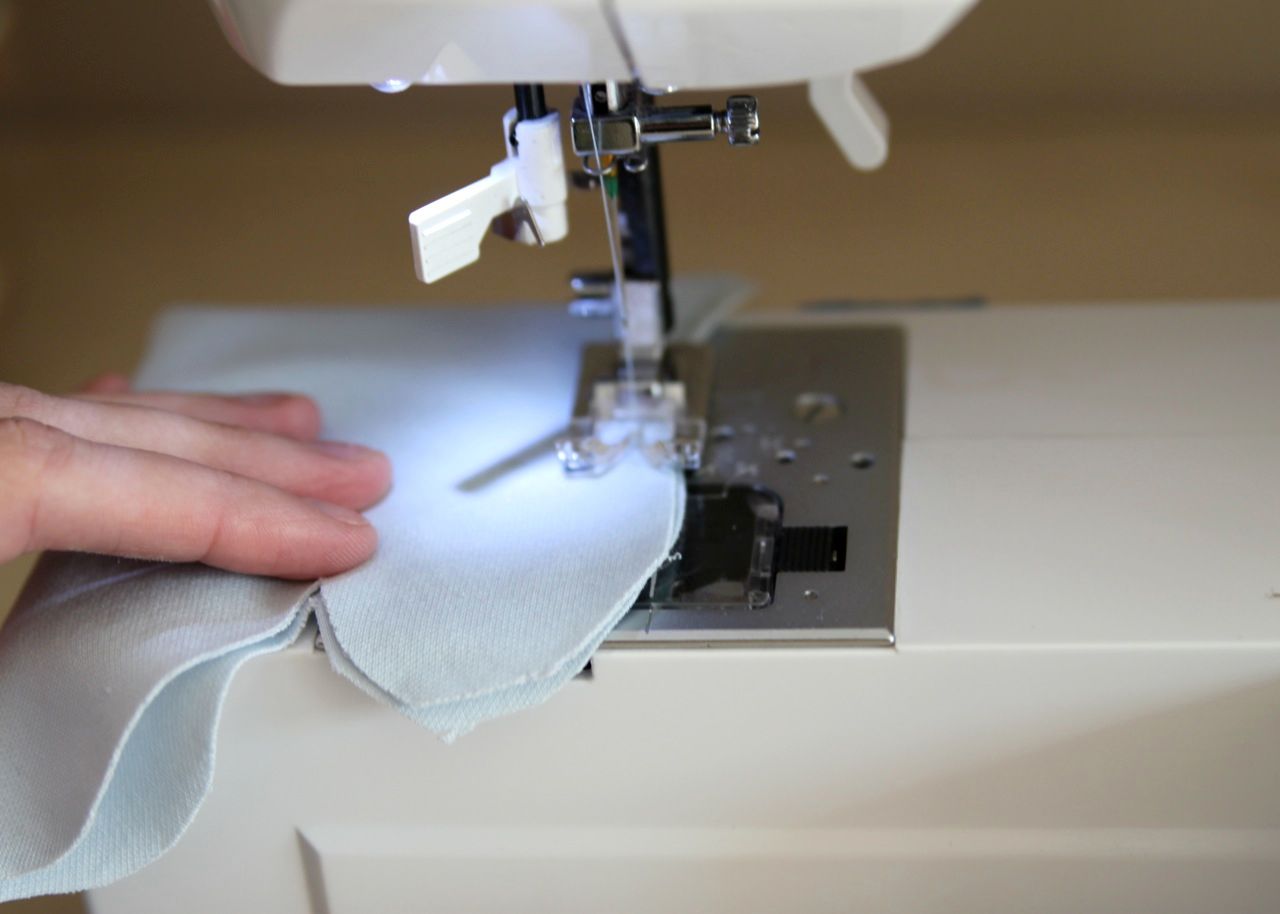
Step 2: For each mitten I placed the two outside pieces right sides together and sewed around the edges, leaving the wrist area open. Repeat for the inside pieces.
Step 3: Turn all the mitten pieces right side out and inside lining up into the outside mitten.
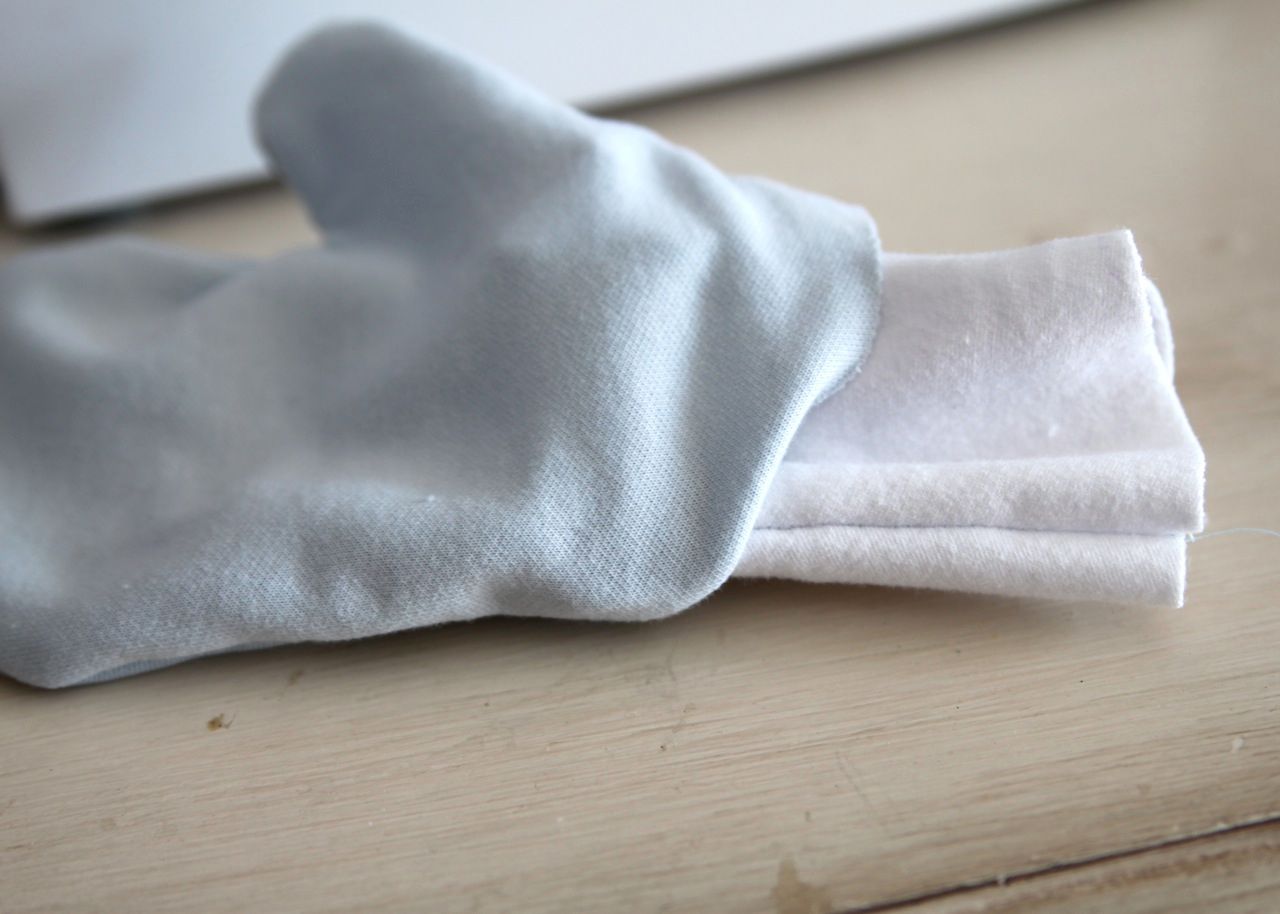
Step 4: Trim the outside and inside wrists of the mittens so that the edges are flush.
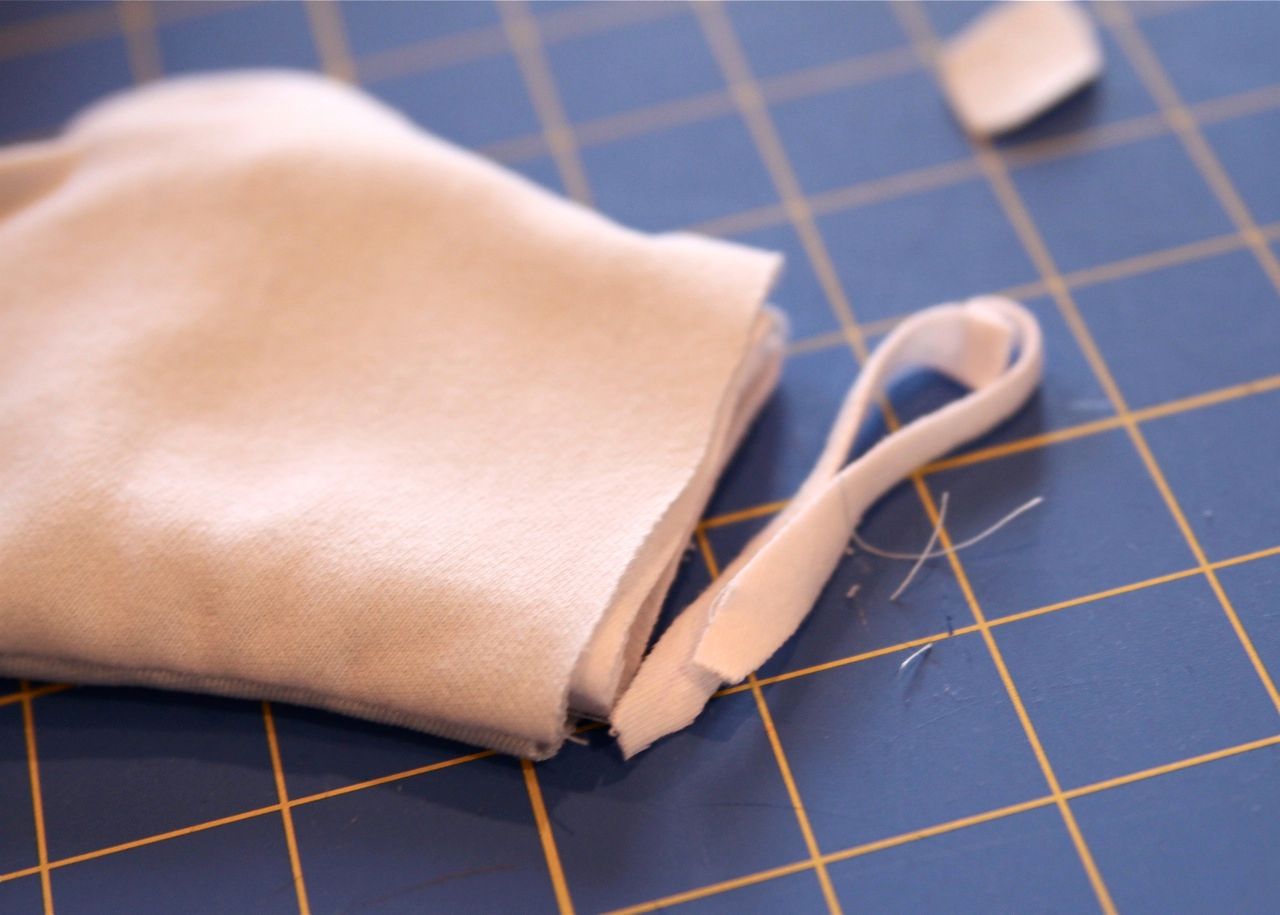
Step 5: Using white DMC embroidery thread, I stitched around the edges turning the outside of the mitten inward over the inside lining.
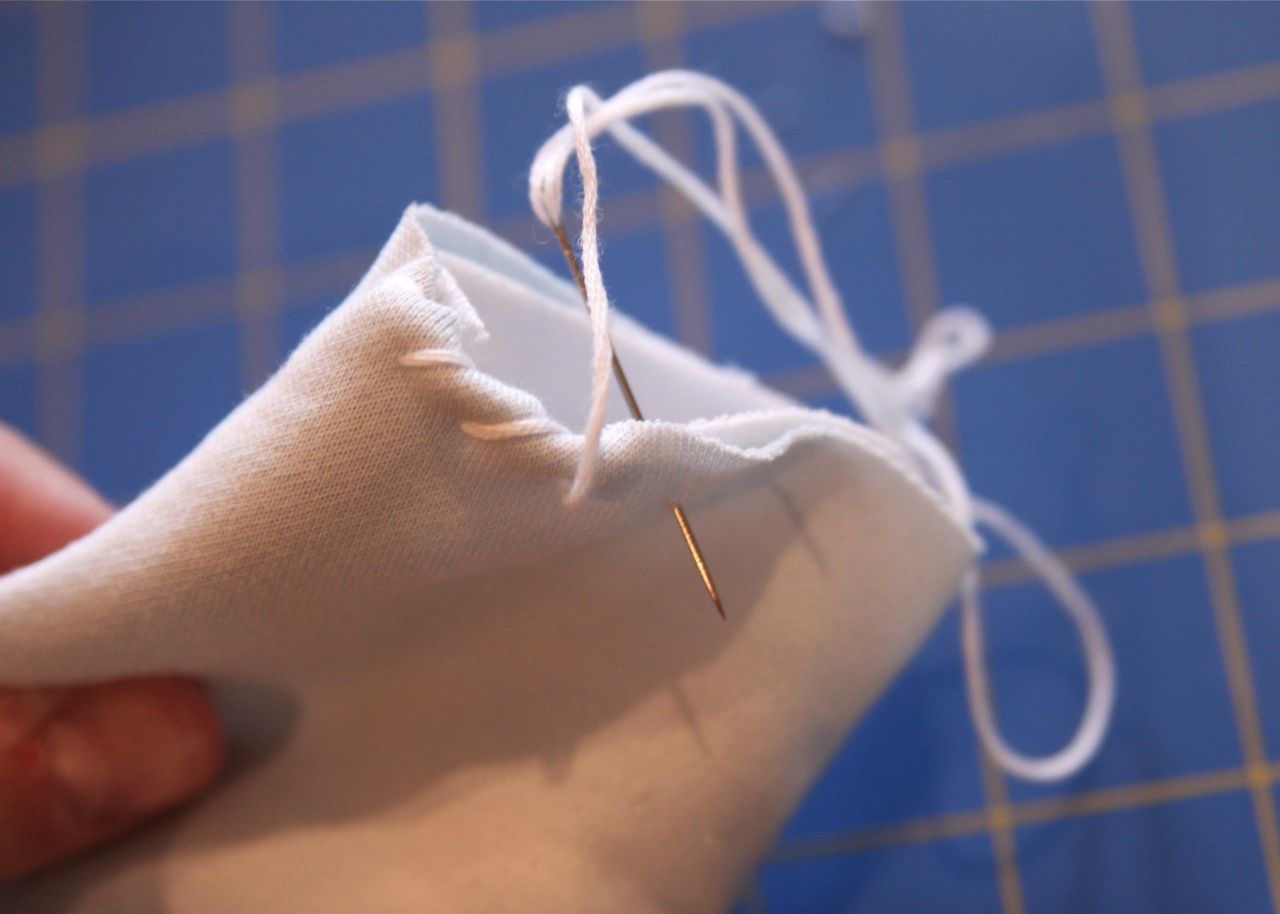
Step 6: To make each rose I cut a small strip of knit.....each a little bit different size.

Step 7: Folding one corner downward (wrong sides together), I started a gathering stitch along one edge as shown below:
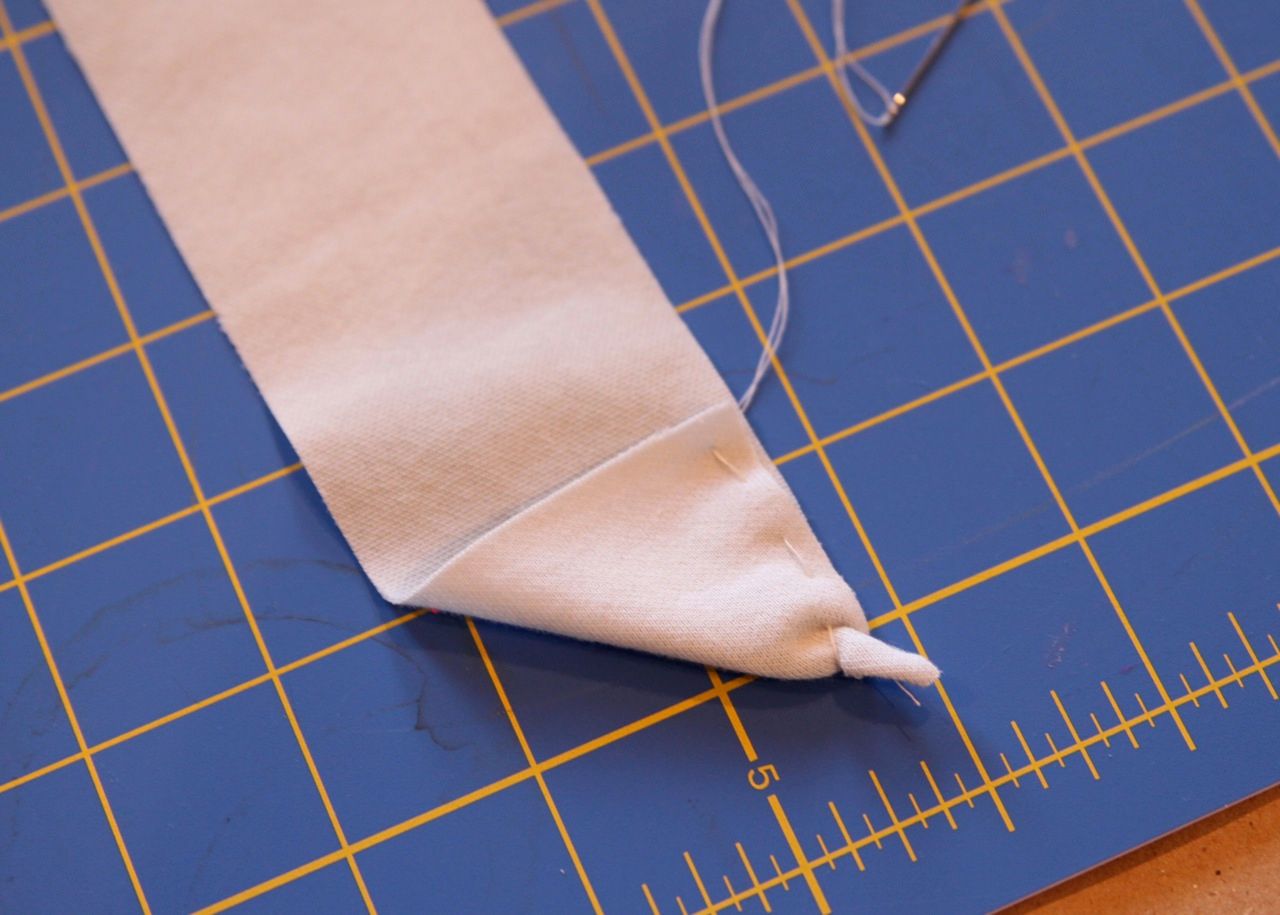
Step 8: Next I folded the following edges together and continued the gathering stitch....
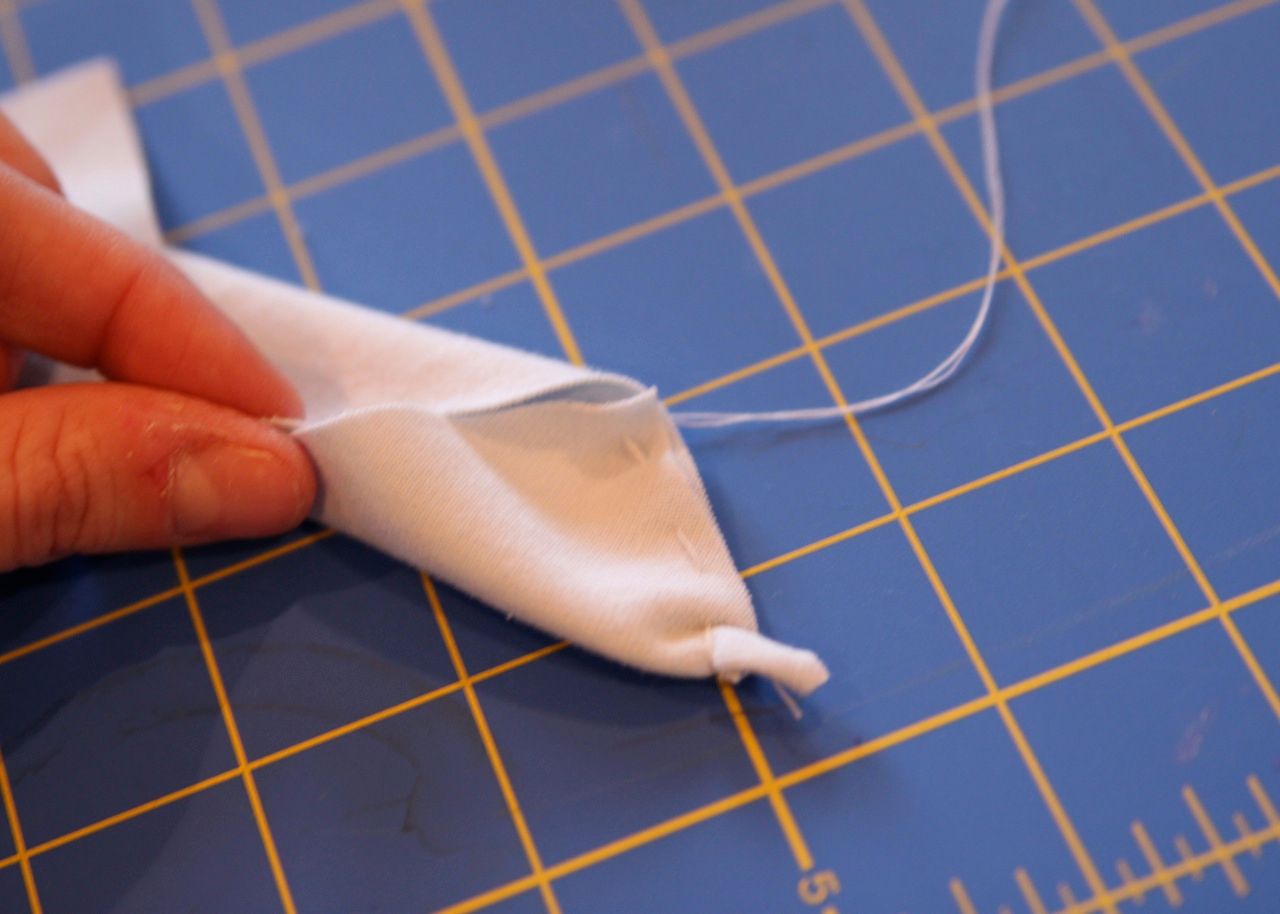
....matching and stitching the edges together....
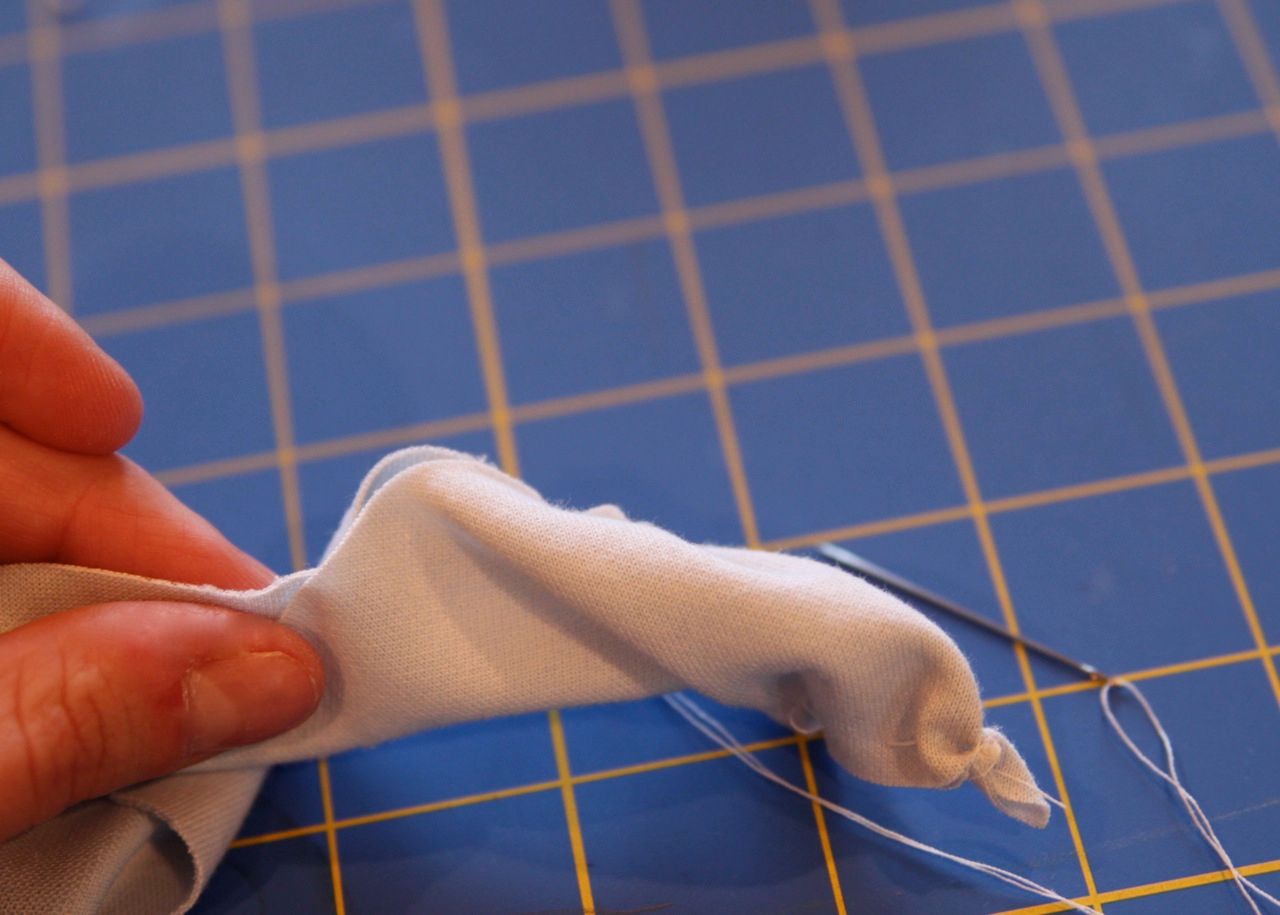
.......until I reached the opposite side. Basically, instead of folding the rectangle in half you are offsetting it slightly which will make the flower folds more interesting.

Step 9: Straighten out your piece until all the stitches are at the bottom. Your piece will be twisted:
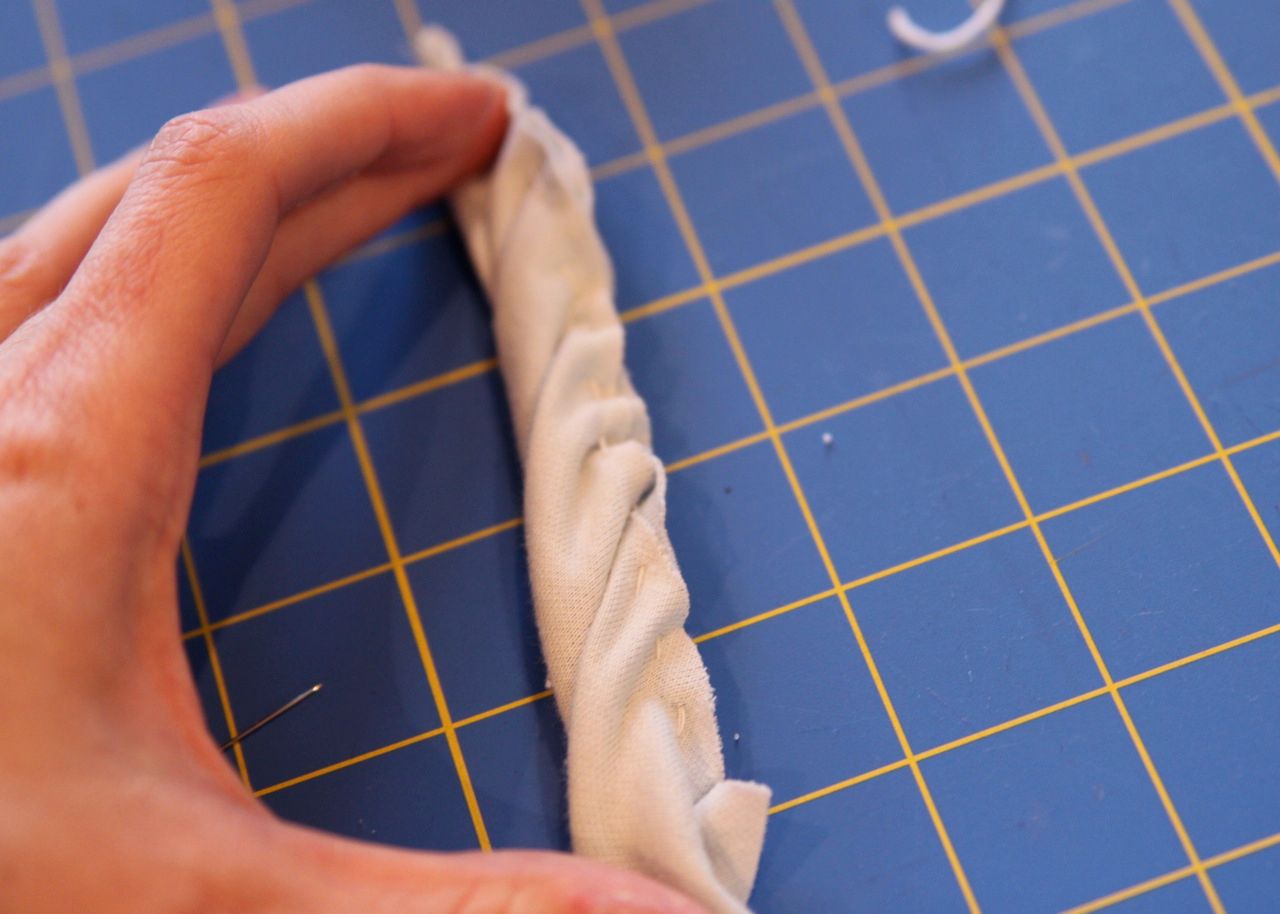
Step 10: Take a bobby pin and clip it onto the end where you started your stitching....
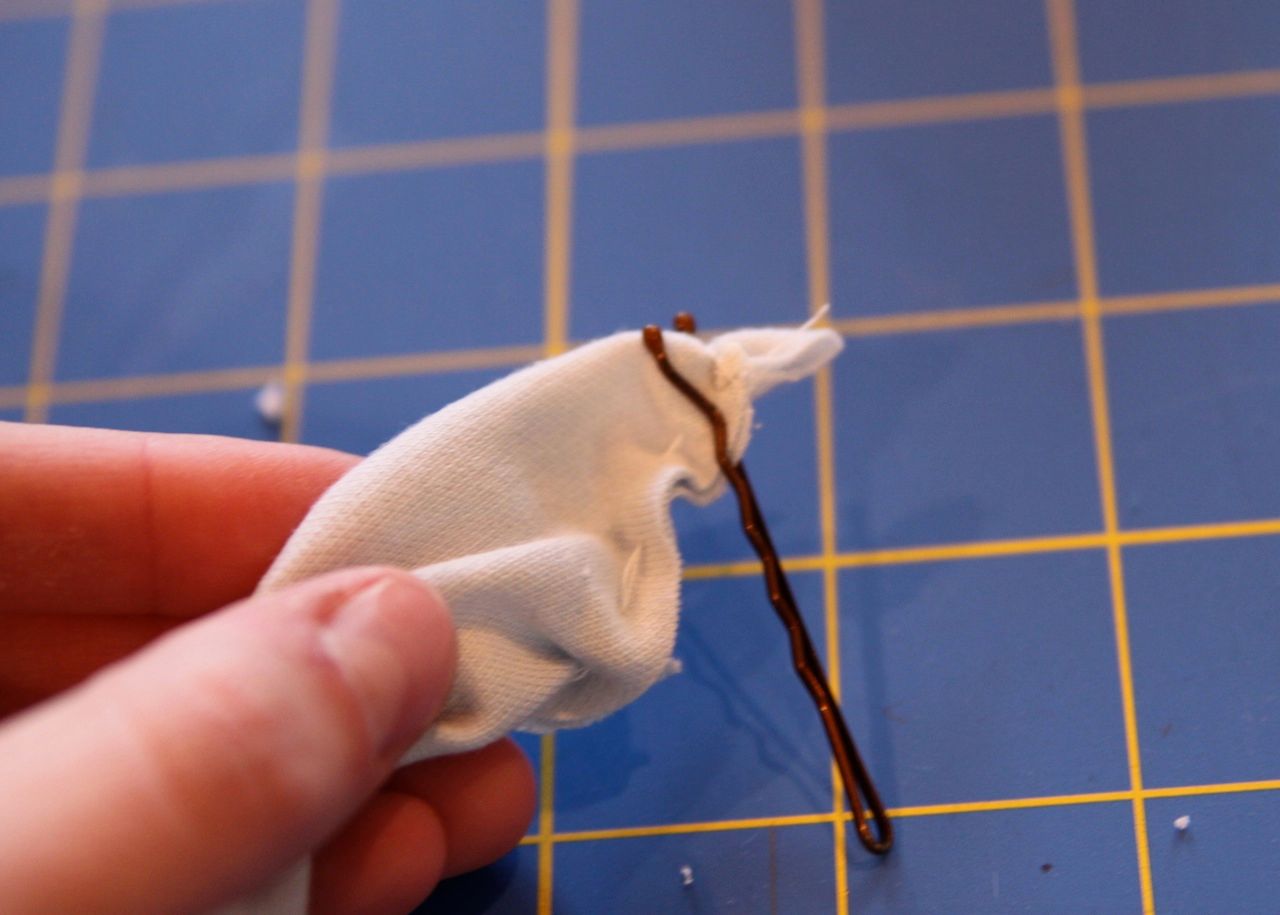
.....and twist until the flower gathers as shown. Stitch through the bottom of the flower several times to secure all the petals.

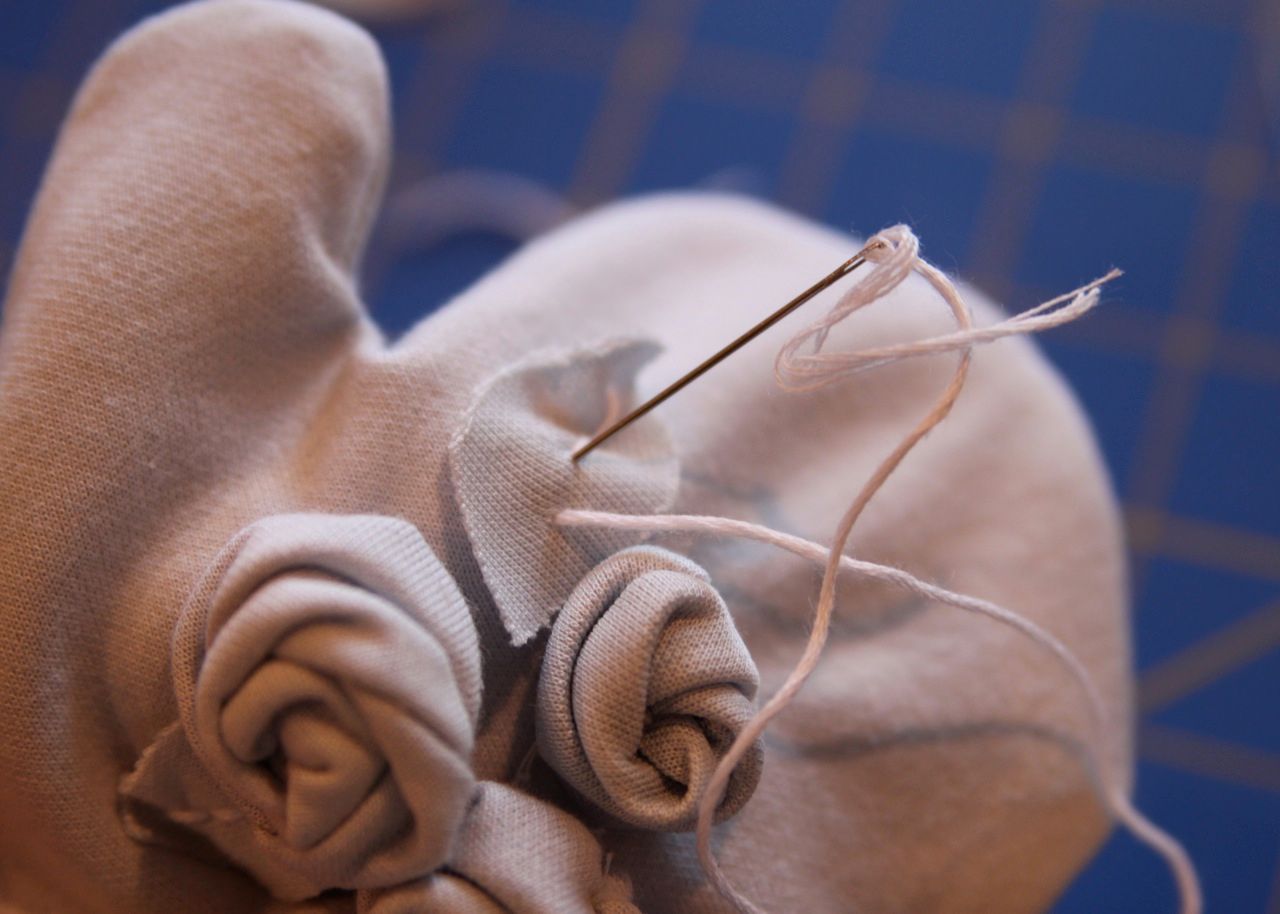
Step 11: Sew the flowers onto the mittens.....
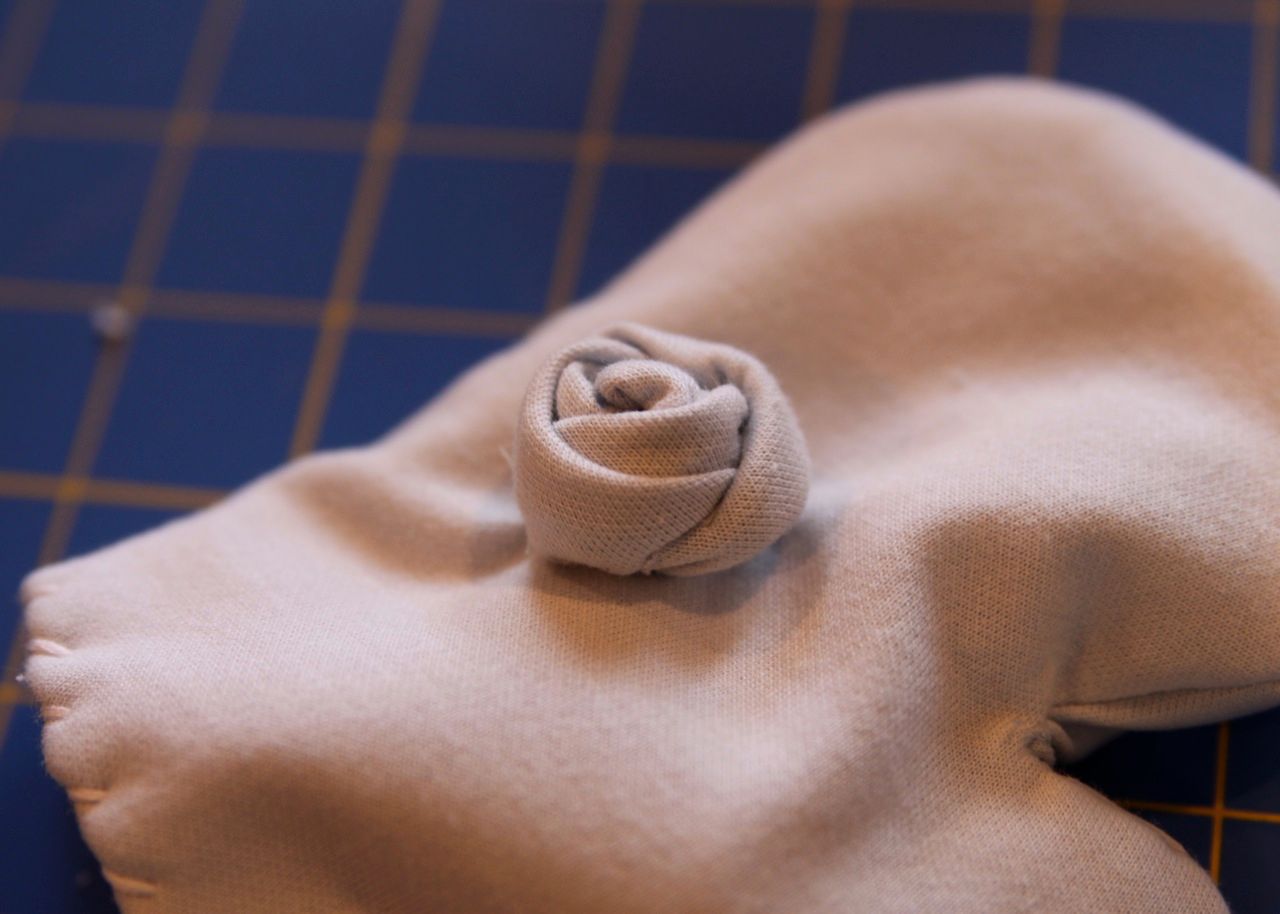
.....as well as tiny leaf shapes.
Fun, functional, dainty mitten....plus, they are warm!
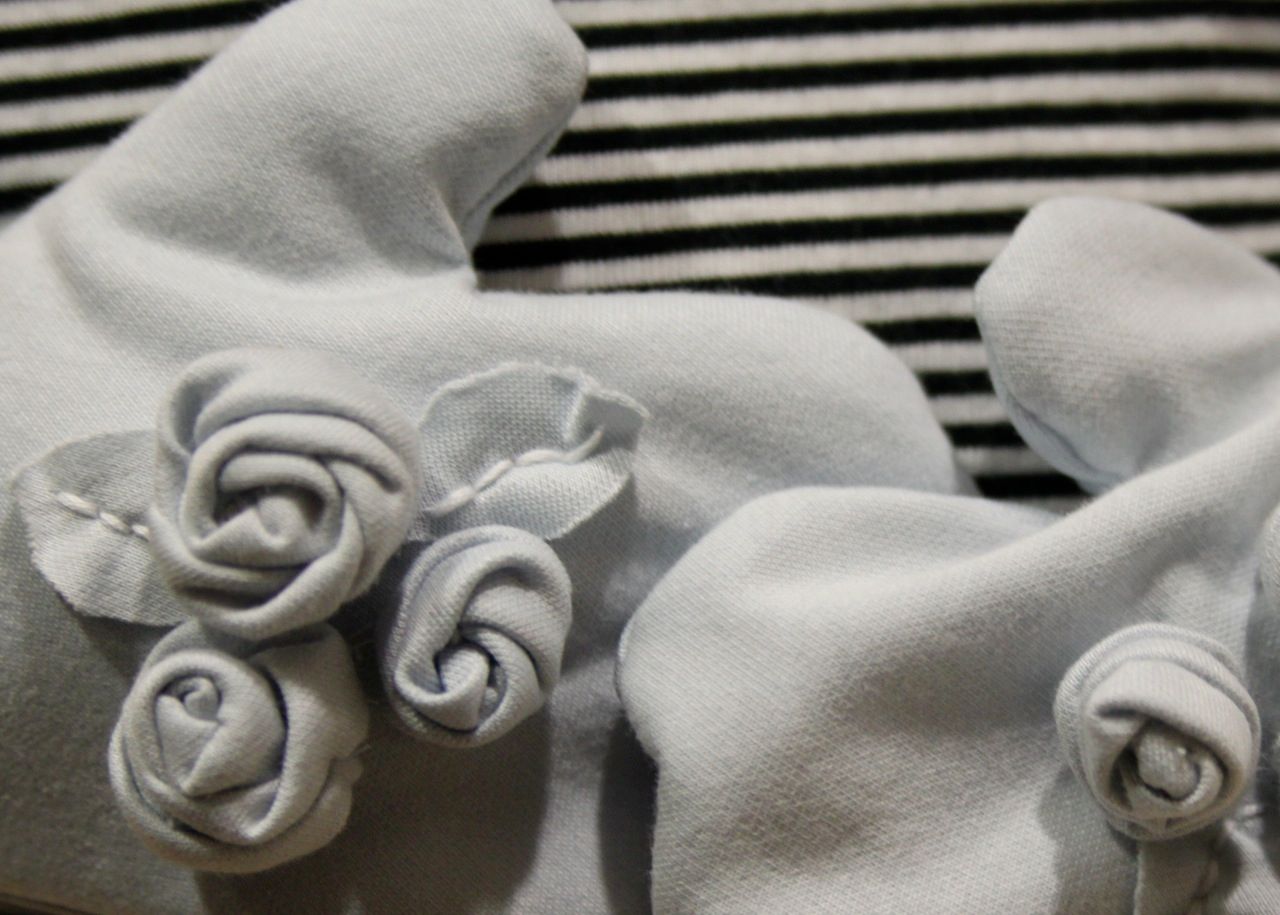
Boo is the final test....and she loves them!

These are so cute, I would have voted for these for sure!
ReplyDeleteHow cute, the both of them:)You did it again!
ReplyDeleteYou have an award wating for you here:
http://ma21cuteboy.blogspot.com/2009/12/its-my-golden-globe.html
Congratulations!
Ma21cuteboy
love the mittens!
ReplyDeletenow you gotta play around with some airplane/monkey/car/monster details to go on top for boys, instead of flowers, for my littles! ;)
Love these!! Thanks for sharing! My kids all need mittens and I have one boy so I double the boy patterns. Just thinking....My kids mittens are always falling off-any thoughts on how I might put some elastic in the wrist :)
ReplyDeleteSuper cute.....I would say that you are the scarf this week. Im going out of my comfort zone on this one. But you might be the cork stamp too......Either way both are great ideas.....Needing some more dresses...LOLOL..
ReplyDeleteI want a pair of these! Can you make them in my size? I do have tiny hands...
ReplyDeleteVery cute ! VERY CUTE!
ReplyDeleteAww, those are so, so cute! Thanks so much for yet another fabulous idea. I'll be linking.
ReplyDeleteHOLY cute!!!!
ReplyDeleteOf course Boo loved them - they're FABULOUS!!
ReplyDeleteI featured your tutorial on Craft Gossip Sewing:
http://sewing.craftgossip.com/tutorial-mittens-with-fabric-rosette-embellishments/2009/12/15/
--Anne
So cute! Looks like Sienna loves them too!
ReplyDeleteOh I'm soo making these! I haven't bought my kids gloves because it doesn't usually get cold where we live, but it's been a bit chilly this year so this will be perfect!
ReplyDeleteThose are great! Love them.
ReplyDeleteThose are adorable. I have to make some this year. They would make great gifts too! Thanks for the great tutorial.
ReplyDeleteYou are my new best friend. Just thought you should know. Love this tutorial!
ReplyDeleteThese are SO stinkin' cute!! I love them!!! I can't decide which one is yours over at SYTYC!
ReplyDelete