
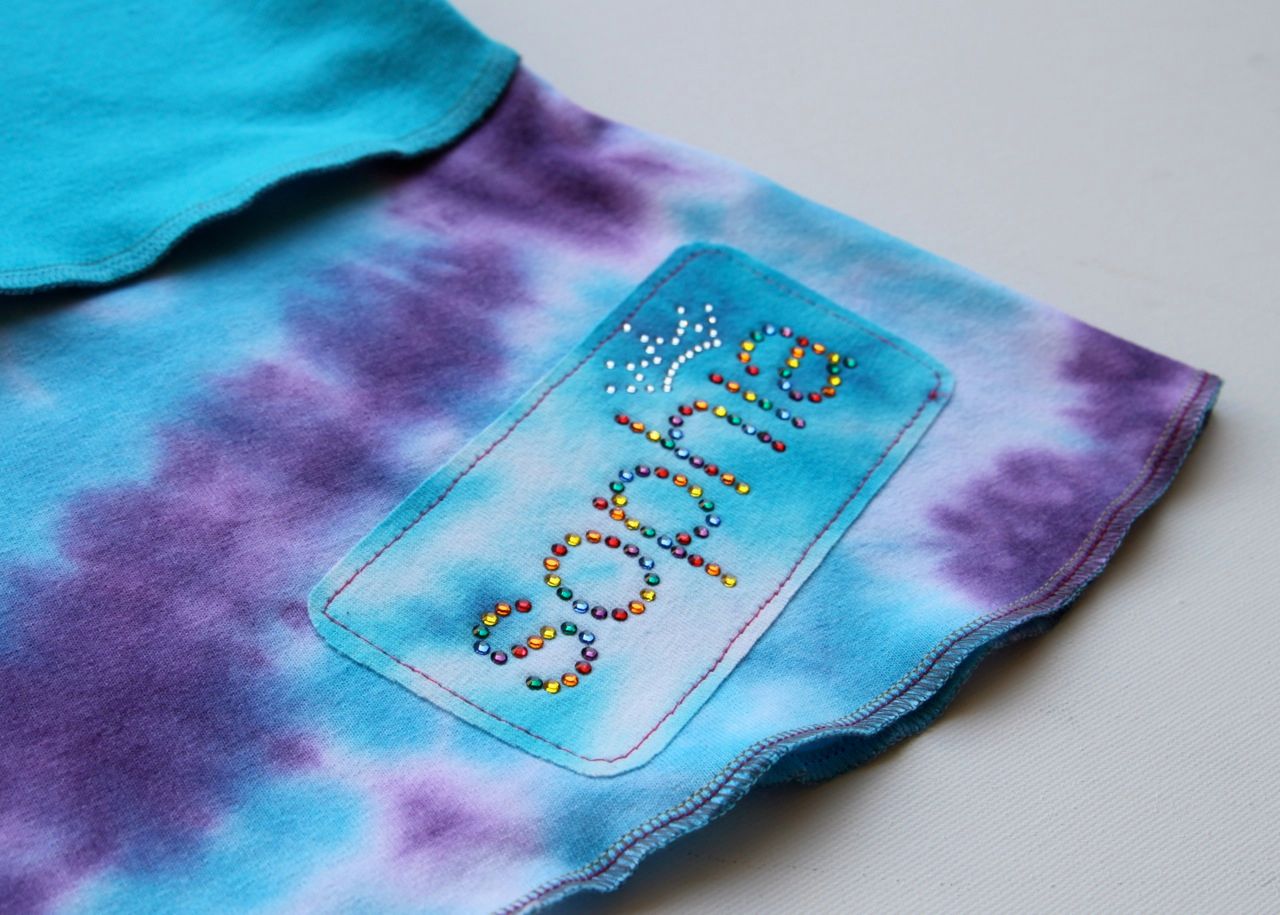
To make your own design you need:
Kid safe rhinestones (you never know what kids will eat)
Mylar Carrier sheet
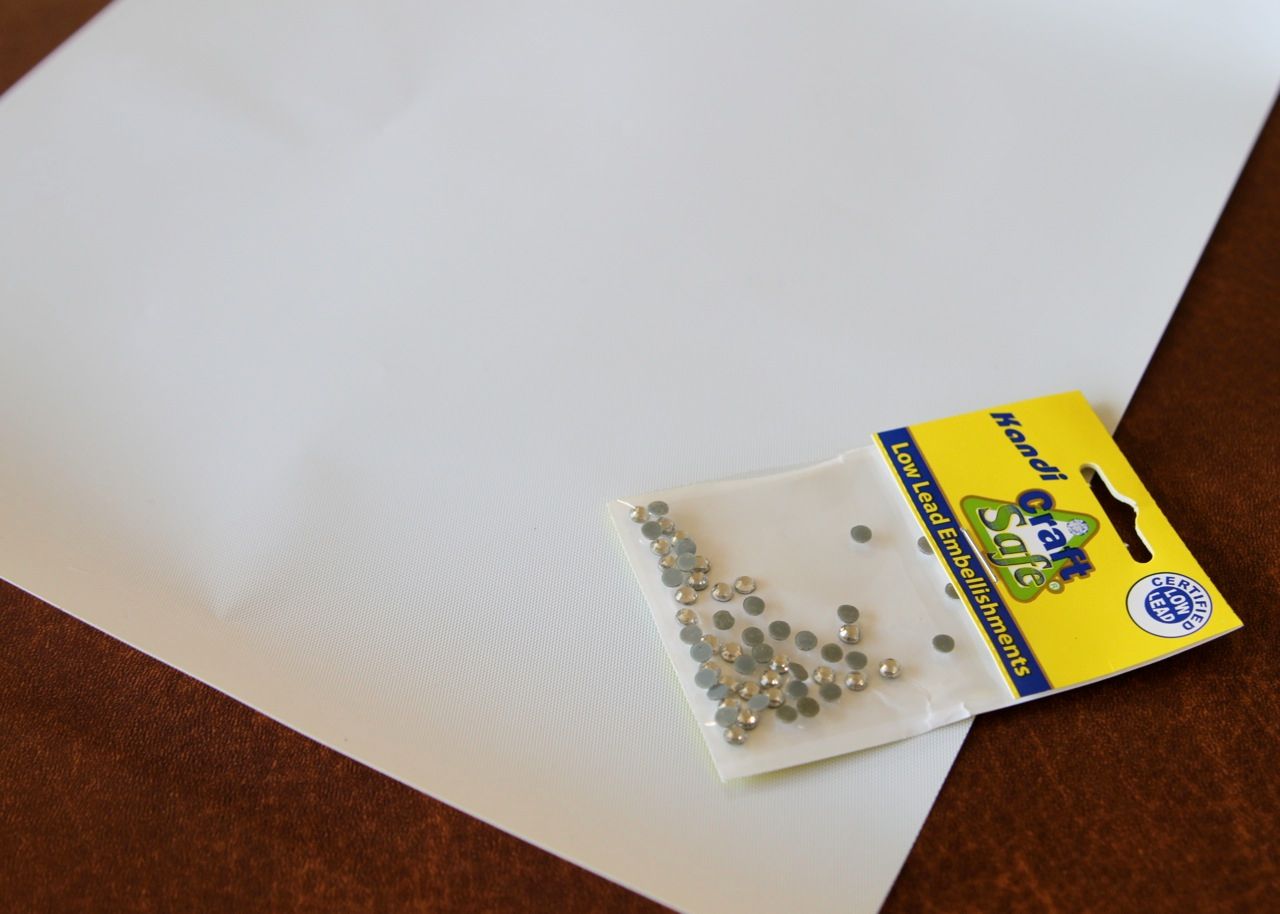
Cut your Mylar Carrier sheet slightly larger than your design will be:

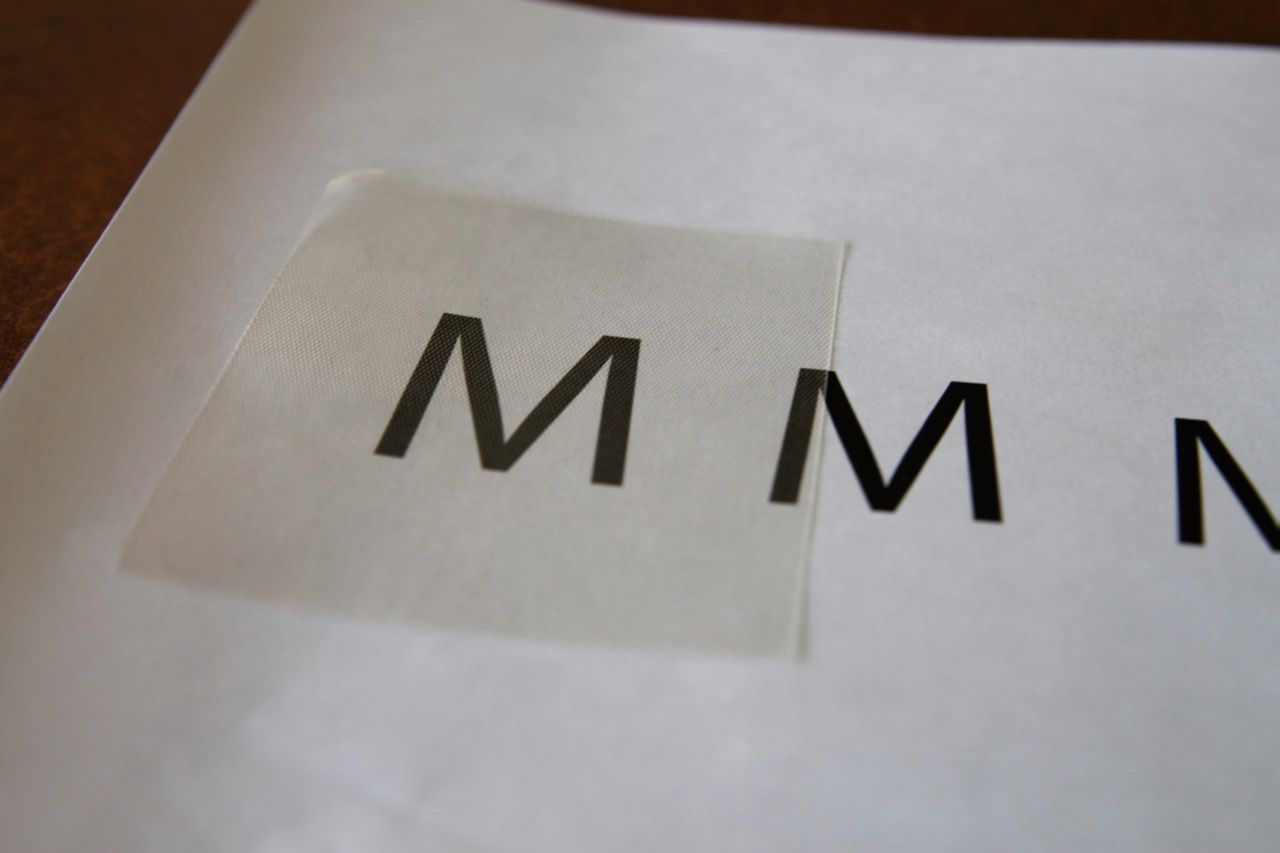
Peel off the backing off the Mylar sheet and place it over your design, adhesive side up:
Important: Make sure you have REVERSED your image design....otherwise your design will be backwards when you flip it back over!
Using small tongs or tweezers start placing your rhinestones on the design face down (glue backing is right side up):
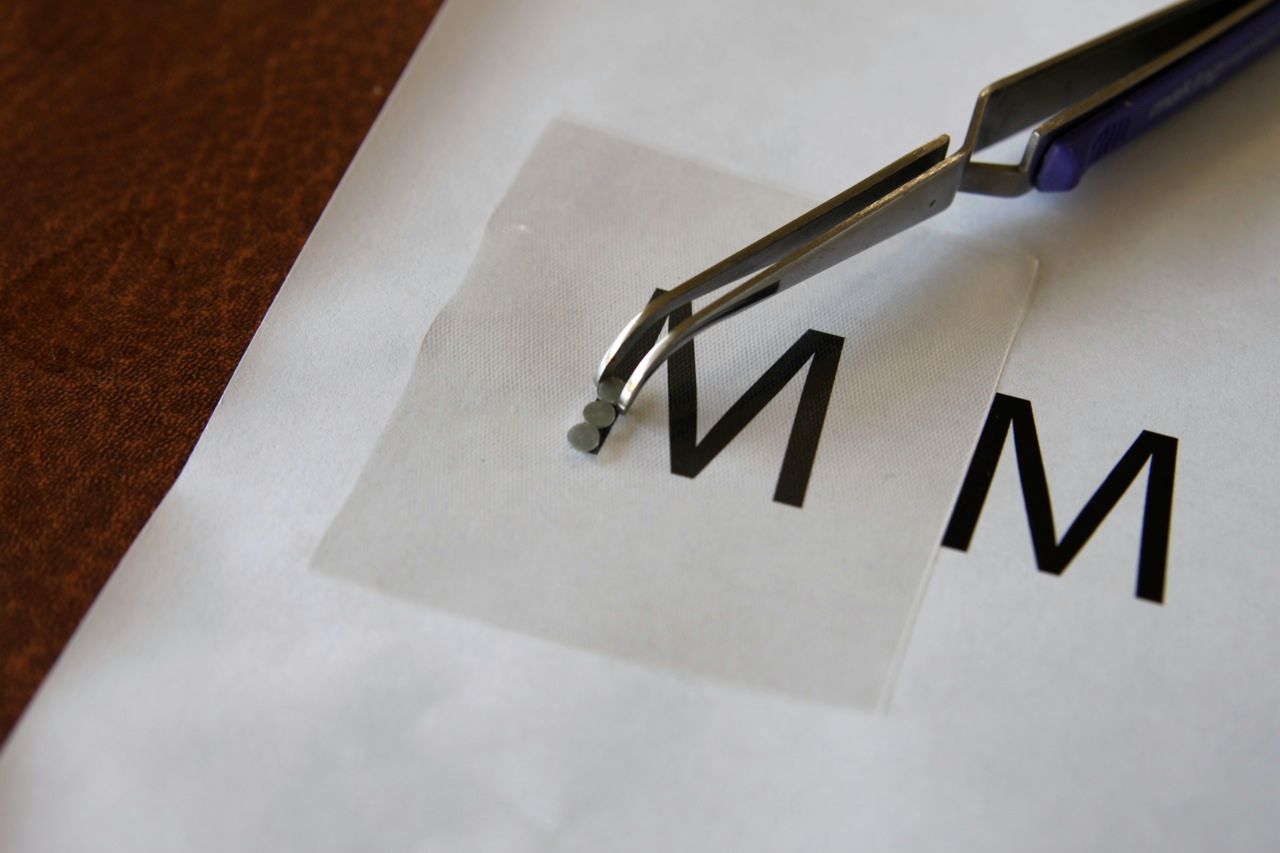
I always start adding rhinestones from the outside in so that I end up with a perfect mirror image......
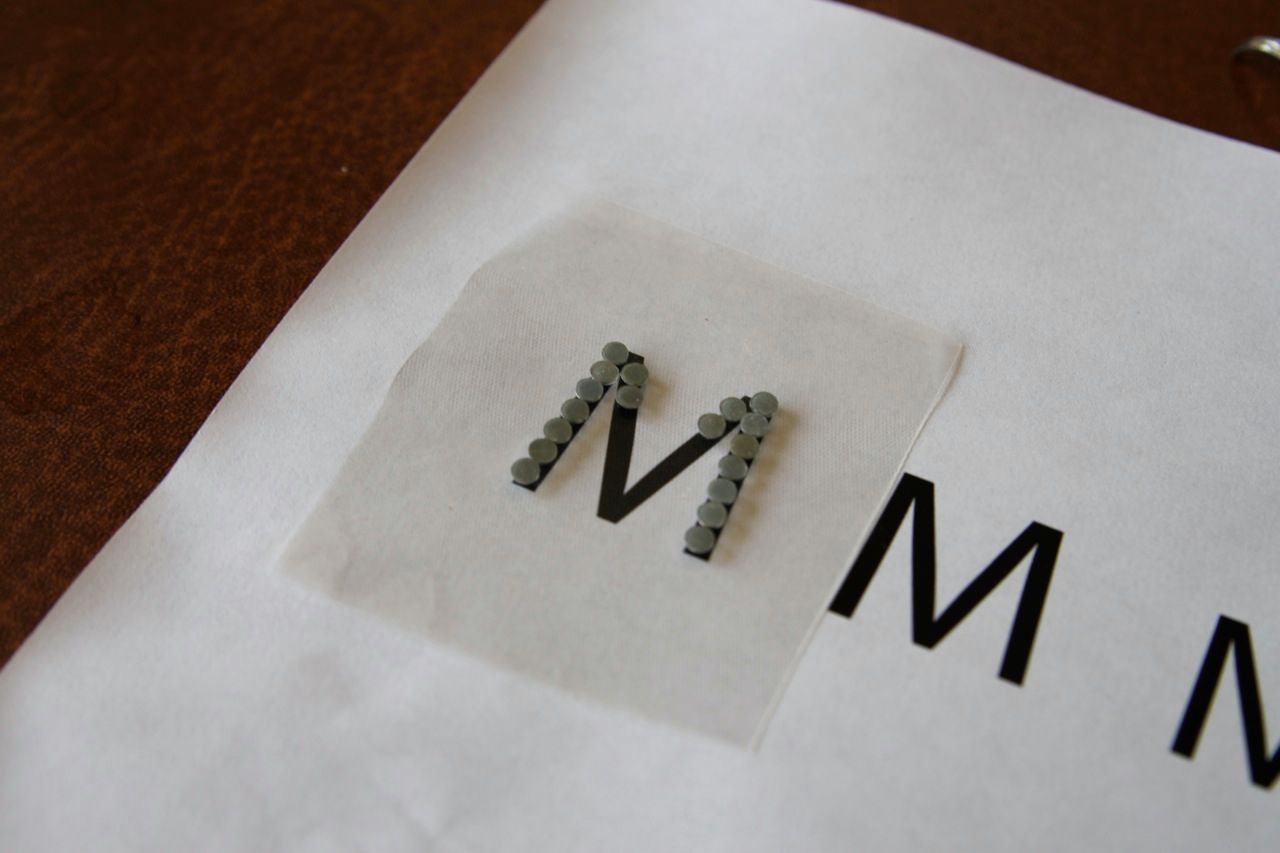
.....so when I add in the final rhinestone it fits perfectly:
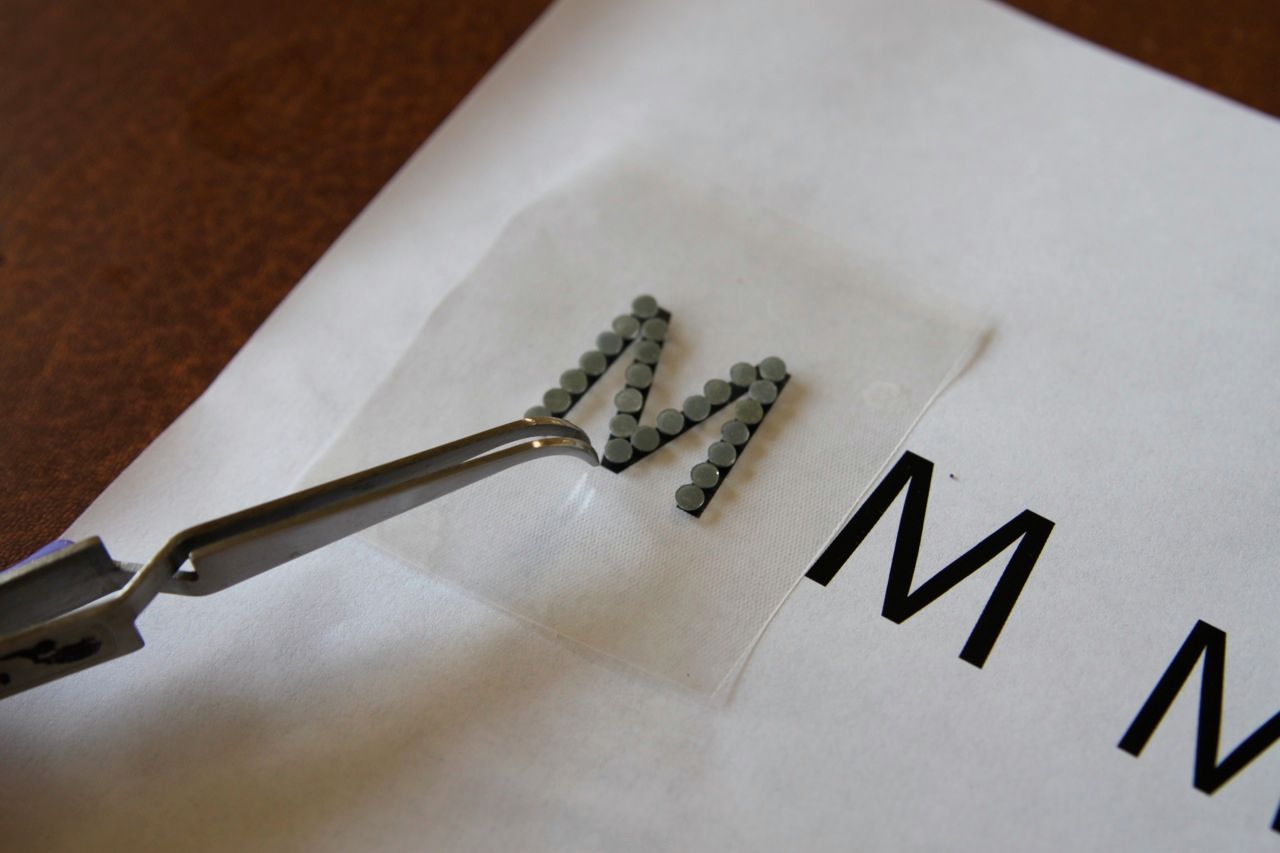
Take the Mylar sheet with the rhinestones attached, turn it over and place onto your fabric:

Place a small cloth on top of the Mylar sheet and iron carefully to melt the glue:

Carefully peel off the Mylar sheet. I like to turn my garment inside out and iron it again to make sure all the rhinestones are adhered well:

Be creative.....you can hand drawn any design as well, large or small:
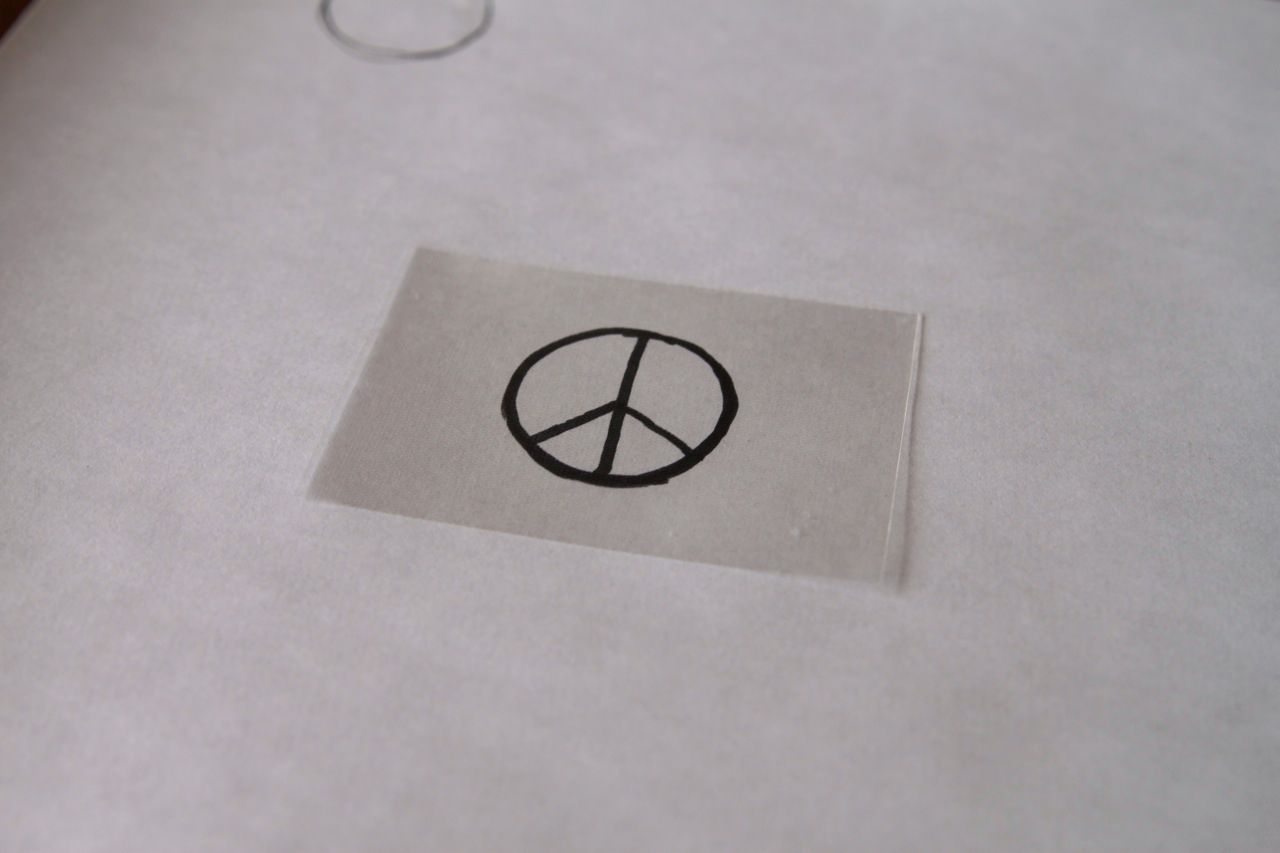
Just make sure you are using low lead crystals if you are adding them to a child's clothing!
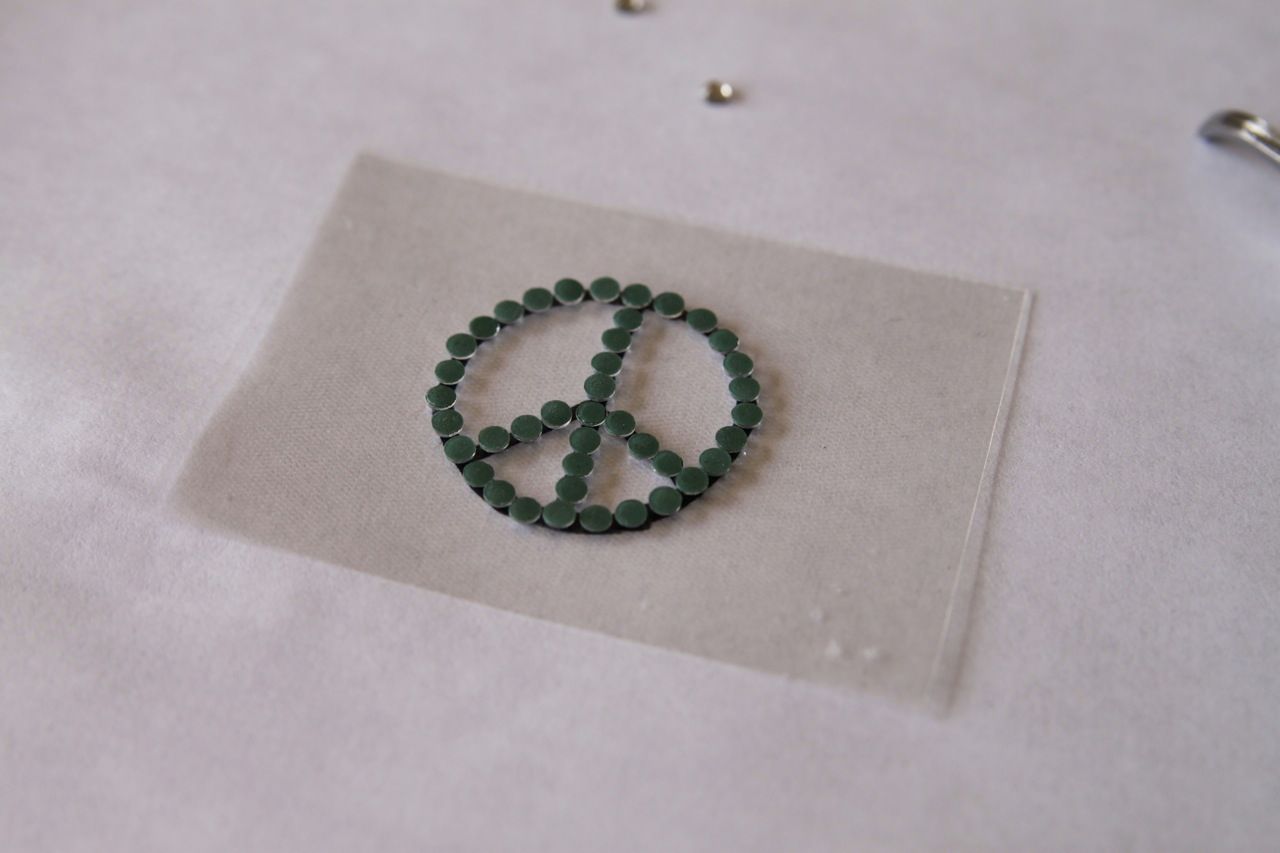
Check out Dharma Trading's site for a similar tutorial using a more intricate drawn design.
Very cute! I can't wait to try this! Who knew it was so easy?? Or do you just make everything look so easy ;)
ReplyDeleteI LOVE this tutorial....I am so happy that you shared it!! I posted about this tutorial on my blog today! Thank you so much for sharing with everyone!
ReplyDeletewww.Lovestitched.Blogspot.com
So cool! Thanks for sharing!
ReplyDeleteI have always wondered about how you did this!!! :) Love it. Heading to Joann's later...maybe I will be picking some up ;)
ReplyDeleteLove the "M", my daughter would love even more- her name is Mila so she would go crazy having a shirt with a blinky blinky "M"!!!
ReplyDeleteSo maybe this is a dumb question, but when I went to the site to check out prices on the crystals it gave the price for 1-4. Is that 1-4 crystals or 1-4 packages? I looked all over the page and couldn't see anything telling one way or another and I figured since you've bought them you would know. Thanks in advance!
ReplyDeleteOooh this makes me want to add bling to everything! Good idea about placing the stones in a mirror-fashion...I always make a mess of things like this by getting uneven :S
ReplyDeleteI might end up divorced if I "bling" any of my boys' clothes, but it sure is cute!
ReplyDeleteYou are always coming up with such creative ideas. They are super cute. Great job.
ReplyDeleteOh i'm sooo excited! I found a sheet of bling at Walmart that was already on some type of sticky paper and they were super easy to use but so limited on my options/sizes etc. I bought others once and then decdied that was a waste!!! thanks soooo much
ReplyDeleteOh my gosh Ashley! Thanks sooo much for this tutorial! It is sooo timely!!! I actually picked up some packets of bling that I have been wanting to use, but have just been sitting around b/c I had to figure out how to use it! ha! My sister in law has asked me to make a bag for her and I wanted to add the bling to it! :) Thank you, thank you for sharing this! As always...you rock! :)
ReplyDeleteToo cool! A few years ago I bought a few packs of rhinestones and then this "rhinestone gun" thing that was supposed to adhere them to the fabric. I followed the directions to a T and couldn't get it to work.
ReplyDeleteI looked again at the rhinestone package and it said "not for use with iron" or something like that.
Duh. This is way more easier I think. Thanks for the tips my girls (little diva's) will love it.
How cool! Way to go!! I need to get more of that mylar shits!
ReplyDeleteHow cool is that??? I am S0 going to have to order the supplies to add rhinestones to my daughter's shirts!!
ReplyDeleteI linked to your tutorial on Craft Gossip Sewing:
http://sewing.craftgossip.com/tutorial-adding-rhinestone-bling-to-a-sewing-project/2010/03/09/
--Anne
So fun! Love rhinestones!
ReplyDeleteWhat agreat idea. I think I'll try this for a birthday gift for my daughter's friend. Thanks!
ReplyDeleteGood call. I had been using reverse freezer paper and trying to keep the rhinestones perfectly still...not an easy task. The mylar sheet looks much easier. Any suggestions on how to wash this stuff? I got lazy with lucy's and after a few washes, half of the rhinestones are gone.
ReplyDeleteOoh thanks! Must buy some bling for my own little Ms Thang!
ReplyDeleteJust a quick note to let you know that a link to this post will be placed on CraftCrave.com in the Handcraft category today [09 Mar 01:00pm GMT]. Thanks, Maria
ReplyDeleteThat is such a great idea! I love how easy this is. Thanks so much for sharing, I'll be linking.
ReplyDelete