
When I was little I had such a fascination with snow globes.......I imagined a tiny enclosed living world inside.
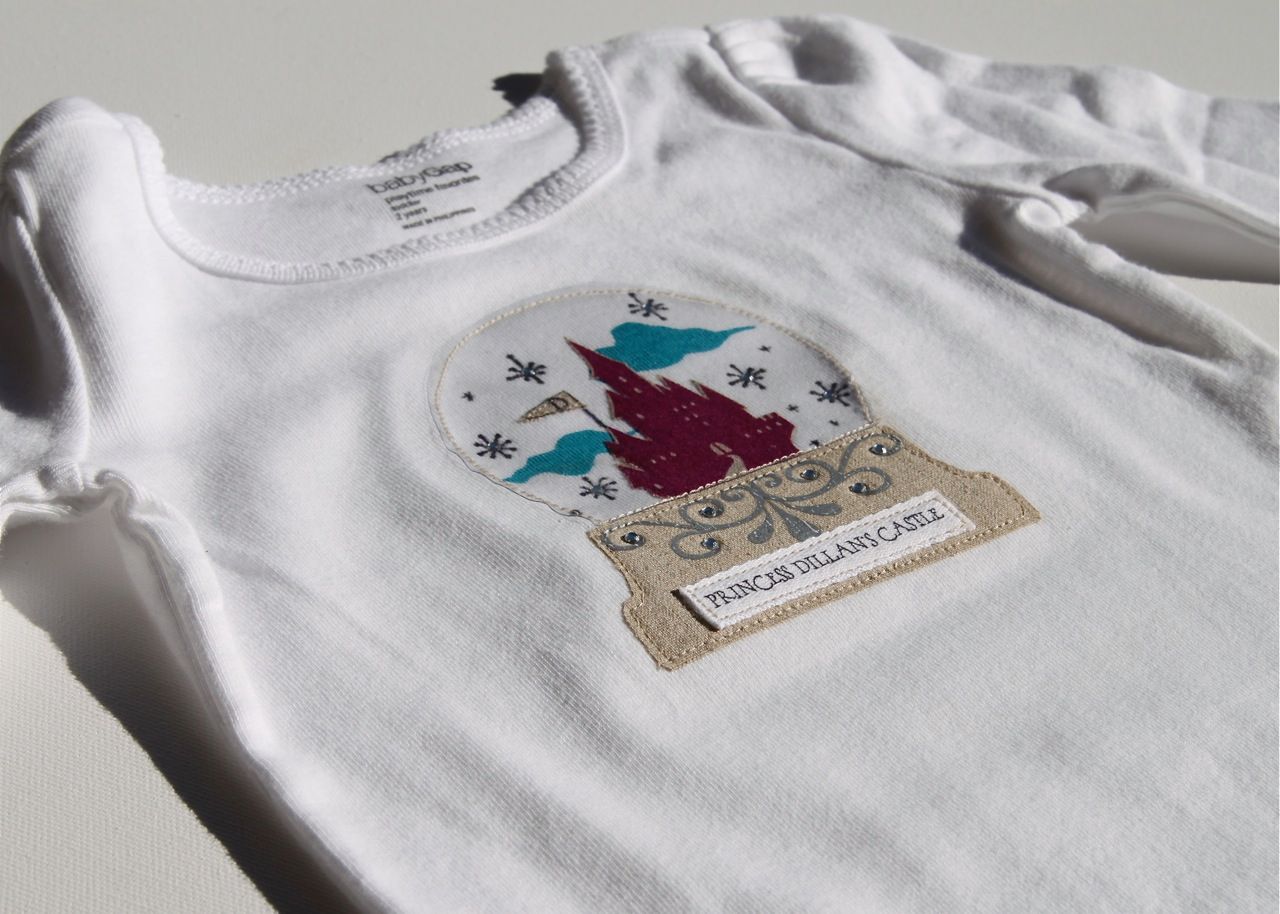
This was my submission for the "snow" theme in the SYTYC contest a few weeks back. I personalized it for a friend's daughter which I think makes it a special gift idea. I used some remnants of the snow white fabric I had for it but you can use this tutorial to make a shirt in any theme you want.
To make something similar you will use the following techniques: freezer paper stenciling, fabric paint, fabric pens, applique and iron on transfers. The key is layering all the different techniques in the same order!

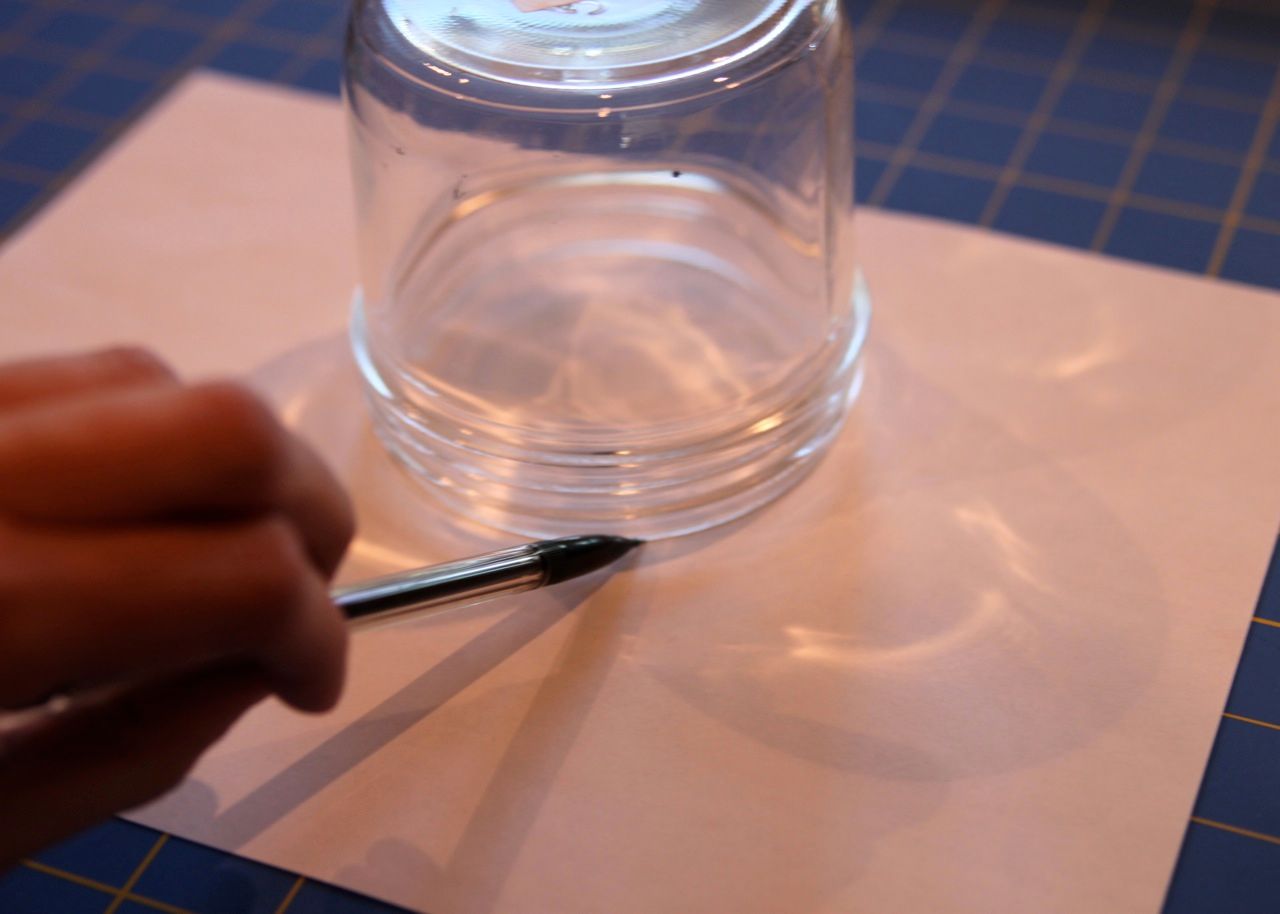
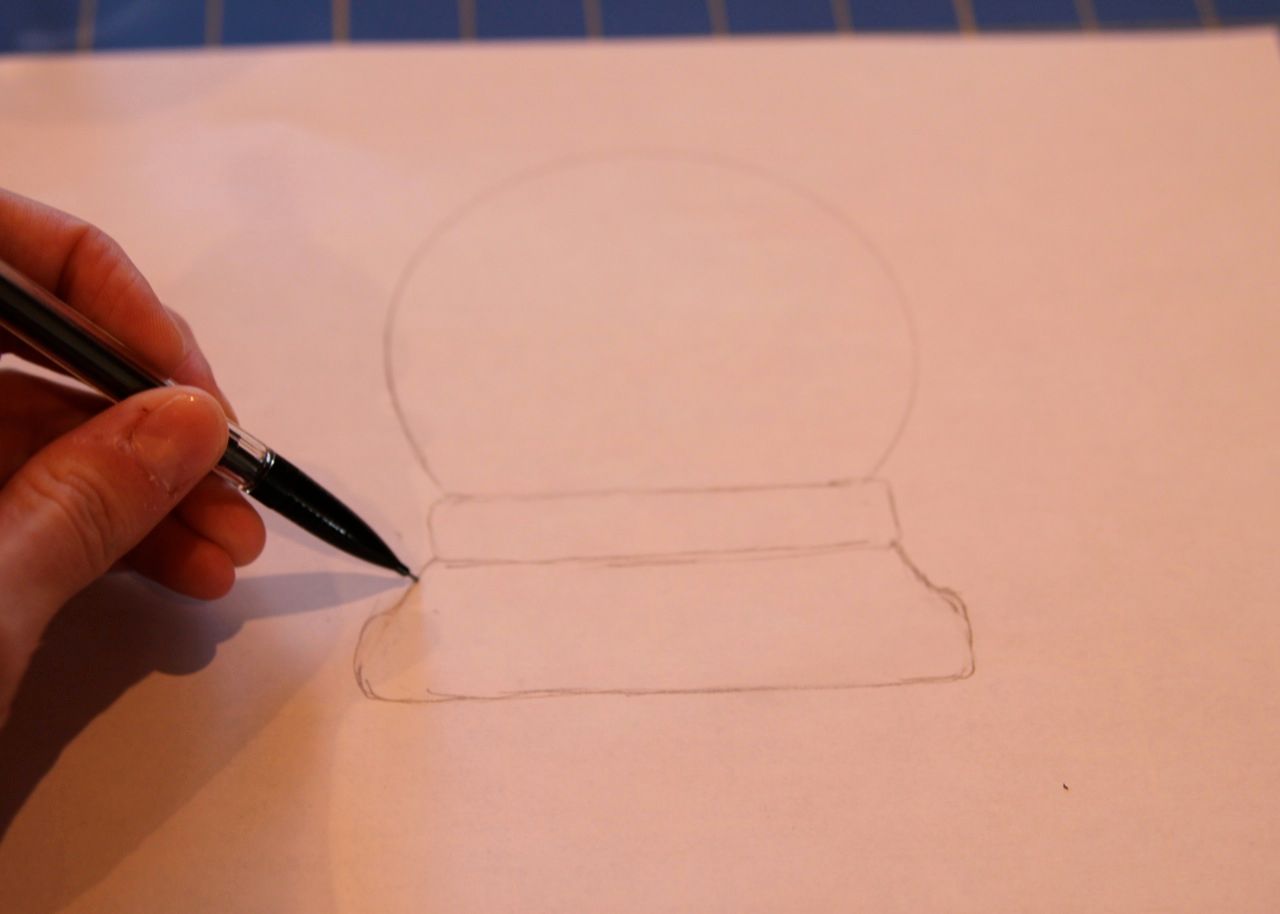
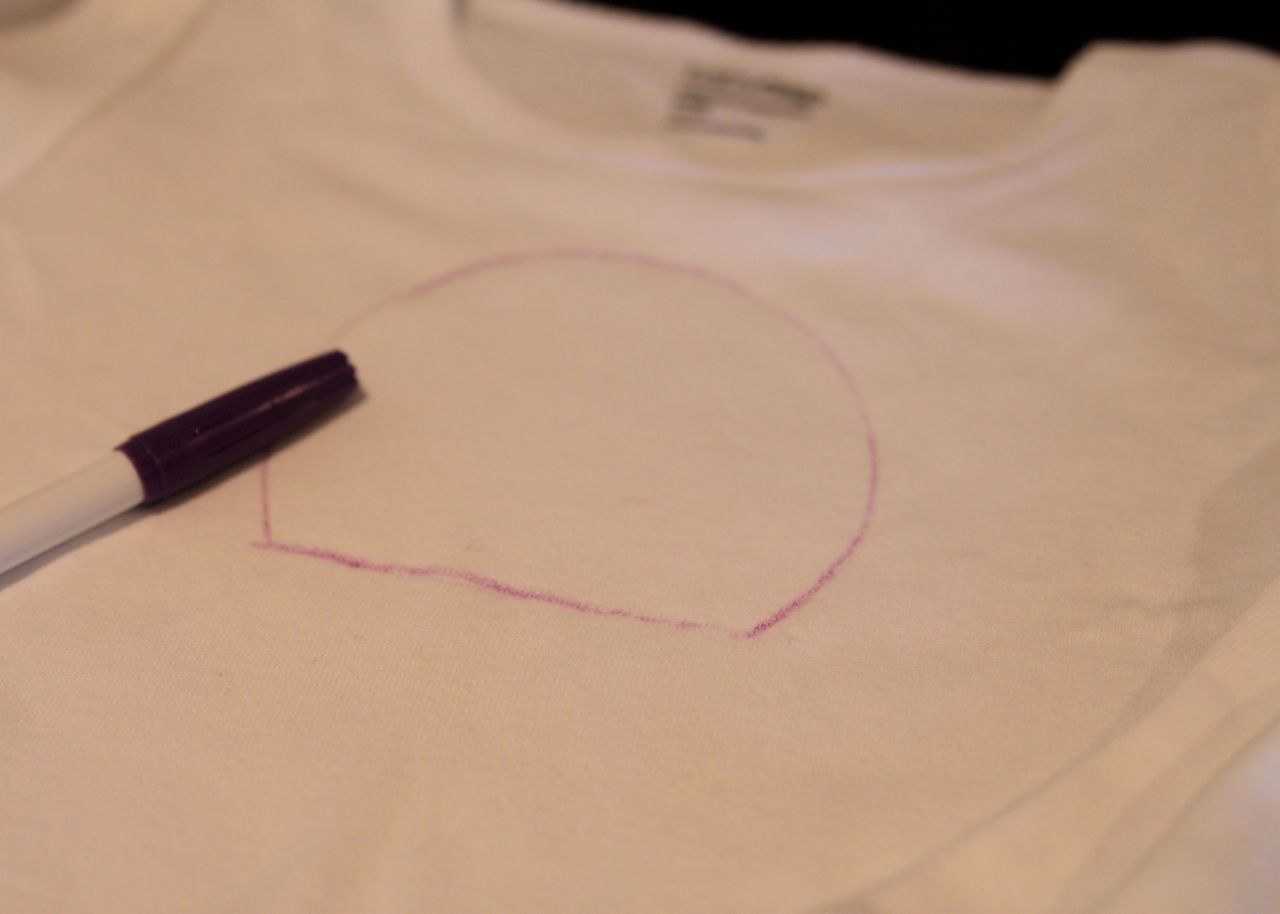
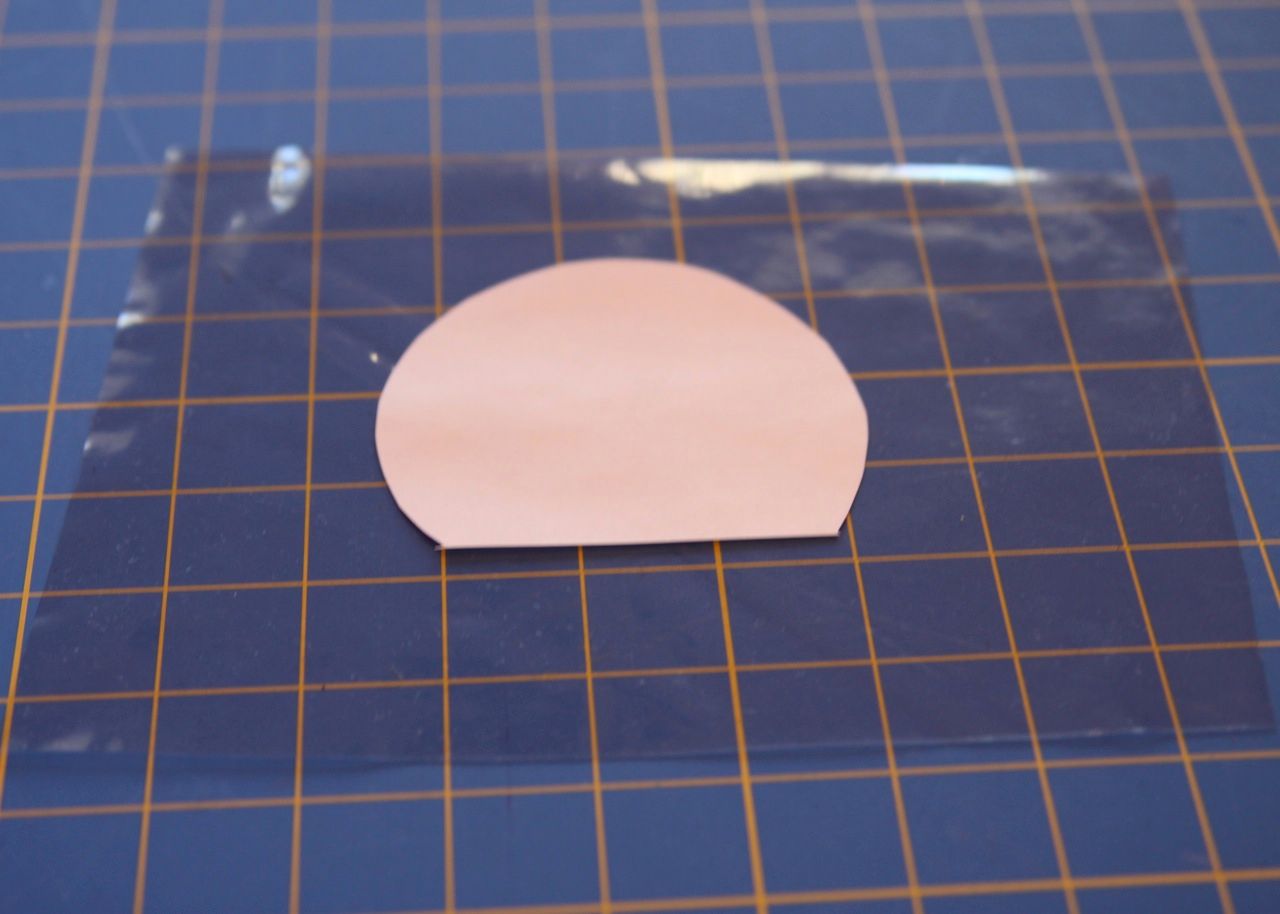
Step 1: I traced a round globe shape.....
......and sketched a base.
Step 2: I sketched out the location of the globe on a t-shirt using a disappearing ink pen.
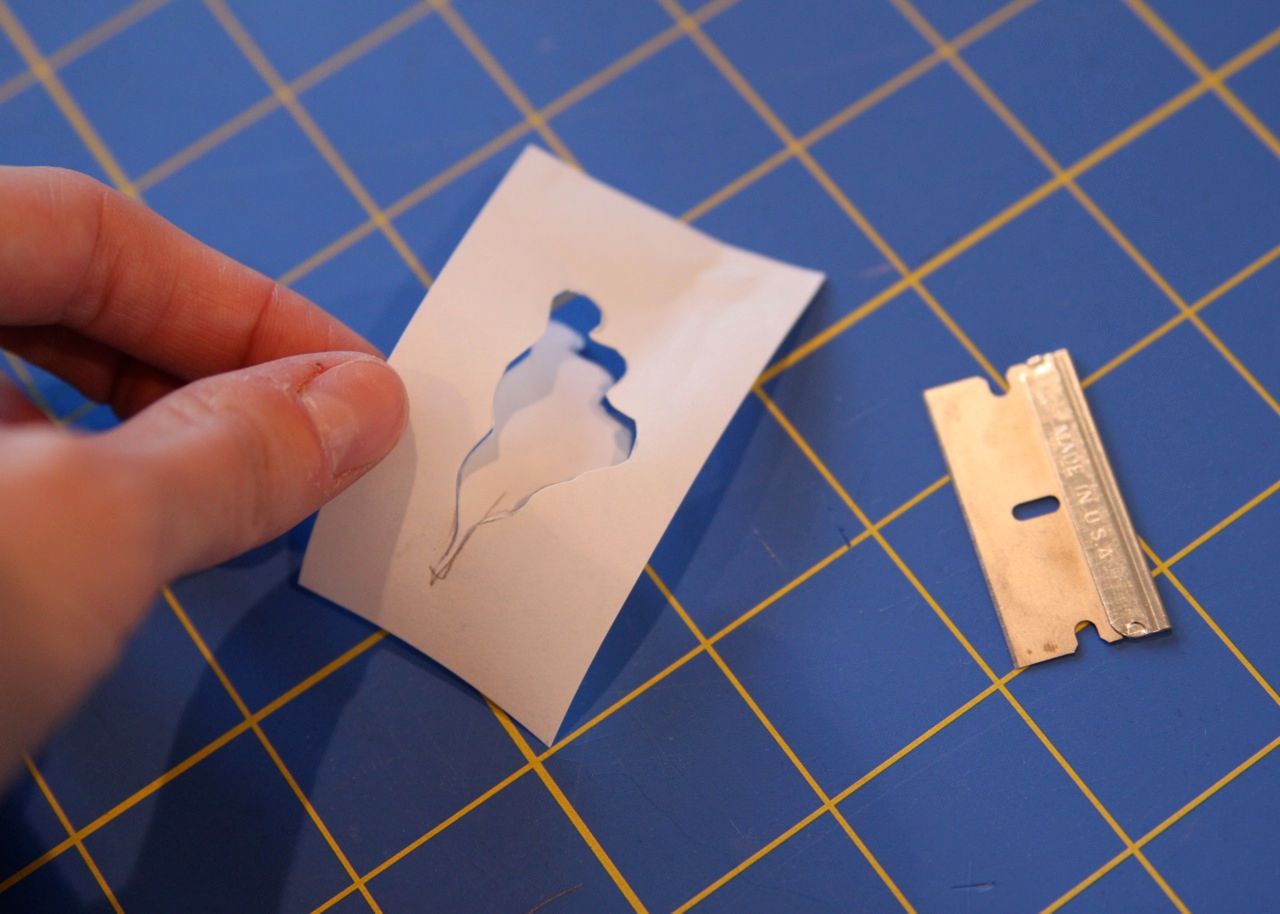
Step 3: For the clouds, I sketched the cloud shape on a small piece of freezer paper and cut them out. (I use a razor blade for this but I recommend using an exacto knife for safety).
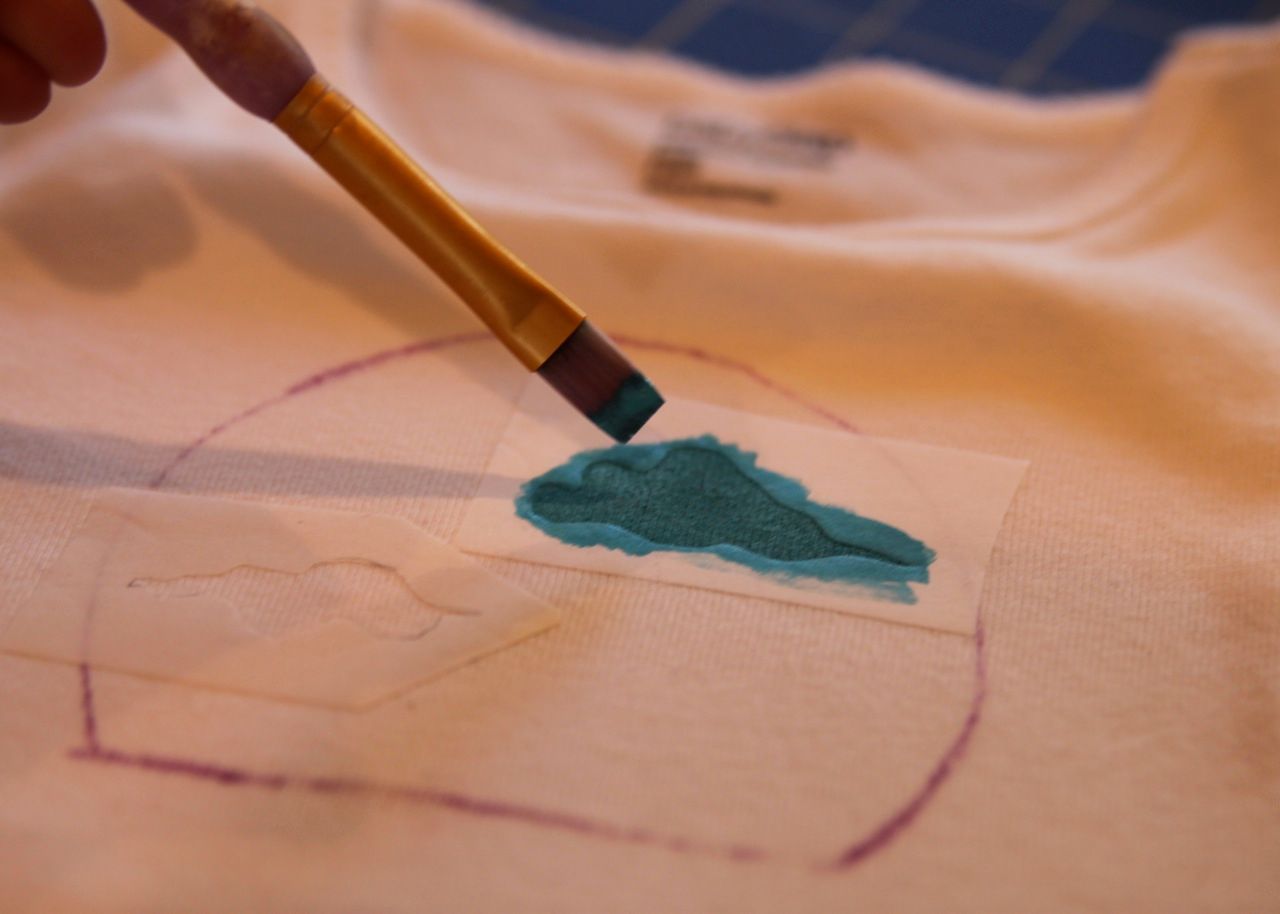
Step 4: I placed the cloud stencil on the the globe and ironed to adhere it to the fabric. (Click here for more details on freezer paper stenciling).

Step 5: Paint your clouds using fabric paint (I prefer Jacquard brand, it washes well and is soft) and let dry.
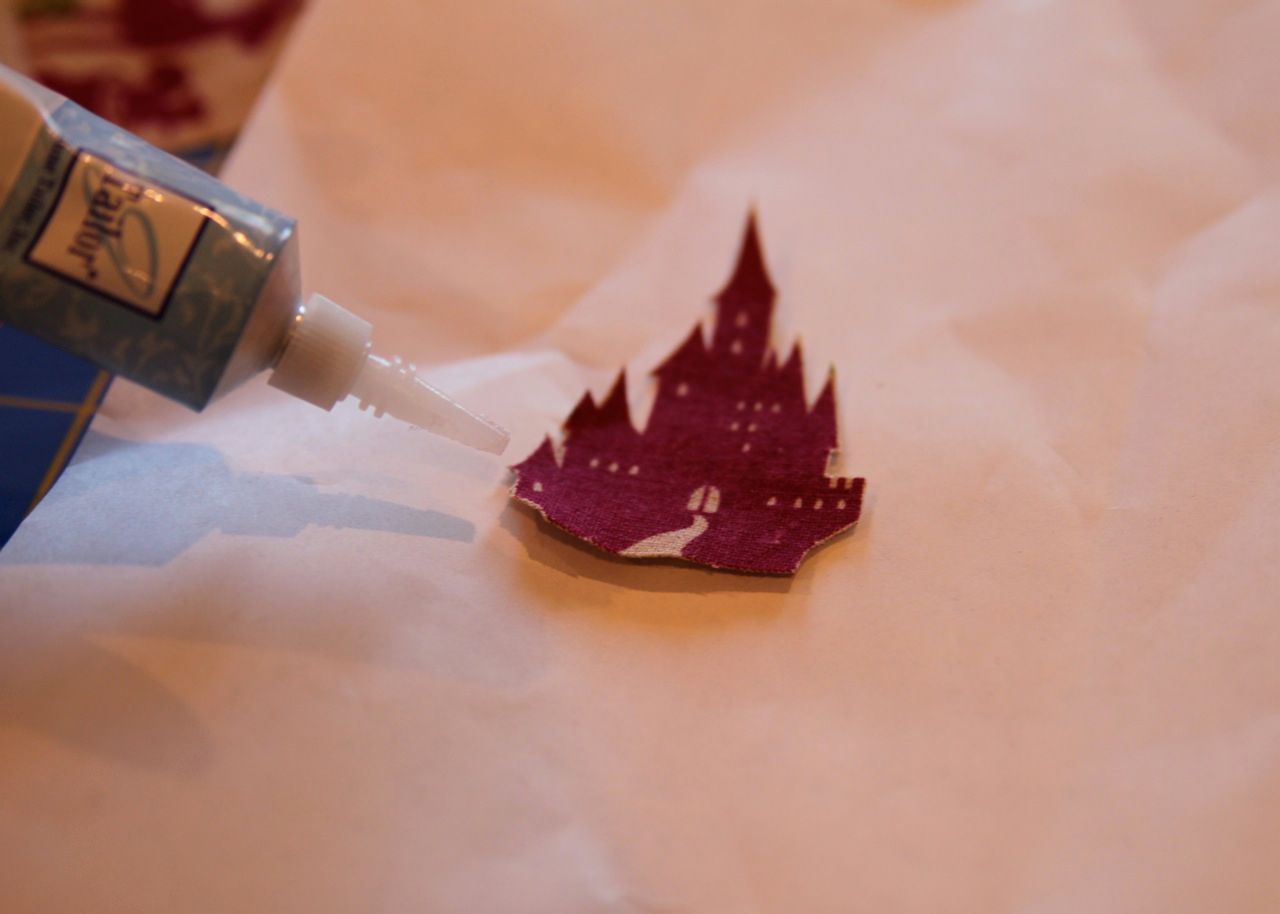
Step 6: I took a scrap of themed linen fabric.....

....and applied fusible web to the back of the castle and to part of the linen with no print on it for the snowglobe base.
Step 7: I cut out the castle and base shapes (with fusible web now on the back) and treat the edges with fray check or thread glue.
Step 8: I placed the snow globe base and castle onto the shirt (after peeling off the back paper from the Wonder Under....
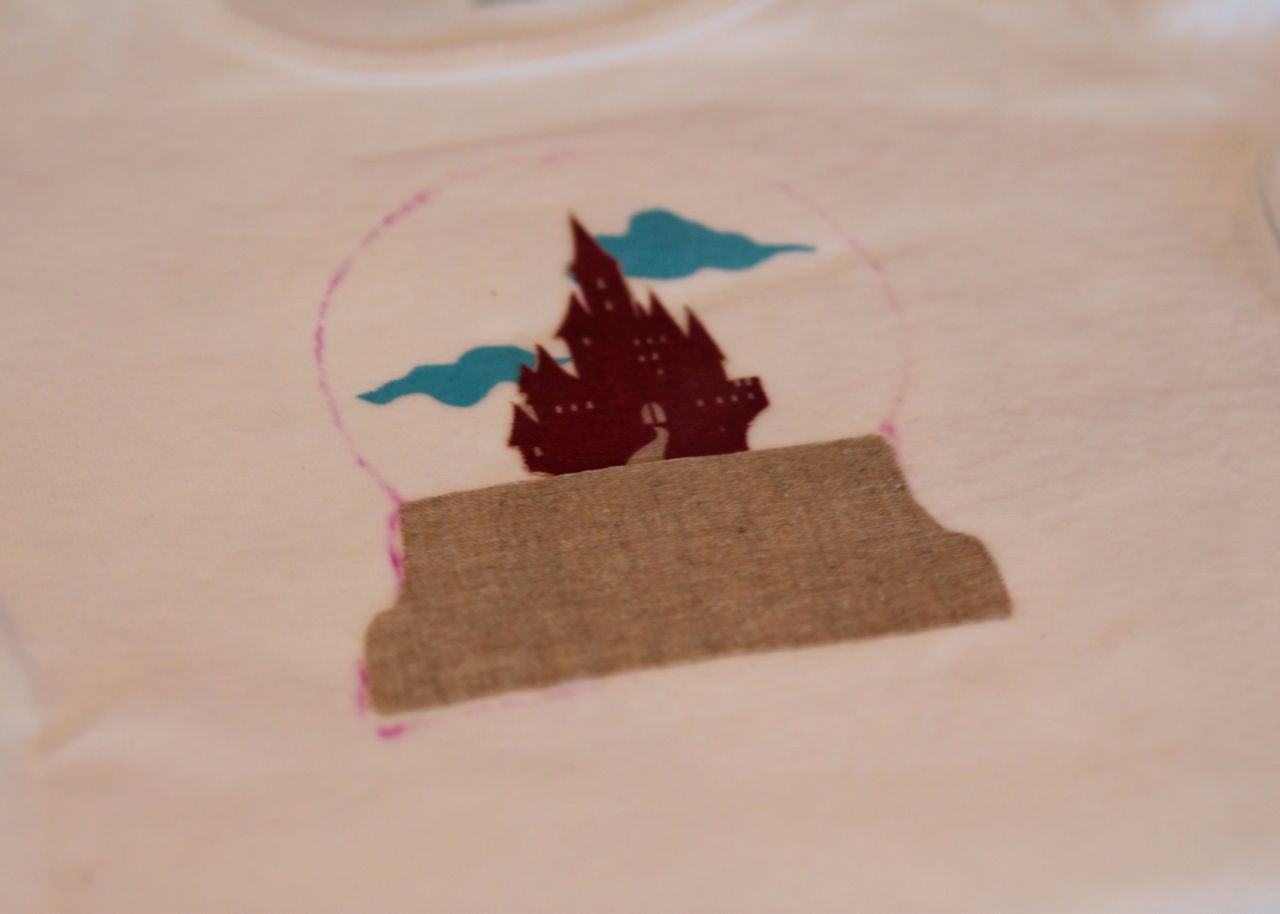
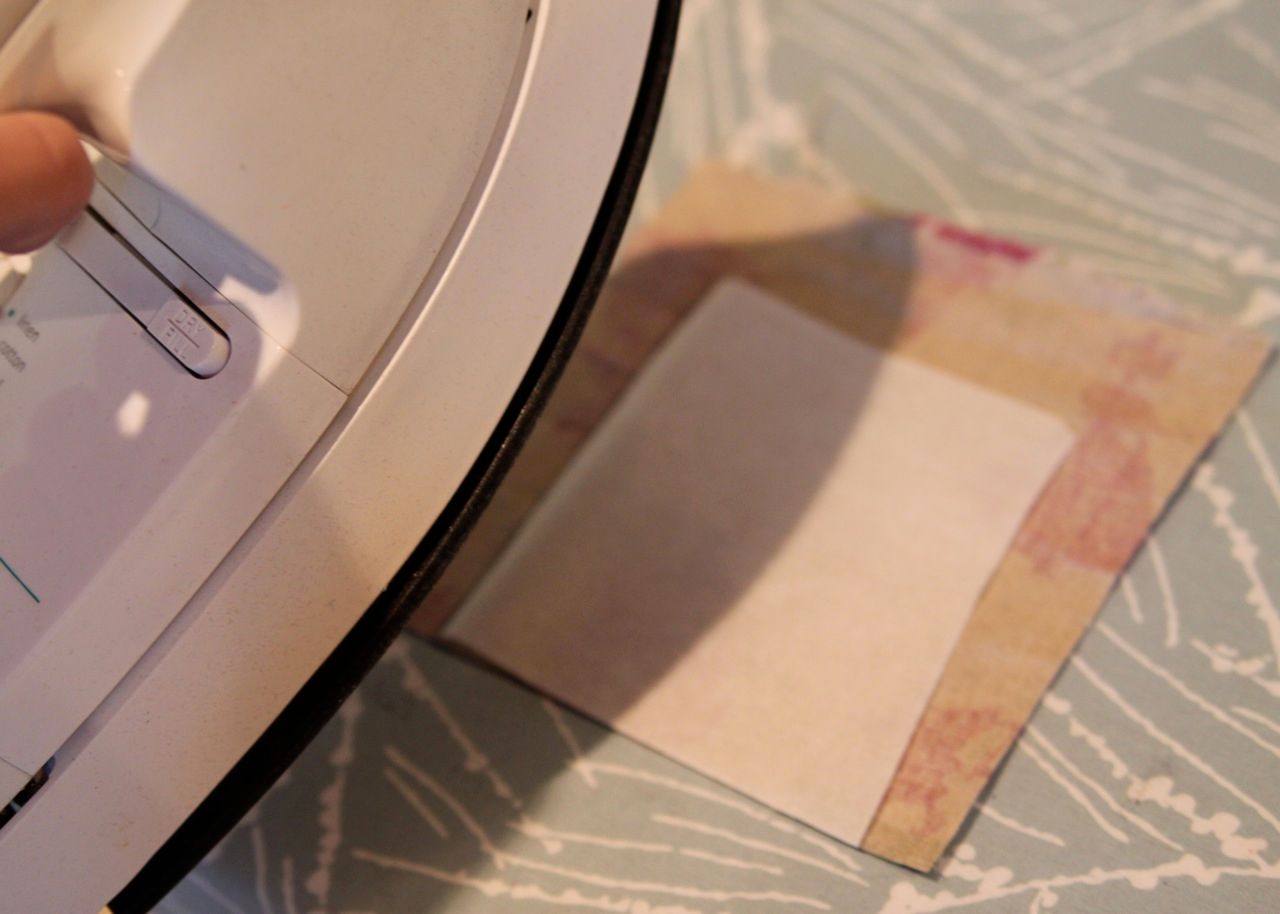
.....and ironed them on according to instructions.
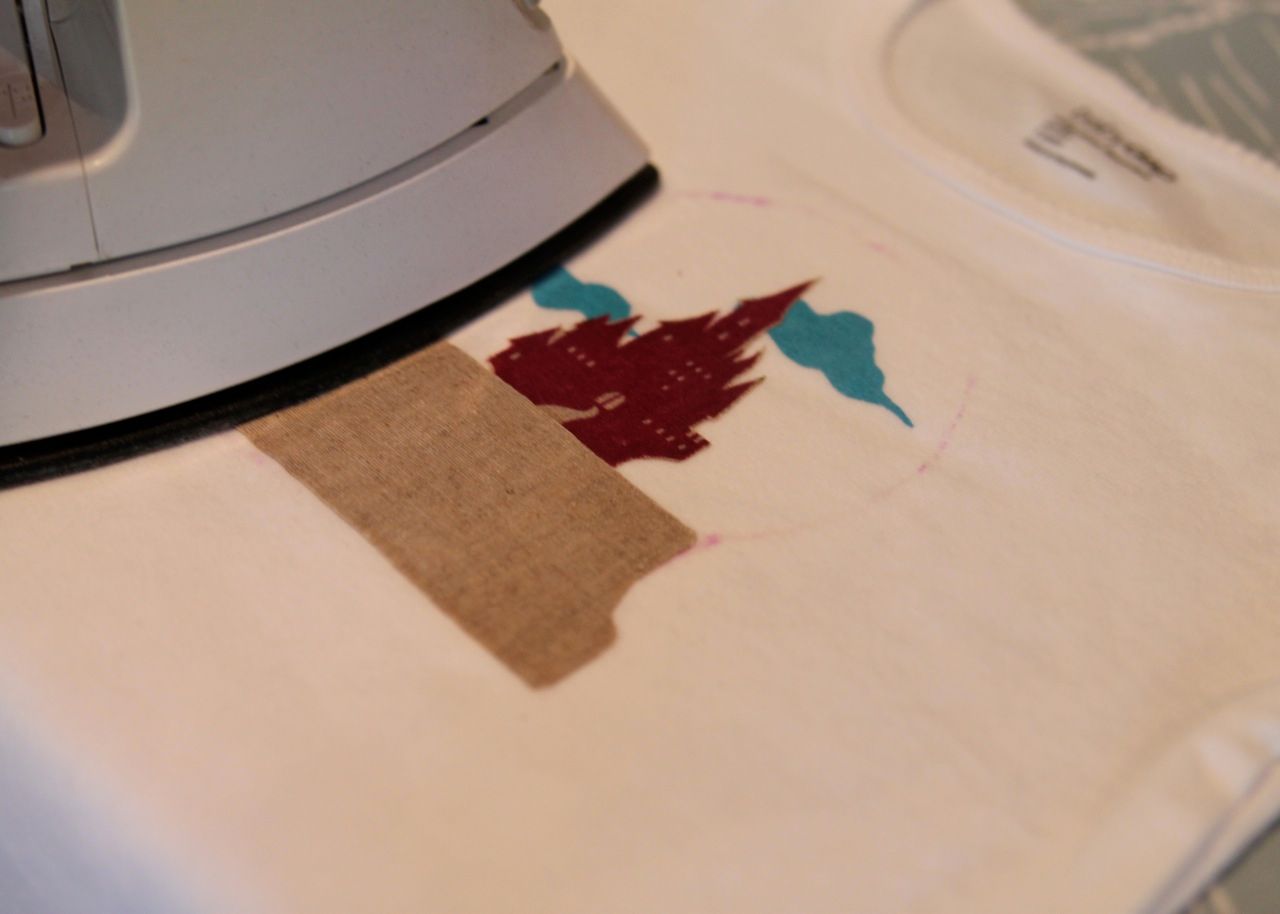
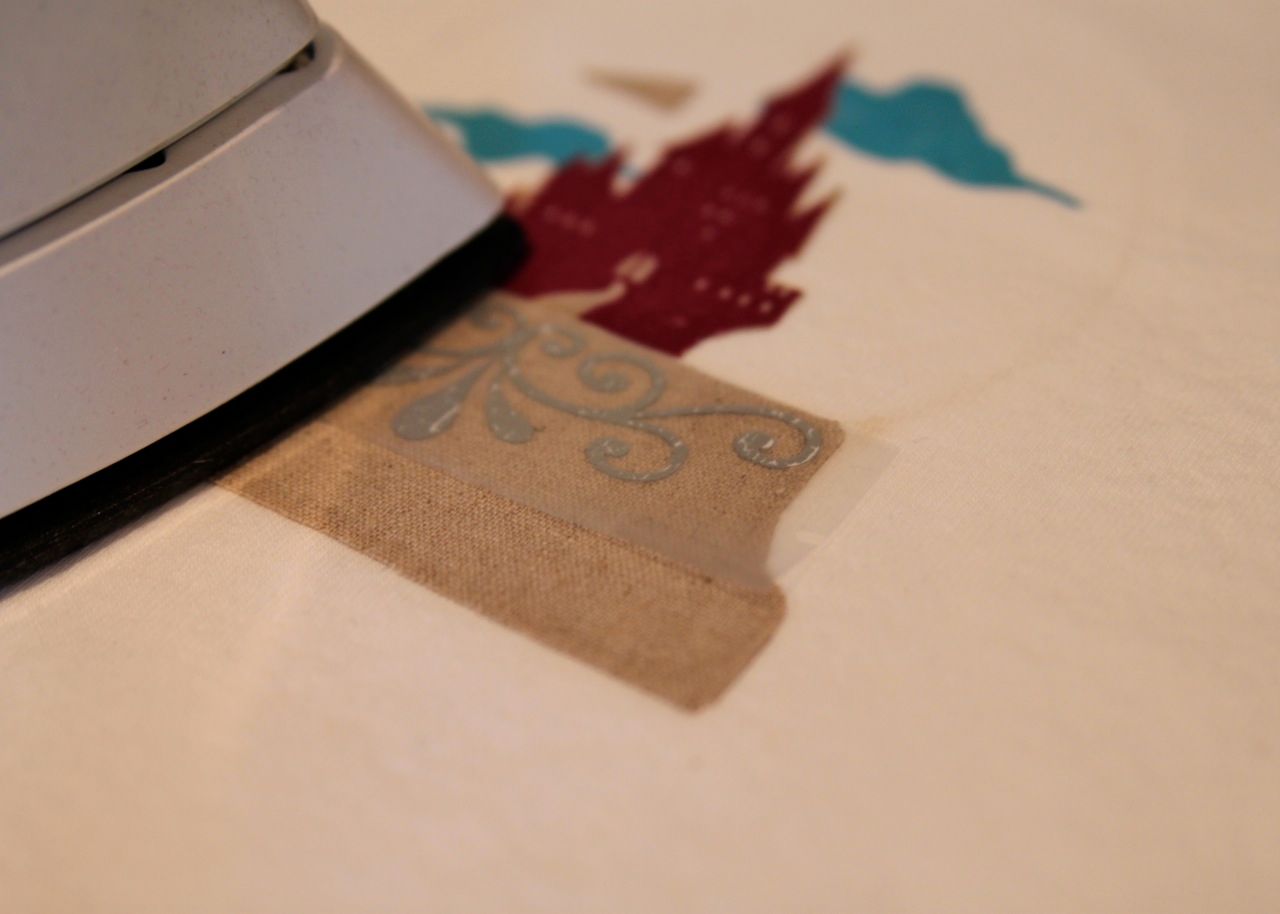
Step 9: I used a ready-made ornate iron-on transfer.....
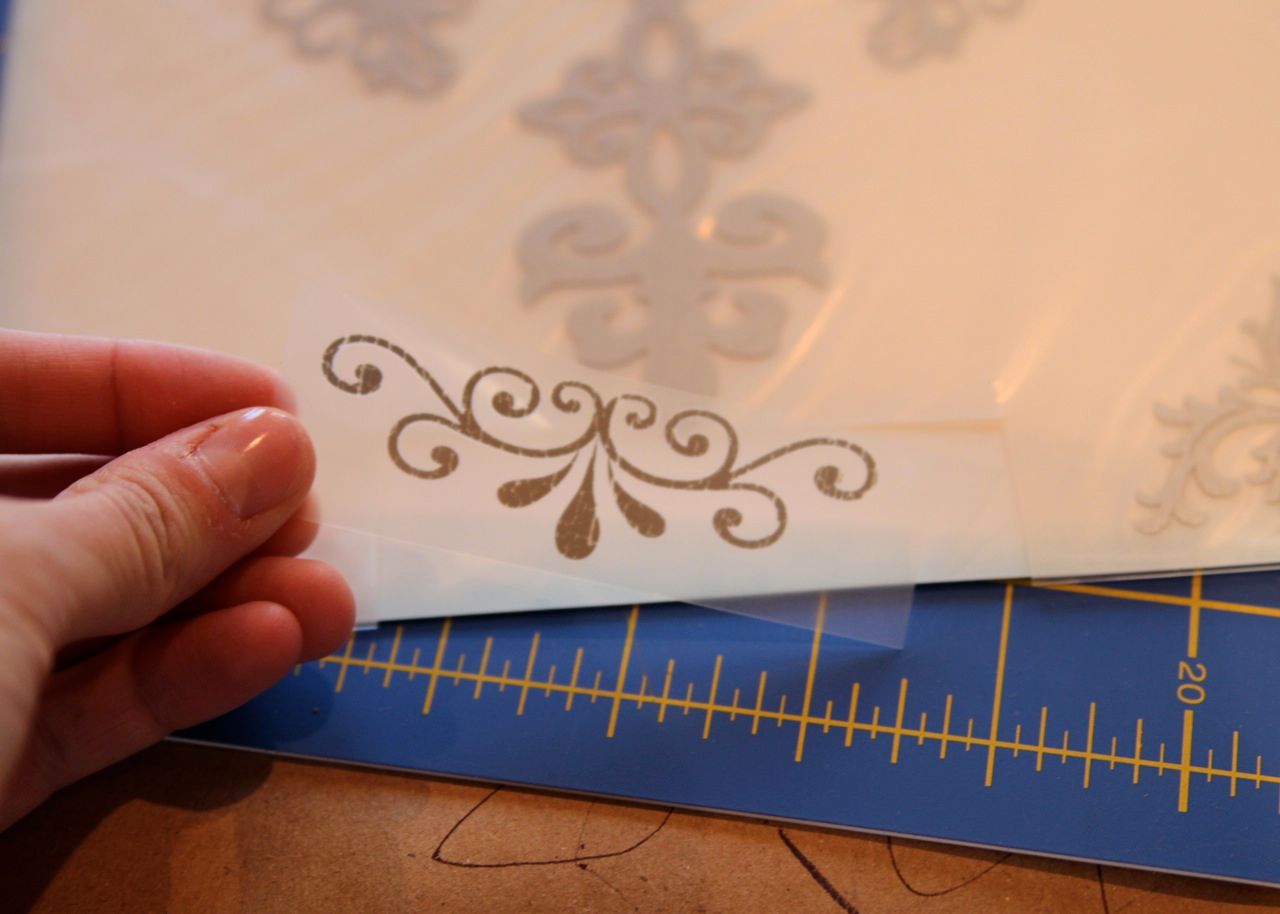
... to decorate the base of the snowglobe.
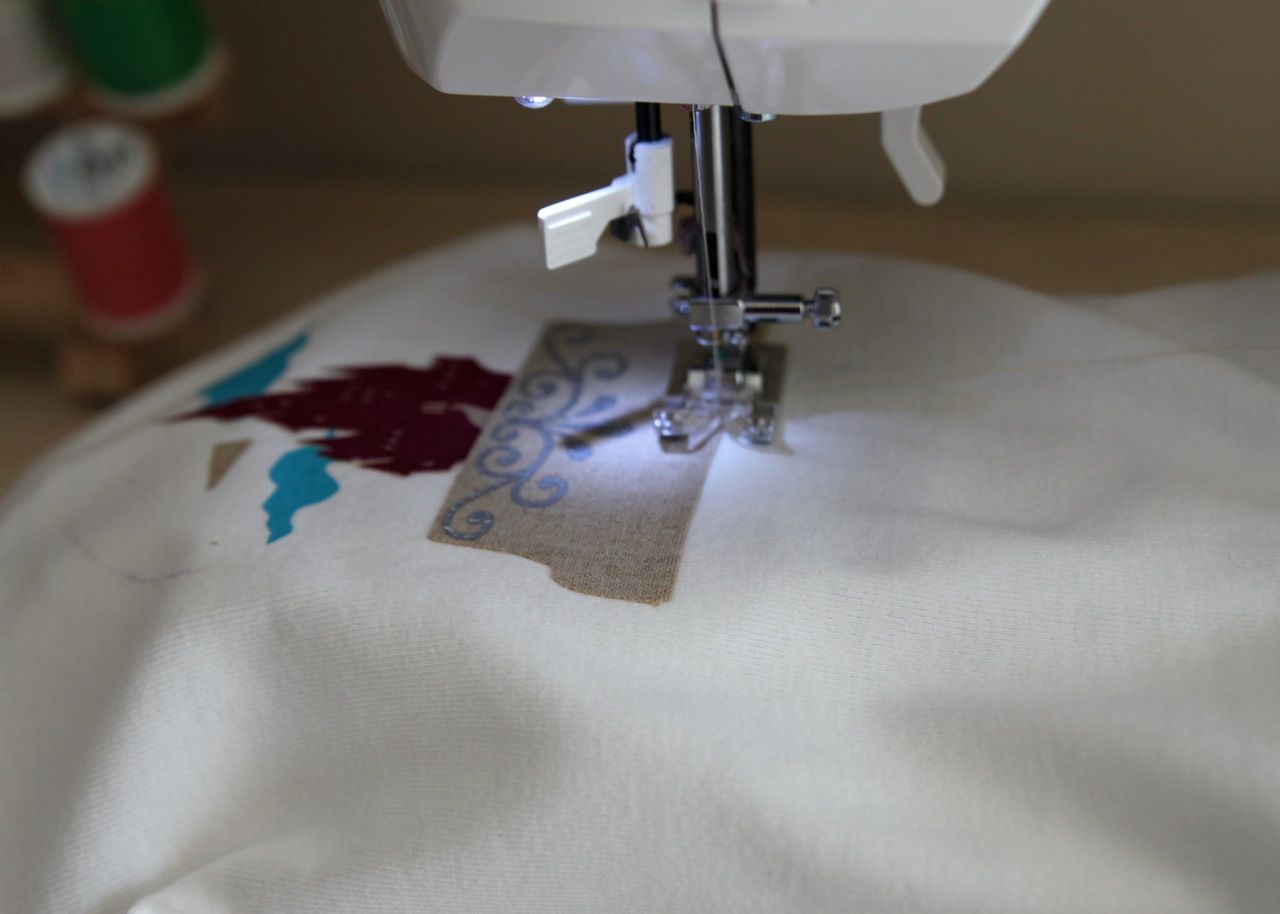
Step 10: I stitched all the fabric shapes to the shirt to secure them.
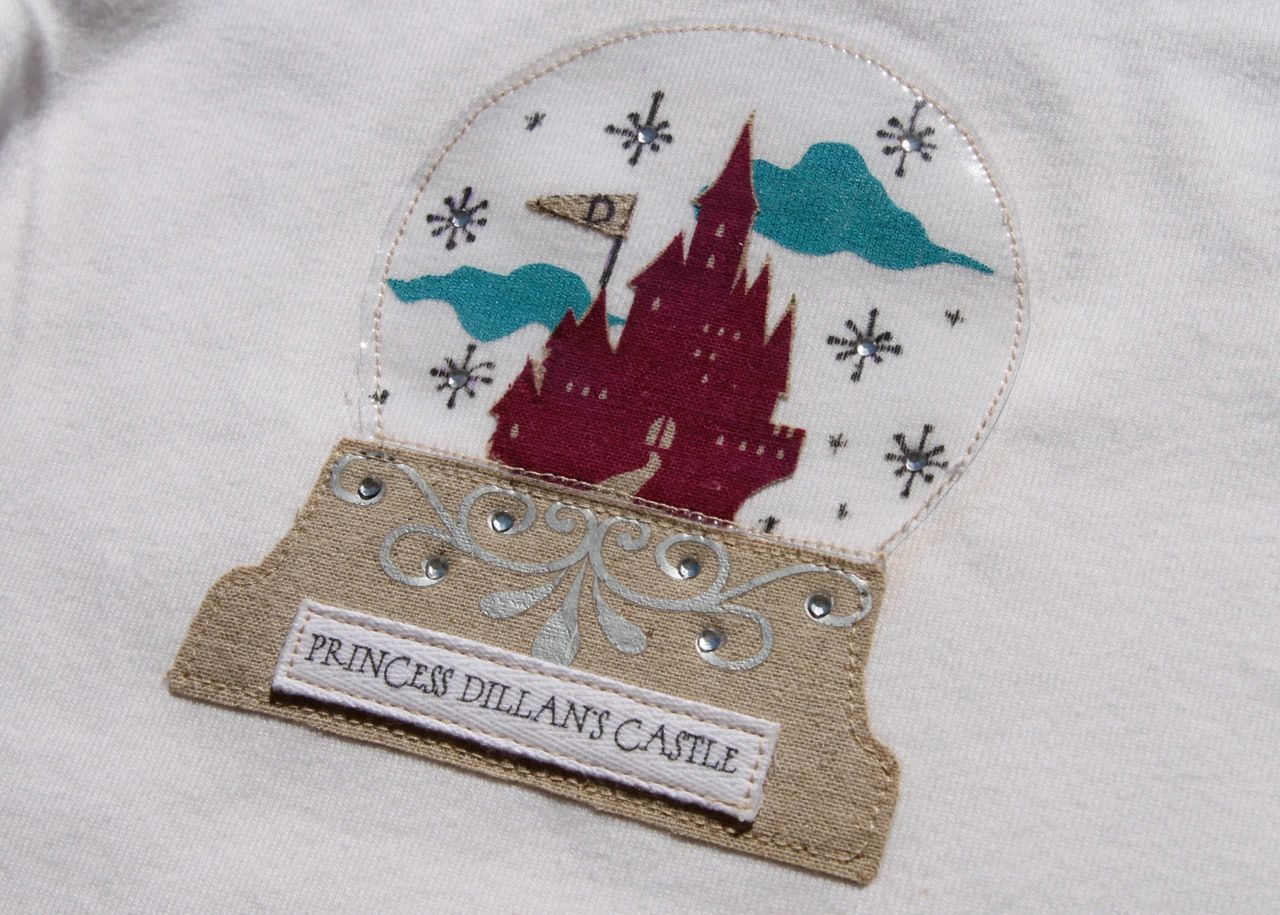
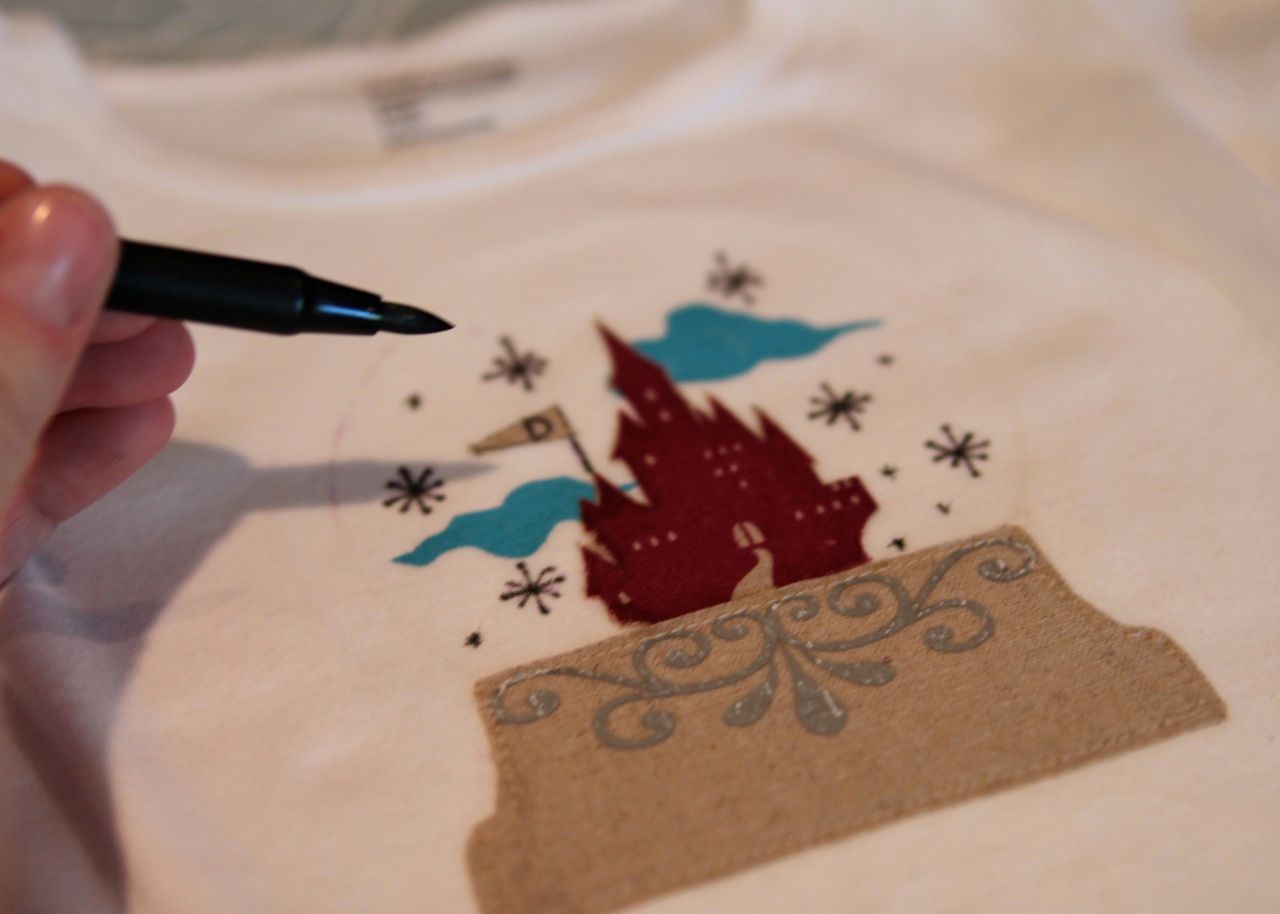
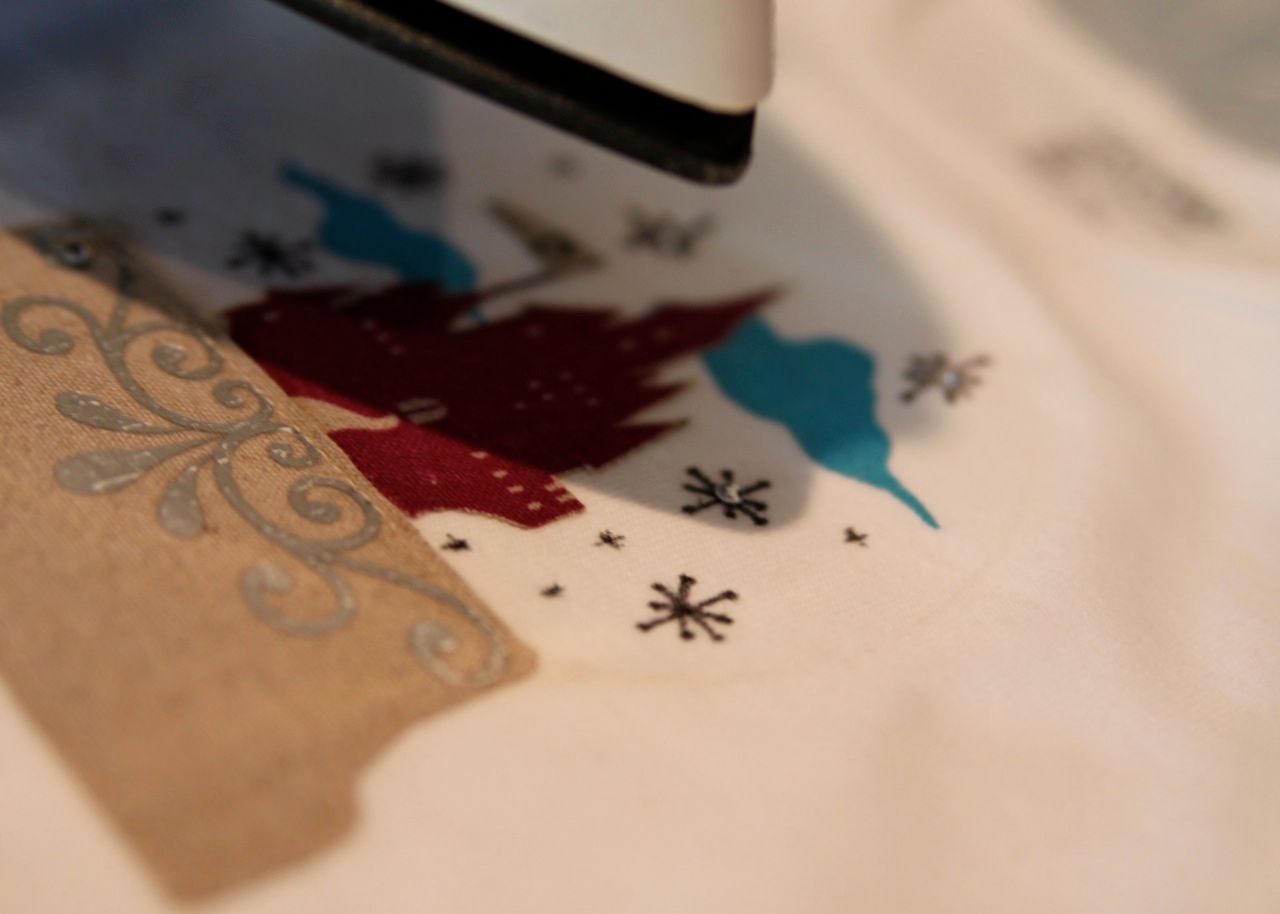
Step 11: I used a black Fabric Mate pen to draw in some snowflake shapes and to add an initial to the flag (also a fabric applique) flying above the castle.
Step 11: I applied safe rhinestones as the last embellishments.
Step 12: I cute a "globe" from clear vinyl PVC (you can find this is the table cloth cover section of your fabric store) and stitched it on top of my snowglobe.
Note: Vinyl is VERY hard to sew because it grips the foot and the machine. Try placing a piece of tracing paper in between the machine and the vinyl when sewing. It will rip cleanly off when you are finished and you can see through the tracing paper as well so you can see what you are sewing!
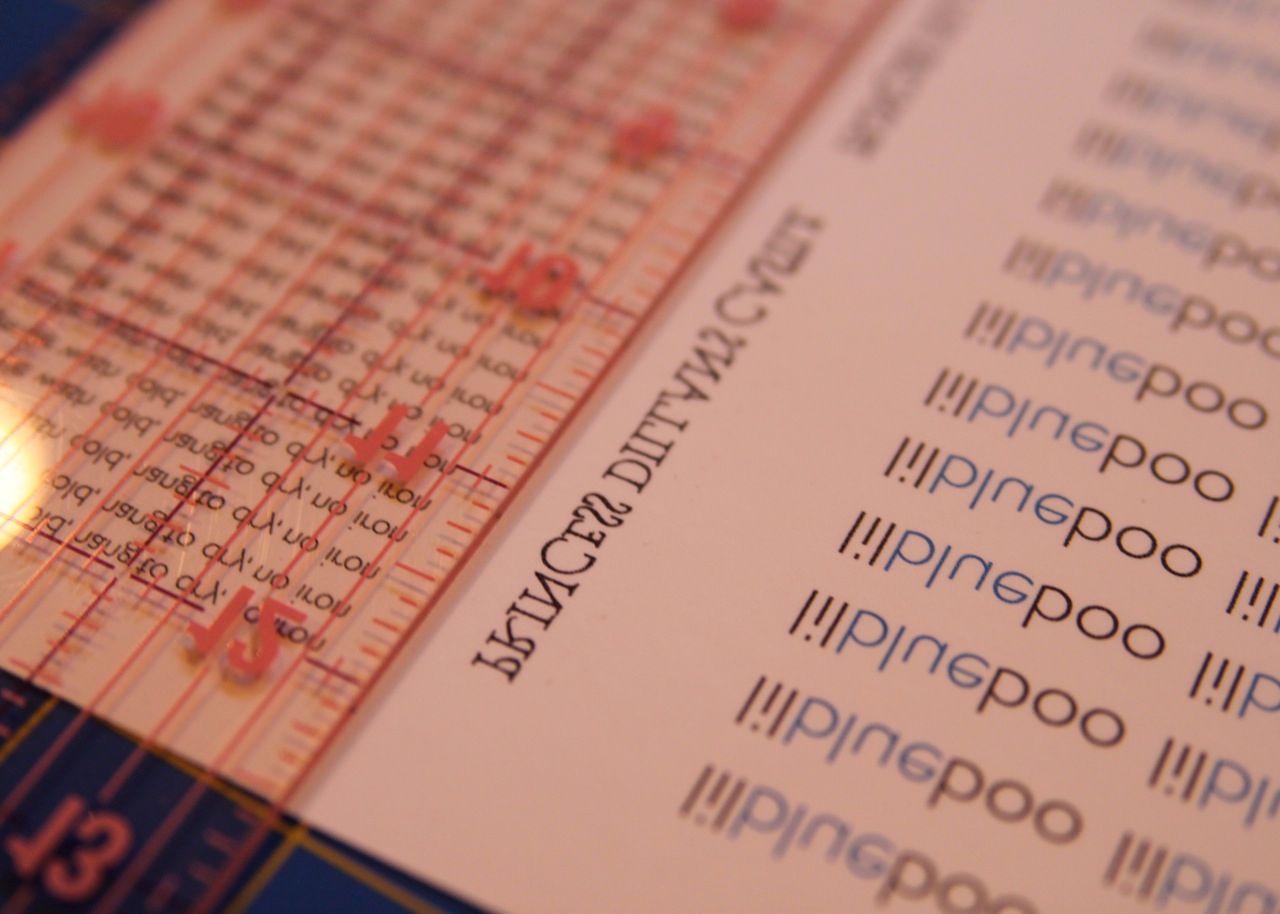
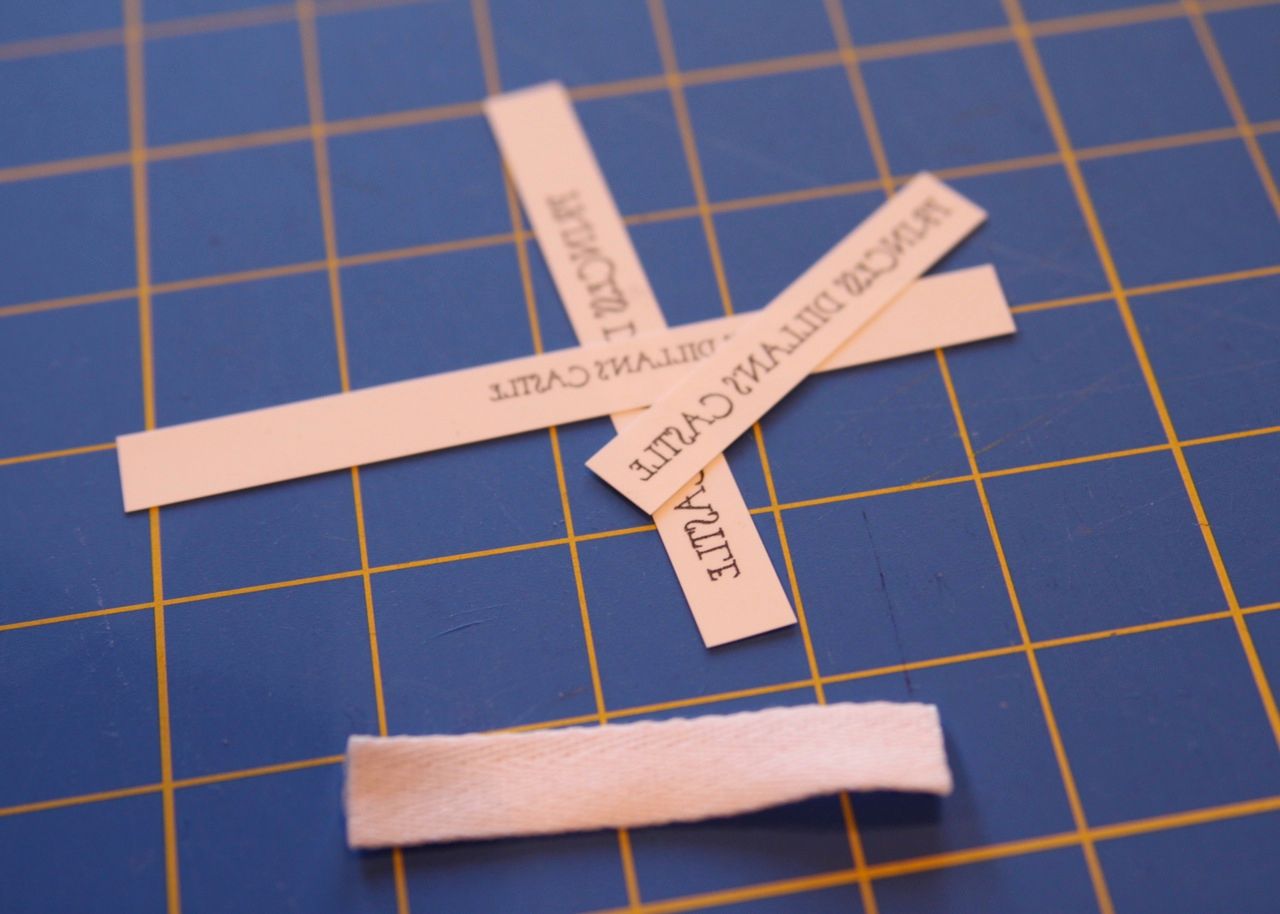
Step 13: I printed out the personalized message on iron-on transfer paper. Make sure to print your image in reverse! I always come up with something generic to print on the rest of the paper so I don't waste any like clothing labels or size labels.
Step 14: Cut out your image to transfer and iron onto twill ribbon. Treat the edges of the ribbon with fray check or thread glue. (I also like to print several different sizes just to make sure one of them is the perfect fit!) Stitch your personalized label to the front of the globe base!
One finished snowglobe! Just make sure to wash on gentle cold and lay flat or hang to dry!
Please feel free to email me if you have questions!
This is adorable! What a fun idea!
ReplyDeleteThis is amazing! Thanks Ashley!
ReplyDeleteWhat a clever idea. The snow globe shirt is just adorable. I'm going to have to make one for my daughter, she'll love it. Adding it to the "to do" list.
ReplyDeletecheers,
Jessica
Awesome project!! You did a fabulous job!
ReplyDeleteSo pretty! I really love it!
ReplyDeletevery cute...what are the laundering instructions?
ReplyDeletevery cute...what are the laundering instructions?
ReplyDeleteThat is adorable !! Great job !!
ReplyDeleteThis one was just too cute! And creative! I knew it was yours ;)
ReplyDeleteGreat idea - the snow globe is one of the holiday symbols you never see on kids clothes, but it is super cute and beautifully done.
ReplyDeleteOh, I do believe I am in love!
ReplyDeleteThank you for being so creative and sharing with us!
I LOVE IT! My little girl is obsessed with snowglobes! Thanks for sharing it! ♥
ReplyDeleteHow stinkin' cute is that?! How the heck do you make such straight stitches? Mine never look that good... EVER!!!! -Kelsee
ReplyDeleteWhat a great idea :-O. Thank you, for your tutorial!
ReplyDeleteThat is absolutely adorable!! Now, where can we all find that castle fabric?
ReplyDeletexoxo ~Lisa
This is amazing!
ReplyDeleteLove this!!! I linked to your tutorial on Craft Gossip Sewing:
ReplyDeletehttp://lilblueboo.blogspot.com/2009/12/snowglobe-shirt-tutorial.html
--Anne
Simply Awesome I just love it.
ReplyDeleteTerm papers
It's so beautiful and so cute !!! I love it !!
ReplyDeletesimply great tutorial.. nice post will try it on sunday..
ReplyDeleteLooking to read more from you..
hamza@samruz.com
http://www.jobspert.com
This comment has been removed by a blog administrator.
ReplyDeleteI would like to thank you for
ReplyDeletesharing your thoughts and time into the stuff you post!! Thumbs up
Apron | Shop Towel
Hi, I have just visited your site and the info you have covered has been of great interest to me. Some of the suggestions you have given have enabled me to apply my own thought process to afford a after understanding of the issue. Some info that is provided on the Web is not very useful but yours has been worthwhile. Some of the points you have raised will assist me greatly. Incidentally, I like the way you have structured your site, it is super and very easy to follow. I have bookmarked you and will be back regularly. Thank you
ReplyDeletehttp://www.boundlesstech.net