This was my submission from the SYTYC "New Year's" Challenge....I finally won a challenge! That puts Dana and I into the final two this coming week!
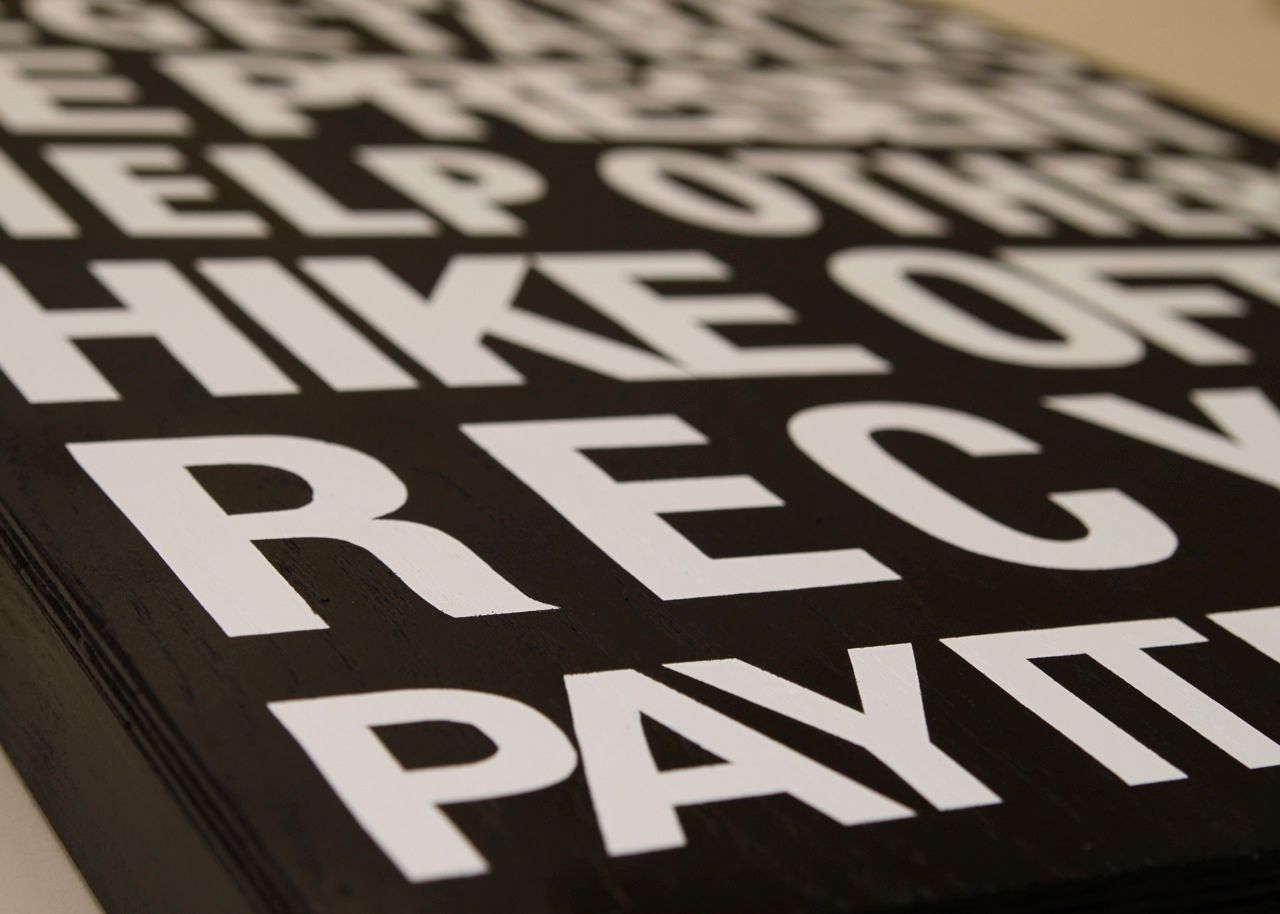
I haven’t made resolutions for the past few new years because I usually forget about them after a few weeks. This year as a family we came up with a short list of things we wanted to focus on everyday and I made the list into a large piece of art. I love that this large 3 foot high wood piece is reminiscent of an early 20th century subway sign.
It is durable enough to hang in an outside eating area:
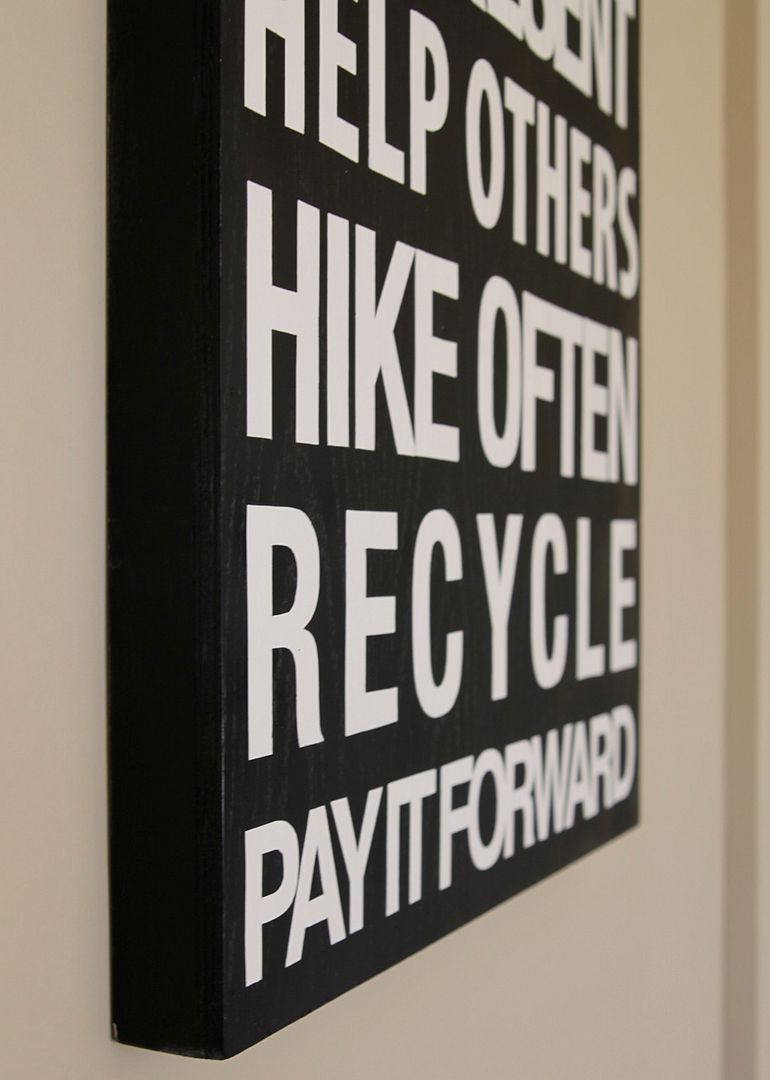
It is simple enough to rest on a side table:
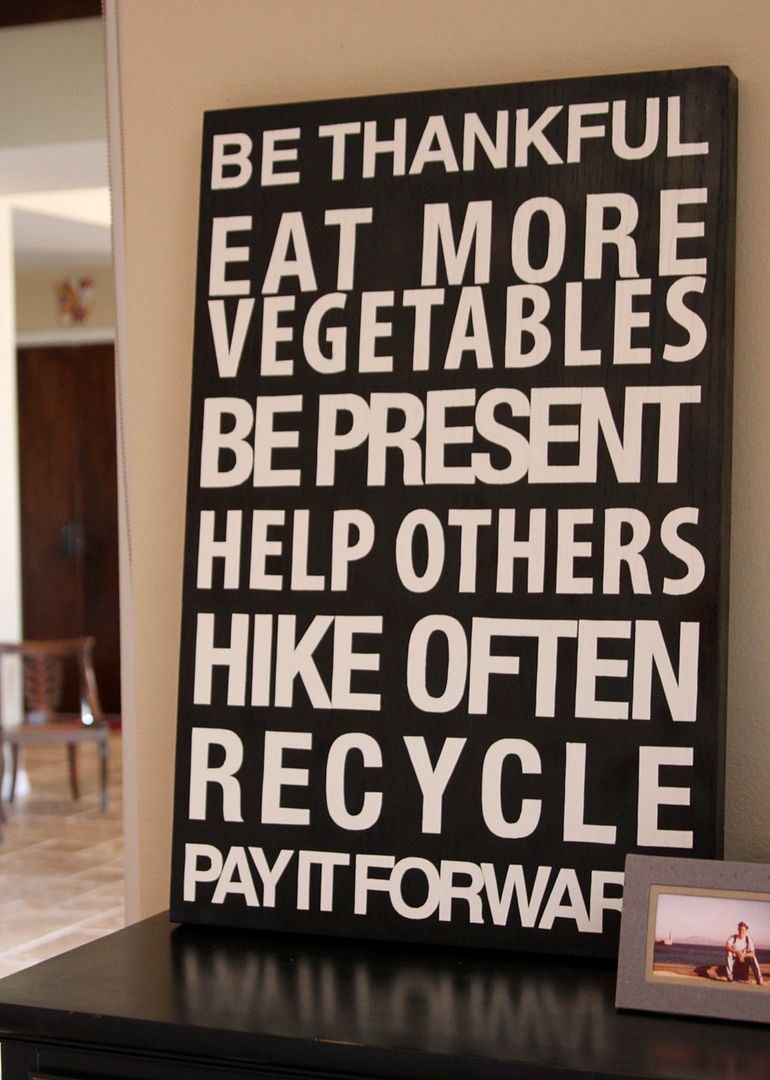
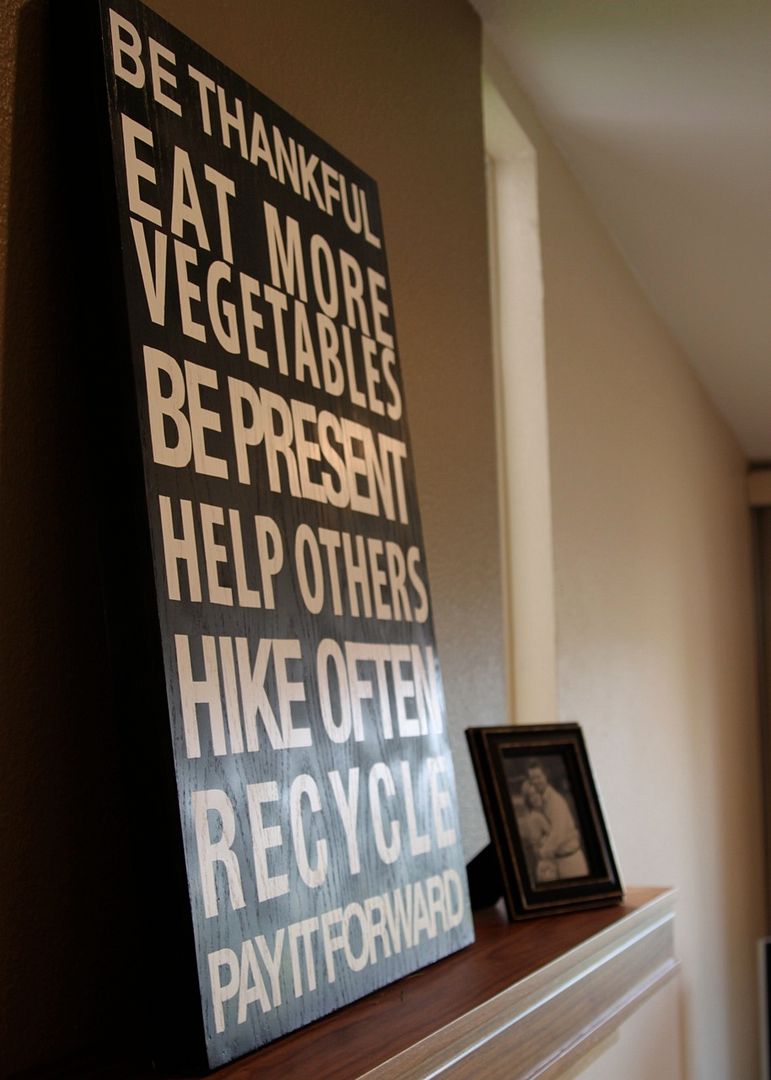
And it is bold enough to display on a mantle as the focus of a room:
Here is how I made it:
Step 1: I bought a ready cut 2' x 4' piece of wood from my hardware store and had them shorten it to 2' x 3.'

Step 2: I also bought long wood molding strips that were 1/2" wide and 1 1/2" deep. I started on one edge of my large flat piece of wood and marked where I would need to cut.

Step 3: I used a large mite saw to cut the corners at a 45 degree angle. If you don't have a mitre saw you can use a simple plastic mitre box and hand saw. There are only a few cuts so it won't take that long.

Step 4: I squeezed wood glue onto one of the long edges of the underside of my large board.....

.....and turned it over onto one of the long wood trim pieces and used hammer and nails to secure it.

I repeated this step, fitting each piece carefully into place until my piece looked like this:

Step 5: I used these little "nail-in" brackets from the hardware store as well to secure the corner pieces.

Step 6: I sprayed the entire wood piece with primer.

Step 7: I sanded it down to remove any significant wood grain. Then I sprayed the entire piece with white spray paint.

Step 8: I created this little template using Powerpoint to that I could space the letters for each line. Feel free to use this one or at least parts of it.
New Years
Step 9: I printed out my resolutions on regular sized paper. Then I took it to Fed Ex/Kinkos and used the large copier to enlarge it to the exact width I needed (cost about $4).

Step 10: I cut strips of vinyl contact paper the same width as the wording (the vinyl contact paper came in a 12" height so I could only fit 3 lines at a time on each strip).

Step 11: I used spray adhesive to attach the photo copy to the top of the contact paper. (Note: Do NOT apply to the paper side of the contact paper, you will be peeling this off later.)

Step 12: Then I trimmed around each line of words.

Step 13: I evenly spaced each set of words out along the board marking a "guide" line with pencil below each. Then I cut out each letter, peeled off the paper back and adhered to the board.

Step 14: I used a brayer to make sure each letter was adhered smoothly to the board.

Step 15: I sprayed the top and sides of the board with black spray paint. I did one coat at a time letting each dry well before applying the next coat.

Step 16: Once the board was completely coated and had time to dry.....

...I carefully peeled off each contact paper letter.

Step 17: I used a white paint pen to touch up any letters that needed it.

Step 18: Last step was to attach screws eyes (1/3 of the way down the back) and wire to hang!

Funny, I never realized that you hadn't actually won a challenge...I guess as voters we are just happy to see all the fun stuff each of you guys come up with! Good job!
ReplyDeleteWow! I absolutely love this! Thanks for sharing all of the steps! What a great piece of art!
ReplyDeleteThank you so much for the fantastic tutorial and file. This project is wonderful!
ReplyDeleteXO*Tricia
This comment has been removed by the author.
ReplyDeleteK, so tell me, how did you cut the letters out so perfectly???!! :)
ReplyDeleteI voted for you at the SYTC challenge. I thought this piece was amazing. Thanks for sharing the instructions!
ReplyDeletei love this and i am glad you are one of the final two!
ReplyDeleteSuch a great project!! I always admired similar ideas I had seen in Pottery Barn magazines, but just couldn't figure out how to do it economically!! What a wonderful tutorial.
ReplyDeletePerhaps an Exacto knife instead of scissors will help Shari and Amber cut the letters out easier? My tool of choice, scissors and I never got along well!
LOVE this! Great job, Ashley!
ReplyDeleteI use small detail scissors to cut the letters out.....the tips are perfect for getting into small areas.
ReplyDeletejust love it
ReplyDeleteI absolutely LOVE this! It was definitely my favorite for the last challenge. Good luck in the final! I'm rooting for you! = )
ReplyDeleteWow! I just love it. I have a list of words as my resolutions this year I'd love to create one of these. Thank you for sharing.
ReplyDeleteCheers,
Tricia
It's on my project list. Thanks for the detailed tutorial!
ReplyDeleteI love this! Its on my project to do list ! :) Thanks!
ReplyDeleteWOW, its a lot of work! And you are also a carpenter LOL GOOD for you!
ReplyDeleteLove the idea! And it looks fabulous! :)
ReplyDelete~Kim
I LOVE your stuff! Would you mind emailing me about advertising on your WAY AWESOME blog?? My computer won't let me email when I click on emails like yours!! mine is sweetonyoucakeshop@hotmail(dot)com
ReplyDeleteThank you SO much!!! Hope to hear from you!
Oh this is fabulous!!! What a terrific idea. Makes me even happier that I'm back into reading blogs again when seeing great ideas like this! I'm back as well (after months of being MIA)! Check out my latest post on Faith :) I'll def. be back to continue reading on what I've missed over the past few months!
ReplyDeletehttp://polkadotthought.blogspot.com/2010/01/faith-in-new-year.html
Thank you for your continual support!
So i love your blog...im sure i have told you that before. i think your so creative and just GREAT...i just started my own craft blog and i hope some day i can be as CRAFTY as you...
ReplyDeleteanyways i used one of your tutorials a few months back to make my little girl a dress... and i posted the link to your blog i hope you dont mind....
when you have time you should check it out..
dejavucrafts.blogspot.com
Amanda
wow, this is really great, love the style and great execution!
ReplyDeleteI love this! Thanks for the tutorial. I've been thinking hard about how to simplify my resolutions into cool poster form. :)
ReplyDeleteI really love this! I'm not nearly handy enough to make it myself but would buy it in an instant!
ReplyDeleteHey - what typeface did you use? Is it obvious and I'm missing it? Most likely the case....
ReplyDeleteYou did a fantastic job - it looks amazing! Thanks for sharing your techniques. Congratulations on your win!
ReplyDeletelove your tutorials! what a beautiful blog...so lovely to visit!!! bestbest to you..
ReplyDeleteSo lovely!
ReplyDeleteYou are SO creative!! I look forward to your tutorials. ^_^ I linked you on my blog! www.kimhoay.blogspot.com
ReplyDeleteHow lovely - original idea and personal to your family, too.
ReplyDeleteGood luck keeping your resolutions!!
I saw your version of subway art somewhere in blog land and have been trying to figure out how I can make this for my kitchen - then today I happen upon this tutorial. Thank you I feel like I won the lottery. I absolutely love this!
ReplyDeleteI was so inspired by this I blogged about it over at my blog. Thanks for the fab. tutorial & great ideas :)
ReplyDeletethank you for the perfect tutorial!!
ReplyDeletei LOVE this project and the tutorial. i want to do something like this for my bedroom.
ReplyDeletethank you!
I've been trying to think of a way to keep things I want to keep in mind in my face. I'm going to use a prestretched canvas I think.
ReplyDeleteLOVE this! What a great job! and a HUGE thank you for letting me know of the existence of a miter box...we thought we were going to have to say good by to the miter saw we've been borrowing and either purchase our own or do without...this is fantastic and I'm excited that I can go buy something similar and put a little sweat equity into my projects instead of paying for it out of my pockets!
ReplyDeleteThis is fabulous! What typeface did you use? I really it :)
ReplyDeleteThis is fantastic! Love it!
ReplyDeleteThis is fantastic, just what I need for my currently empty foyer wall. I think I even have some lovely scrap wood somewhere from an old bookcase that fell apart that I can use!
ReplyDeleteHope you have a great weekend!
I found your Subway Art via a google search. I adapted a little bit for my lack of power tools but I think it turned out great. If I do say so myself! Can't wait to make another one for my livingroom. THANK YOU for the inspiration for mine. Click (here) if you wanna check it out!
ReplyDelete-CB
This is AWESOME! What a cool way for families to personalize the message. I can't wait to make it!
ReplyDeletewow, contact paper was a brilliant idea! i was struggling with trying to stencil onto canvases with paint and making a huge mess (i'm making an actual subway sign because i'm a native new yorker and have a theme going in my hallway)... i asked amy from mod podge rocks what she'd recommend and she linked me to your blog. amazing! this tutorial just totally saved me lots of time and aggravation! thanks for this!
ReplyDeleteThat was a huge project! Not sure I can do it, but will try with a smaller board and see where it takes me.
ReplyDeleteThank you for this tutorial. I finally did it!! Although mine is nowhere near as fabulous as yours!!
ReplyDeleteThis has got to be the best tutorial out there! I linked it to my "subway art" post, thanks!
ReplyDeleteThis comment has been removed by the author.
ReplyDeleteHi Ashley! I have all of the needed supplies, and am at the step of cutting out the letters and placing them on the board. How exactly did you cut out your letters so perfectly? I read that you made a guideline with a pencil to line them up, but how exactly did you cut the letters out? I am just trying to figure out the best way to cut these darn letters out! My email is jonathan(dot)diblasi(at)gmail(dot)com
ReplyDeleteThanks again!
-Jonathan
So, I did it! The hardest part was that I didn't sand down the wood grain enough, so on EVERY SINGLE LETTER black spray paint leaked into the letter. So I had to get masking tape, mask around EVERY SINGLE LETTER, and then with a brush re-paint all of the letters. Took forever, but well worth it!
ReplyDeleteWork In Progess, Near the beginning: http://i56.tinypic.com/2nrprsx.jpg
All letters placed, about to paint: http://i53.tinypic.com/vots8i.jpg
Finished (Needs some touching up though): http://i56.tinypic.com/116nb4l.jpg
I love this! I love the idea of printing on Power Point (thats how I did mine) and then taking it to Kinkos to enlarge. I'm totally stealing that idea!!! I just did a simple one, an 8x11 - you can see it here:
ReplyDeletewww.teebliterary.blogspot.com
thanks for sharing! I LOVE this idea. I am going to put a link to this project on a post tomorrow! thanks for sharing!
ReplyDeletecassylately.blogspot.com
I loved your tutorial! I linked you in my blog! I hope you get a chance to check it out sometime! Great work! www.renounednest.com/2011/03/subway-art.html
ReplyDeleteCindy