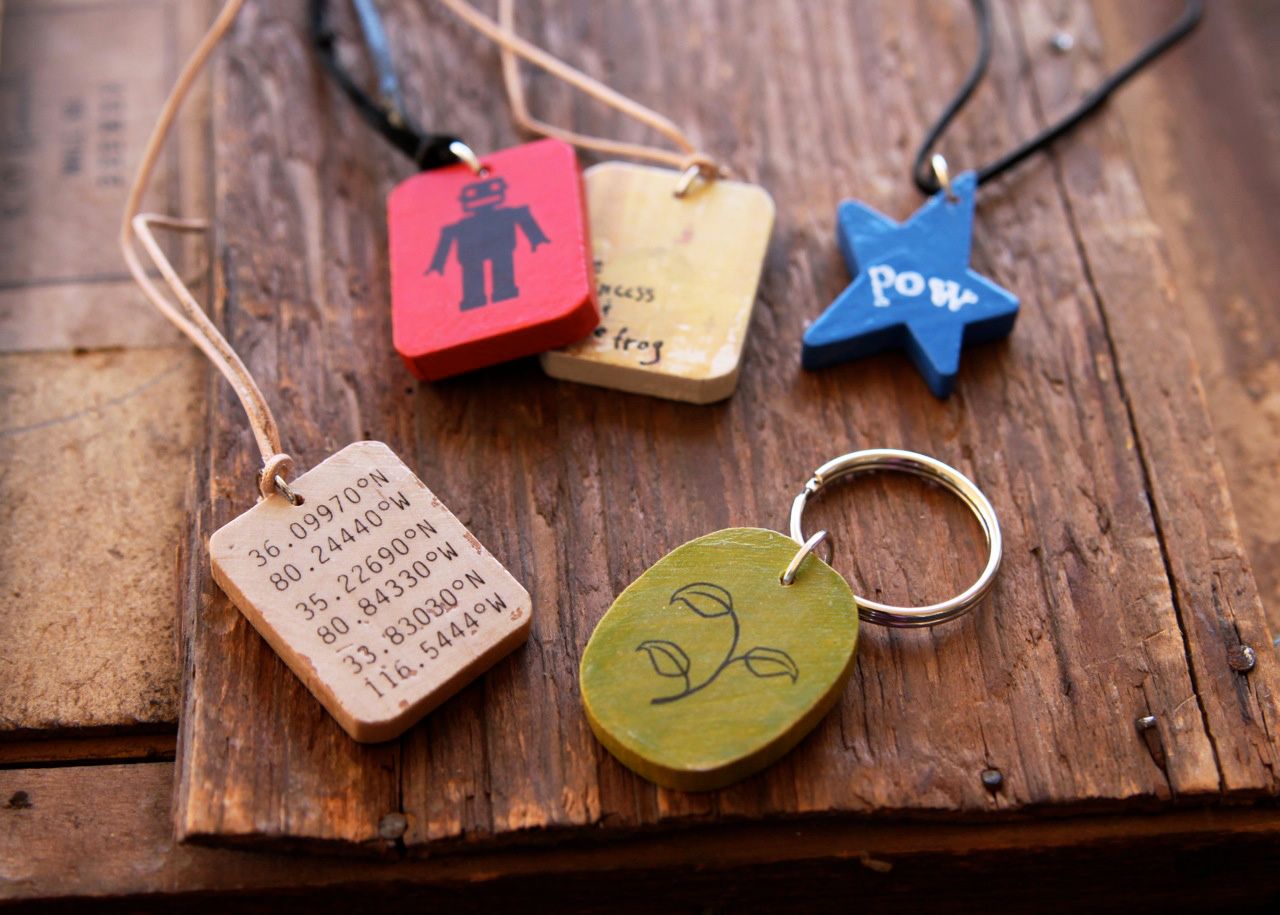
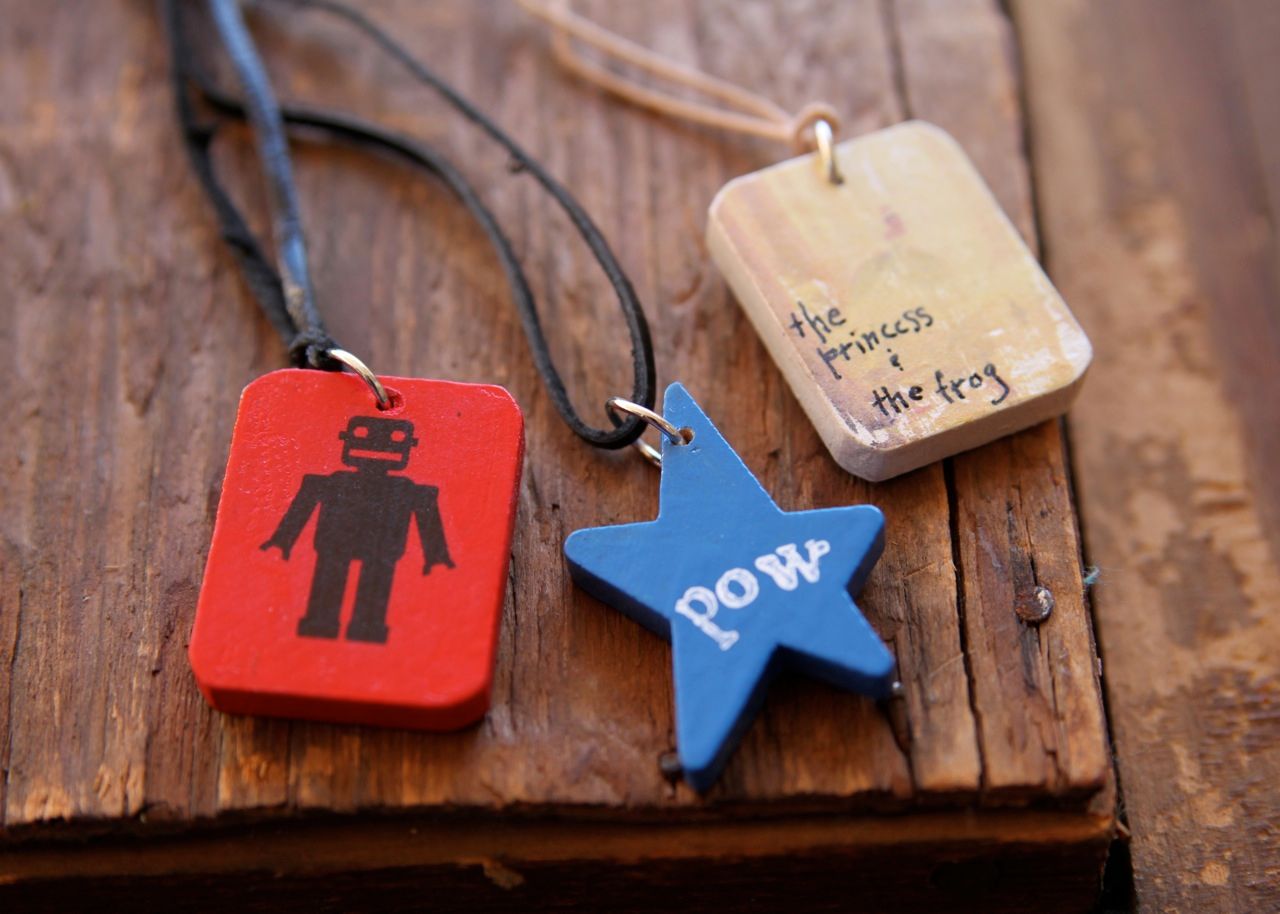
Here are a few I made the kiddos....a robot necklace for my nephew (you can get the robot image here), a star-shaped super hero necklace and a princess and frog necklace with a distressed image from the movie for Sienna:
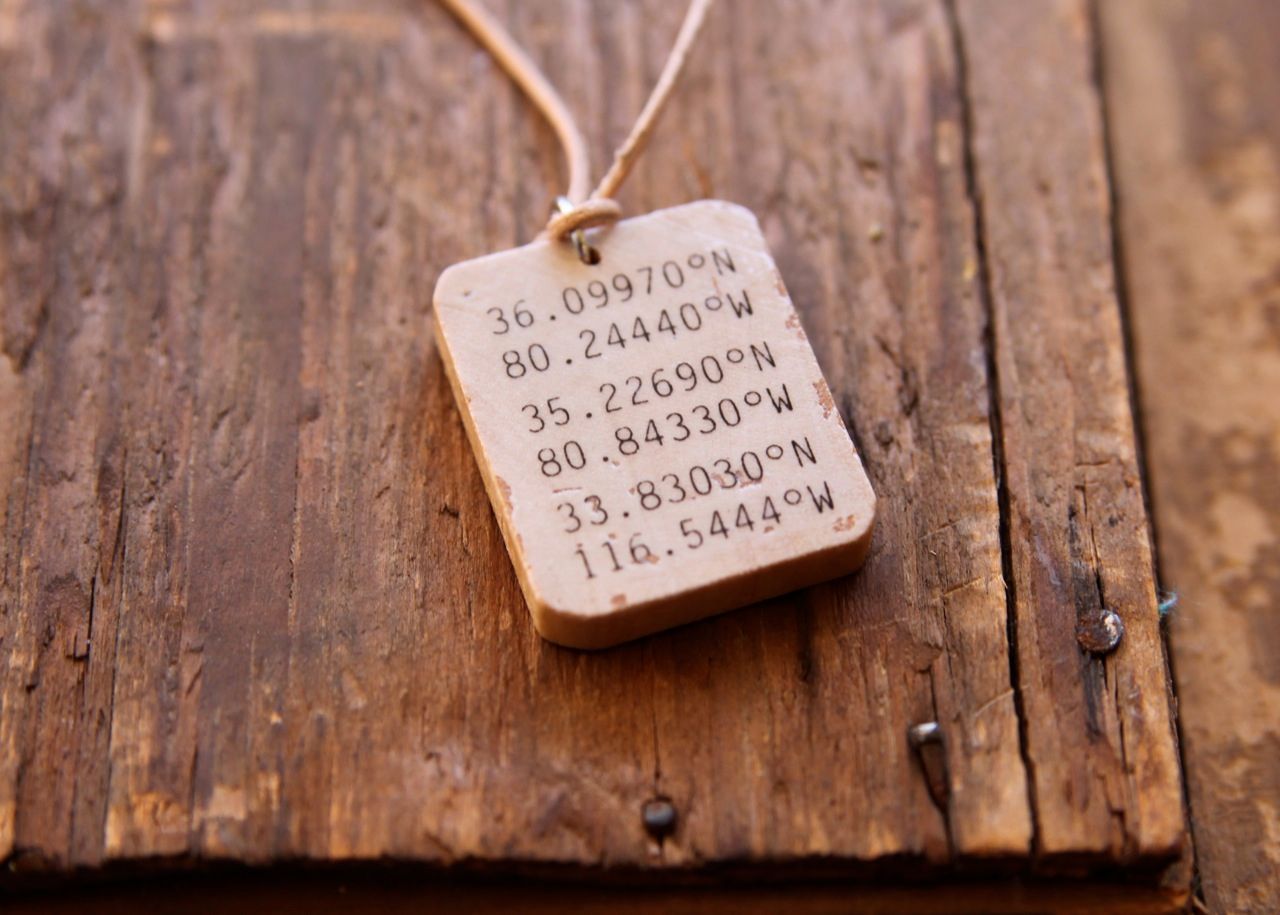
I made one for myself too.....a distressed piece with the latitude and longitude coordinates of where my husband, myself and my daughter were born:
They are super easy to make. You can find these little wood pieces in the woodcraft/dollhouse section of the craft store.

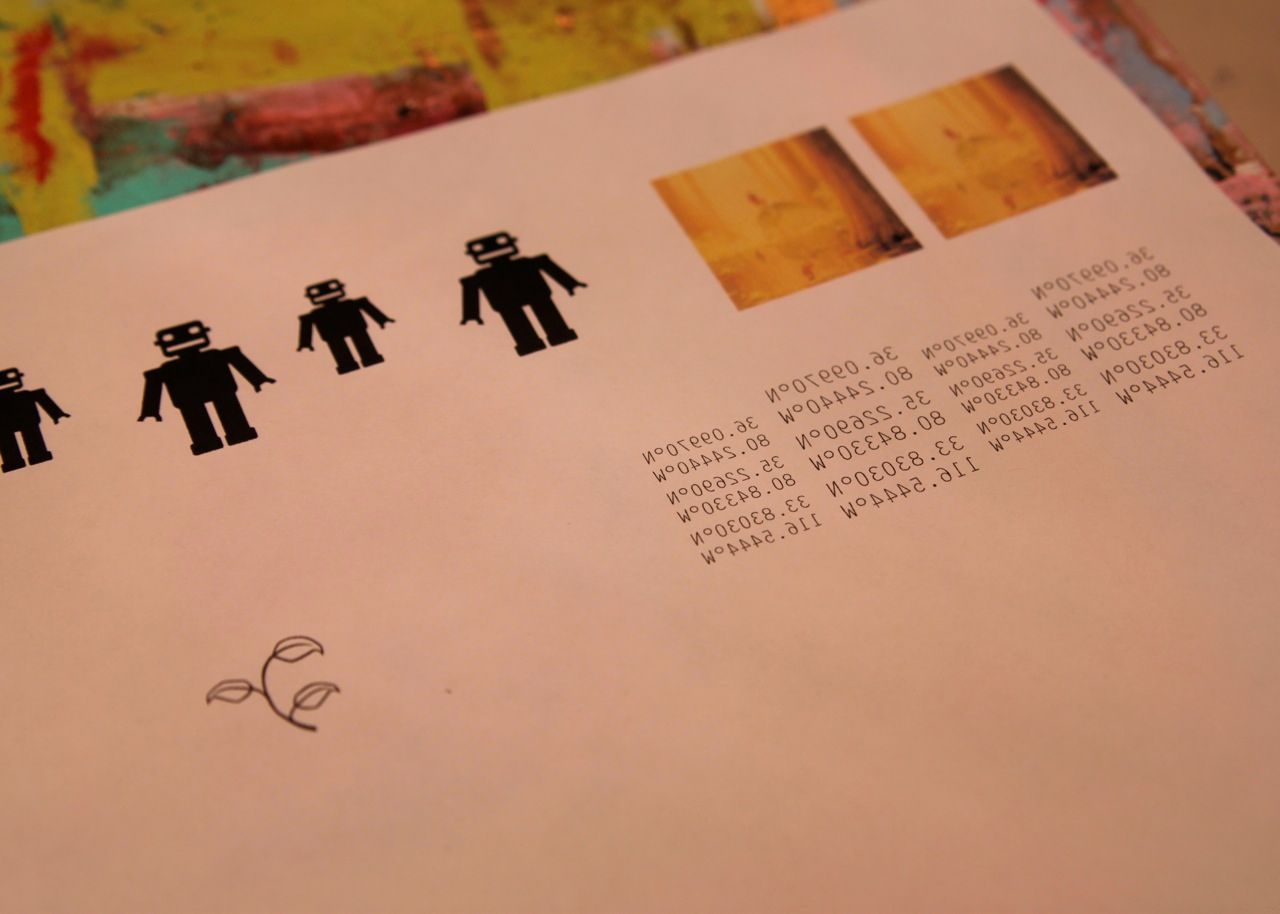
I printed out some tiny images and took them to the office store to be copied in reverse (you have to use a copier because of the dry toner).
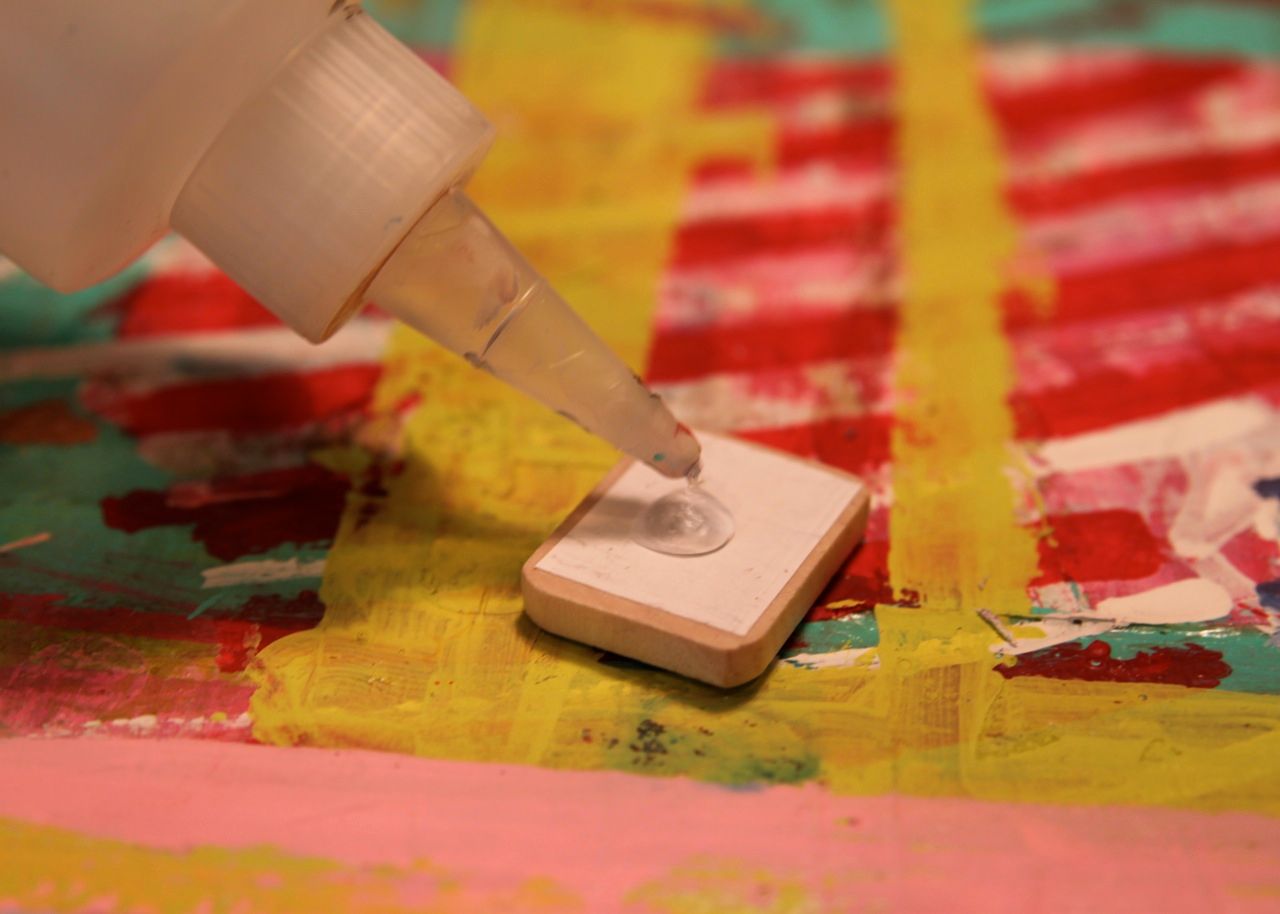
Then I took one of my favorite mediums, Golden Soft Gel.....

....and spread a thin layer on one of the wood pieces.
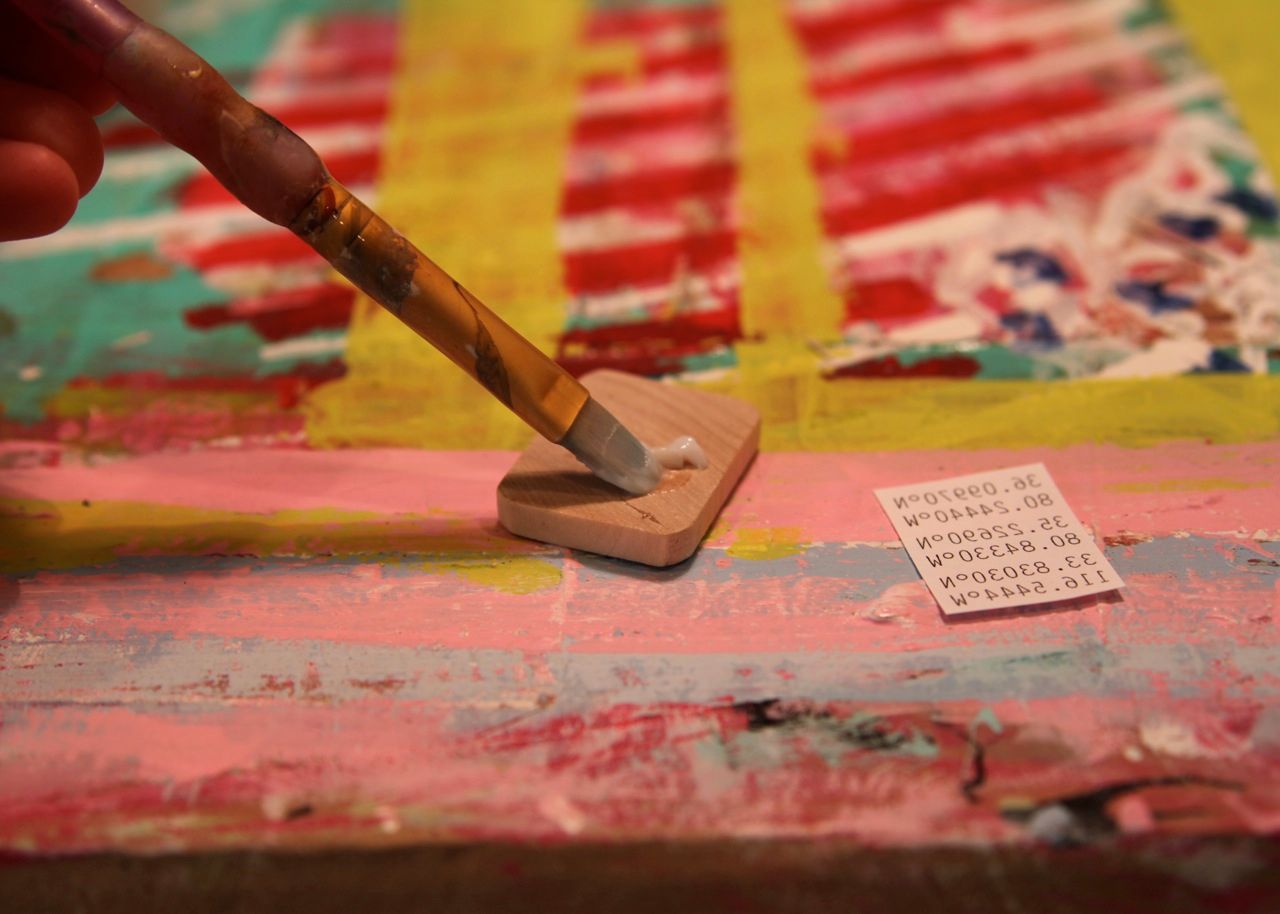
Then I placed one of the images face down onto the gel, burnished it with the end of a paint brush, and then let it dry.

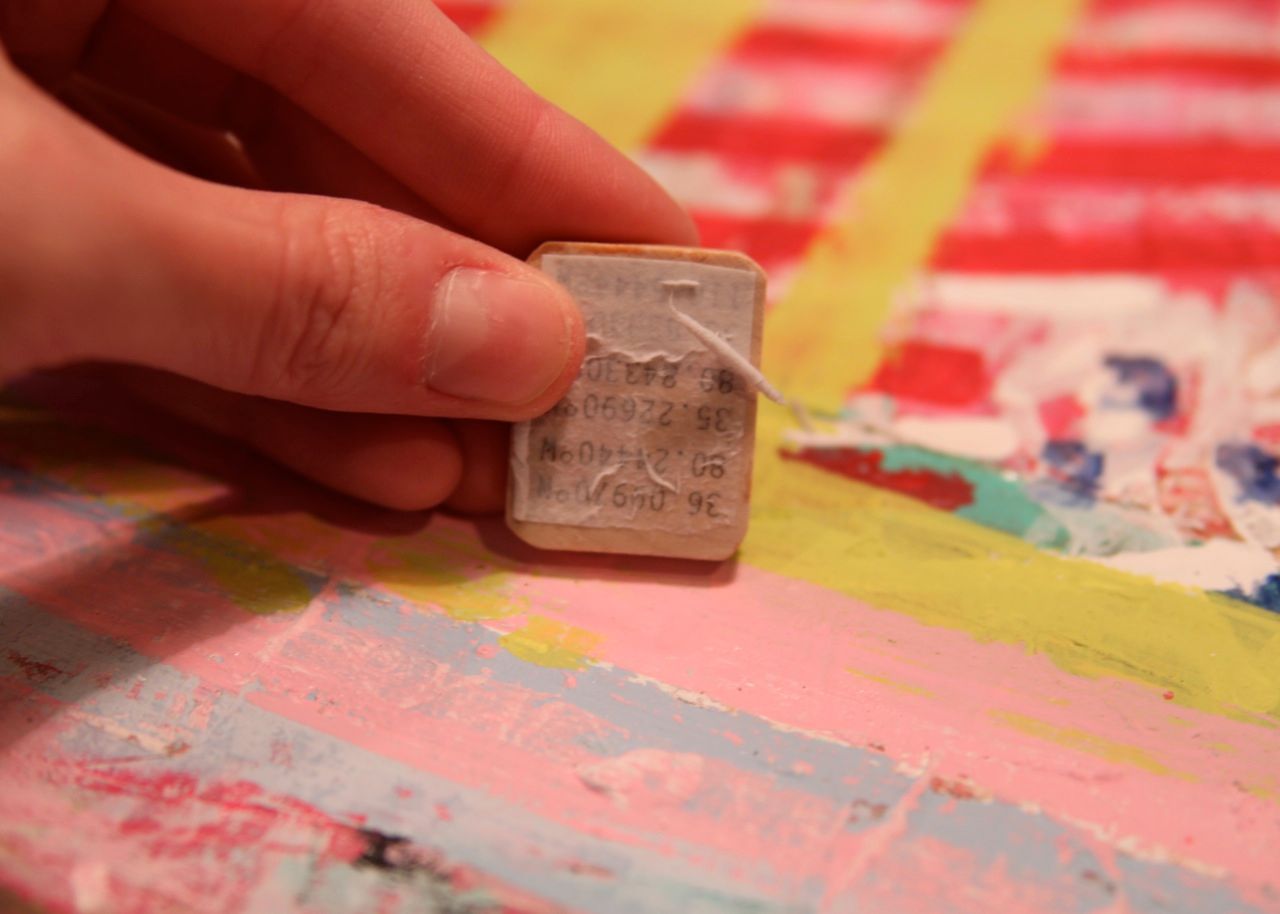
Once it was dry I wet the back with water....
....and used my finger to rub off all the paper. The image is left behind in the gel.
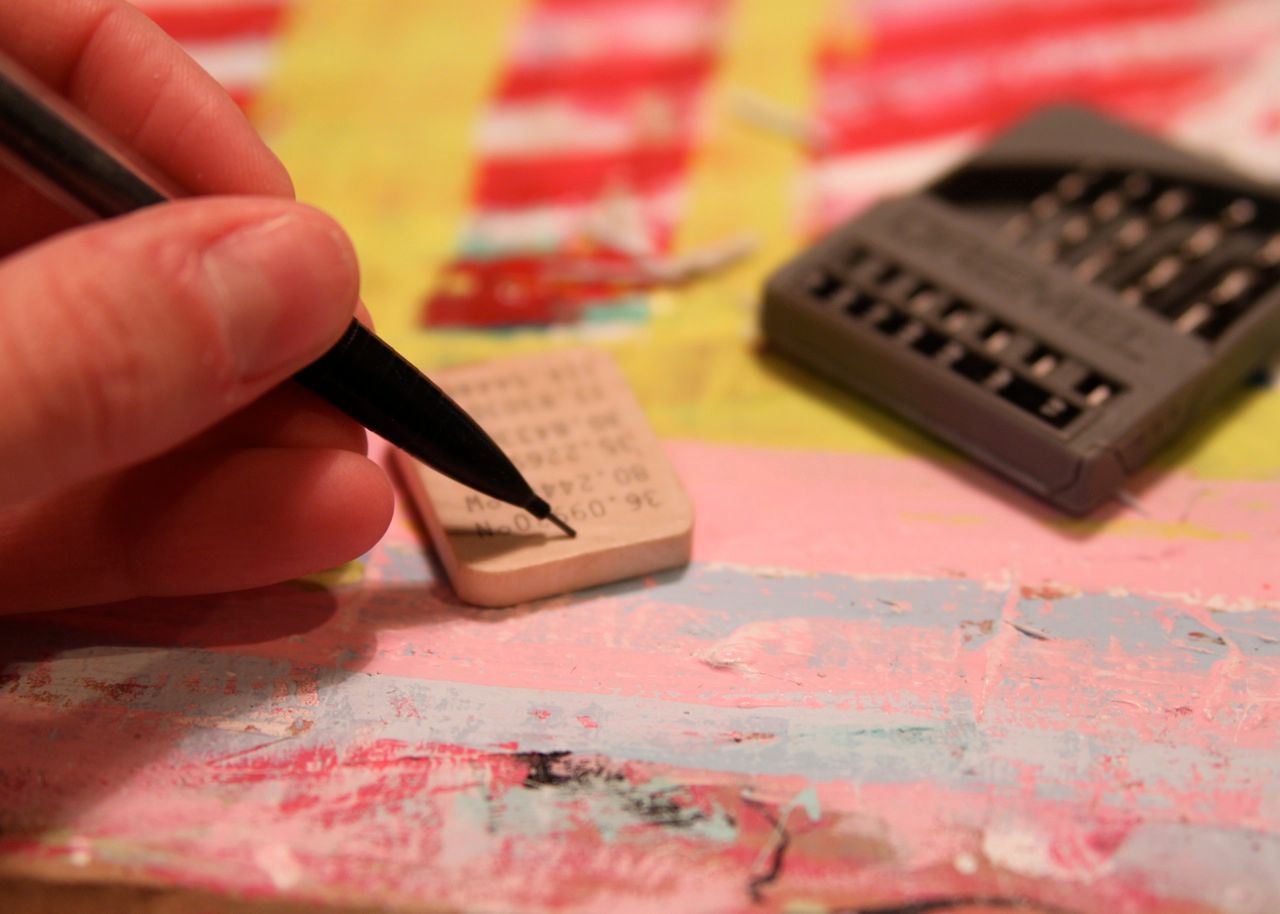
Then I marked the top center and drilled a small hole using a tiny drill bit. You can spray or coat with varnish after this step if you like.
Just add a jump ring and a some leather cord or string and you have a perfect gift for someone special!
Hi cool tutorial! What did you wet the back with after it dried? Was it regular H20 or the gel medium again? It looked kind of thick and I wasn't sure. Thanks!
ReplyDeletemichellewash211@yahoo.com
Man you're so cool. Sigh.
ReplyDeleteLove them!
ReplyDeleteSOOOO fabulous!
ReplyDeleteThank you so much for this tutorial!
What a great tutorial. I have some scrabble pieces to use. This will be fun. Oh and thanks for the email. It helped. You always help. LOL Thanks.
ReplyDeleteWow, I'm in love. I hope you win the contest! Definitely bookmarking this one. :)
ReplyDeleteI love these! I especially love that I can make one for my son. He gets neglected in the handmade goodies department. Thanks for the tutorial!
ReplyDeleteExcellent tutorial, I love the latitude and longitude pendant, and the instructional photos on such a colorful background make it a pleasure to the eye too. I posted a link on CraftGossip.
ReplyDeleteThanks so much for the tutorial. I love how the project turned out.
ReplyDeleteGreat idea!
ReplyDeleteI've tried medium gel before but was never really successful at it. I'll try your method, putting the gel on the surface to be transferred on rather than on the picture to be transferred, which always resulted in the picture bleeding...
Thanks for sharing!
What a satisfying little tute! Thanks so much for making something so cool be sooooo simple.
ReplyDeleteAshley,
ReplyDeleteThis is such a fabulous tutorial and project. I'll be featuring!!
This is so fun, I can't wait to try it.
ReplyDeleteSuch a cool idea... should try that out. Need some stuff for upcoming kids' birthday party!
ReplyDeletegel medium is now on my shopping list for tomorrow! i will let you know how it goes!
ReplyDeleteI love that necklace with the latitude/longitude coordinates ... what a fun idea! Definitely have to make one. Thanks for the tutorial.
ReplyDeleteThis idea is sooooo cute, and the possibilities are endless! I love the coordinates idea too, very cool! Thanks so much for sharing, and happy New Year.
ReplyDeleteWow, I love this! The coordinates are really fun. Thanks so much for this, I'll be linking.
ReplyDeleteHi! I used your tutorial to make some dice for myself for a free "print and play" game I'm going to try right after I finish washing my dogs today. Here's the game: http://www.boardgamegeek.com/boardgame/57139/infection-express and a picture of the patterns I used for the dice: http://www.boardgamegeek.com/image/608938/infection-express. Except these are in black and white and I used a color marker around the edges of the blocks to denote the color instead. It should be fun, especially since I love the game it's based on.
ReplyDeleteThank you! This blog post will be advertised on CraftCrave in the Handcraft category today (look for timestamp: [08 Feb 04:00pm GMT]).
ReplyDeleteGreat tutorial. The robot necklace is really amazing.
ReplyDeleteHis and Hers Wedding Bands