Using Contact Paper to Create a Simple Design:
Step 1: Start with a blank screen printing screen:

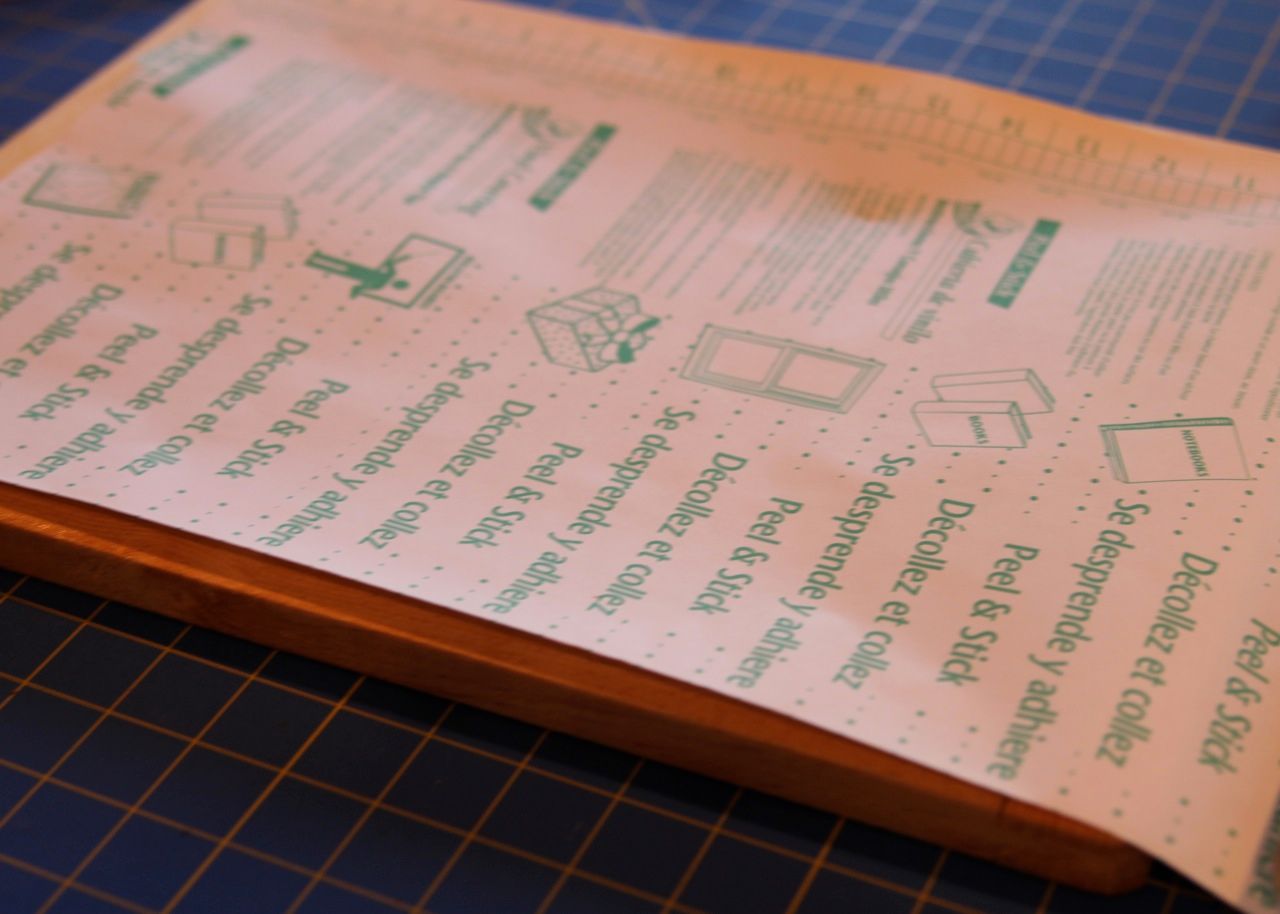
Step 2: Cut a piece of contact paper slightly larger than your screen.....
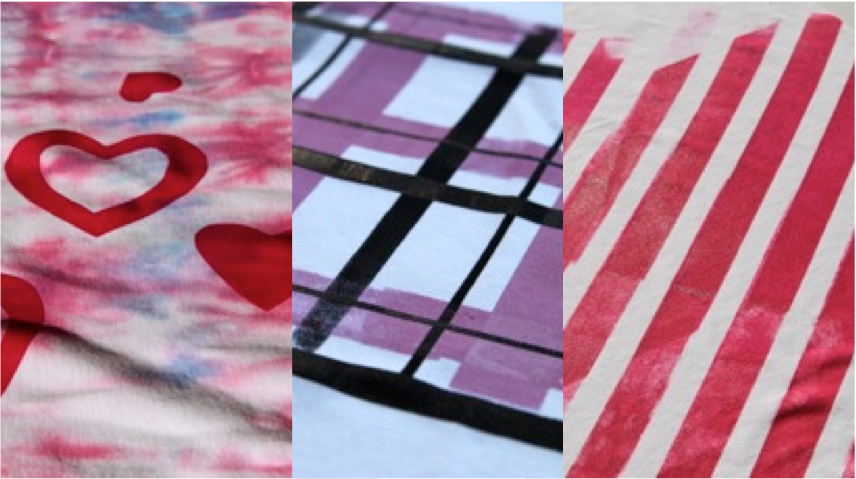
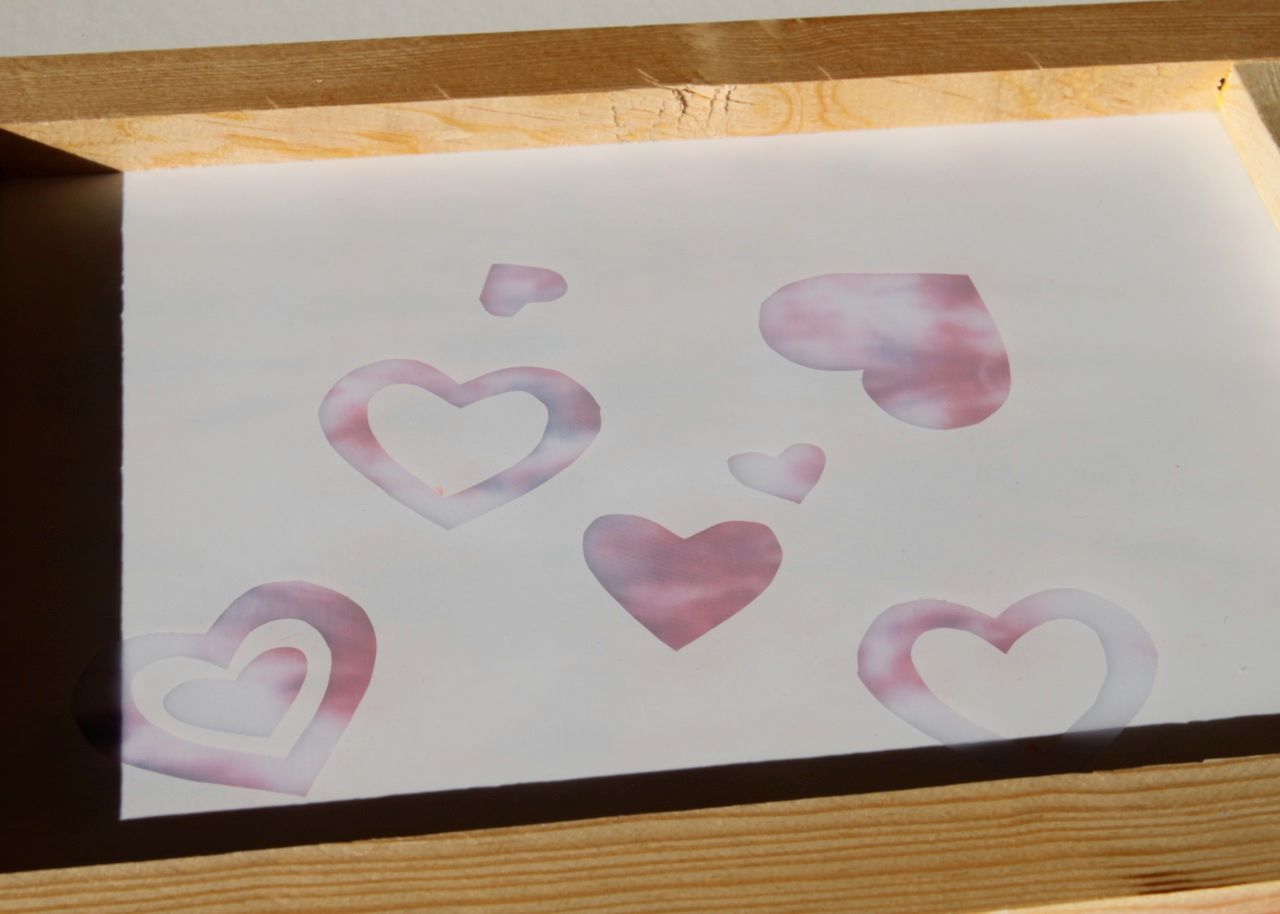
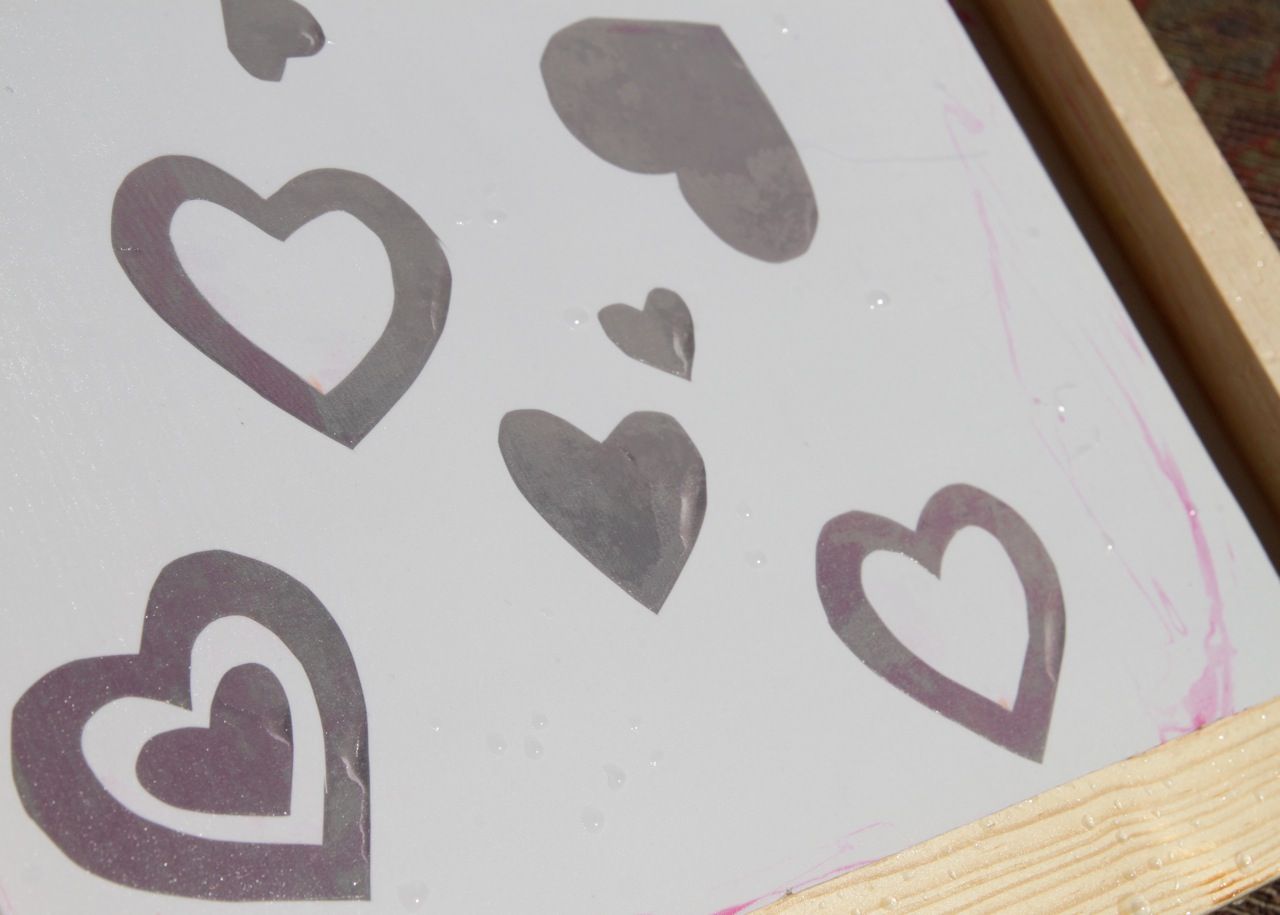
....and draw out your design on contact paper. Note: either draw your design on the front of the contact paper or make sure you reverse the design if you are drawing it on the paper backside. I made this heart design for Valentines day dresses:
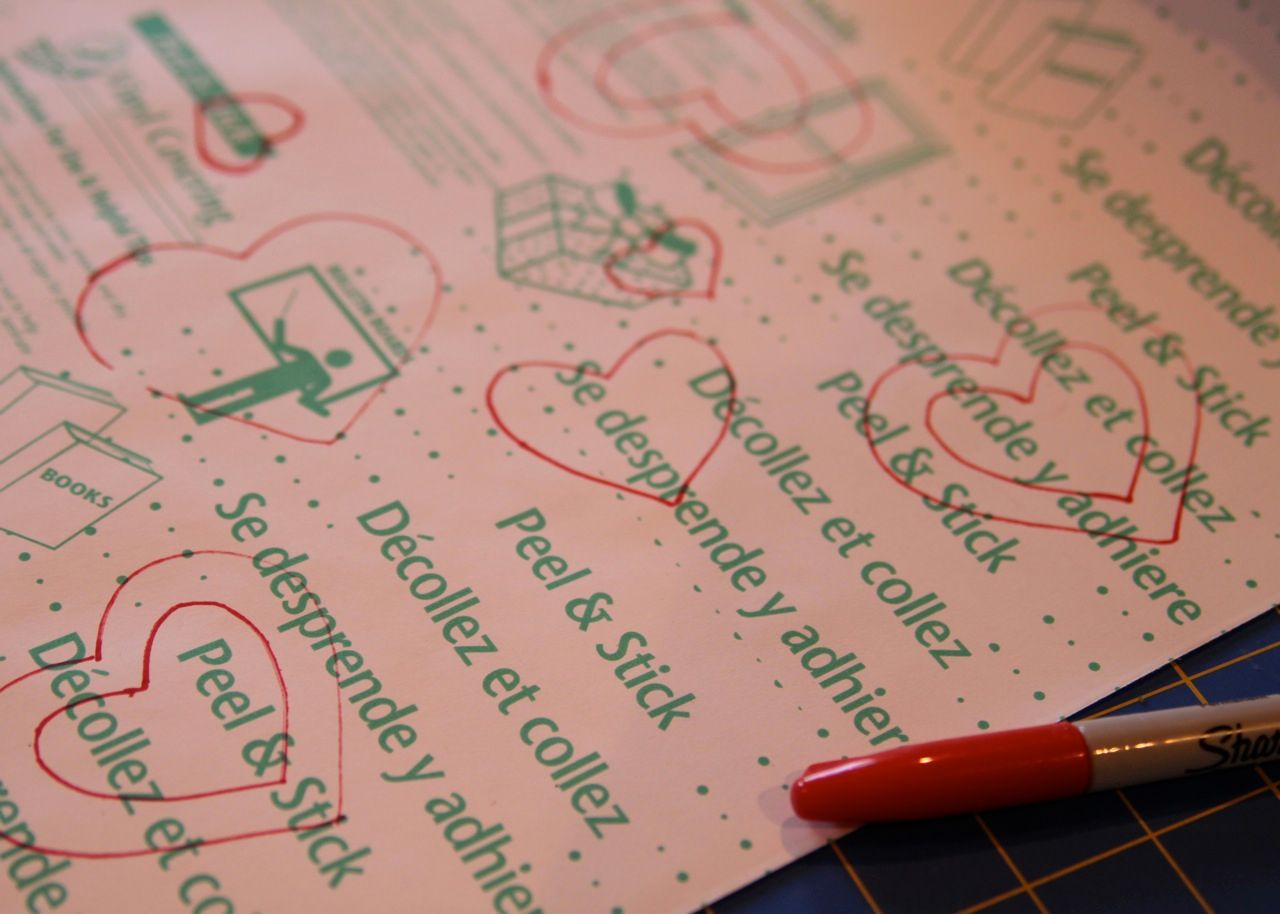
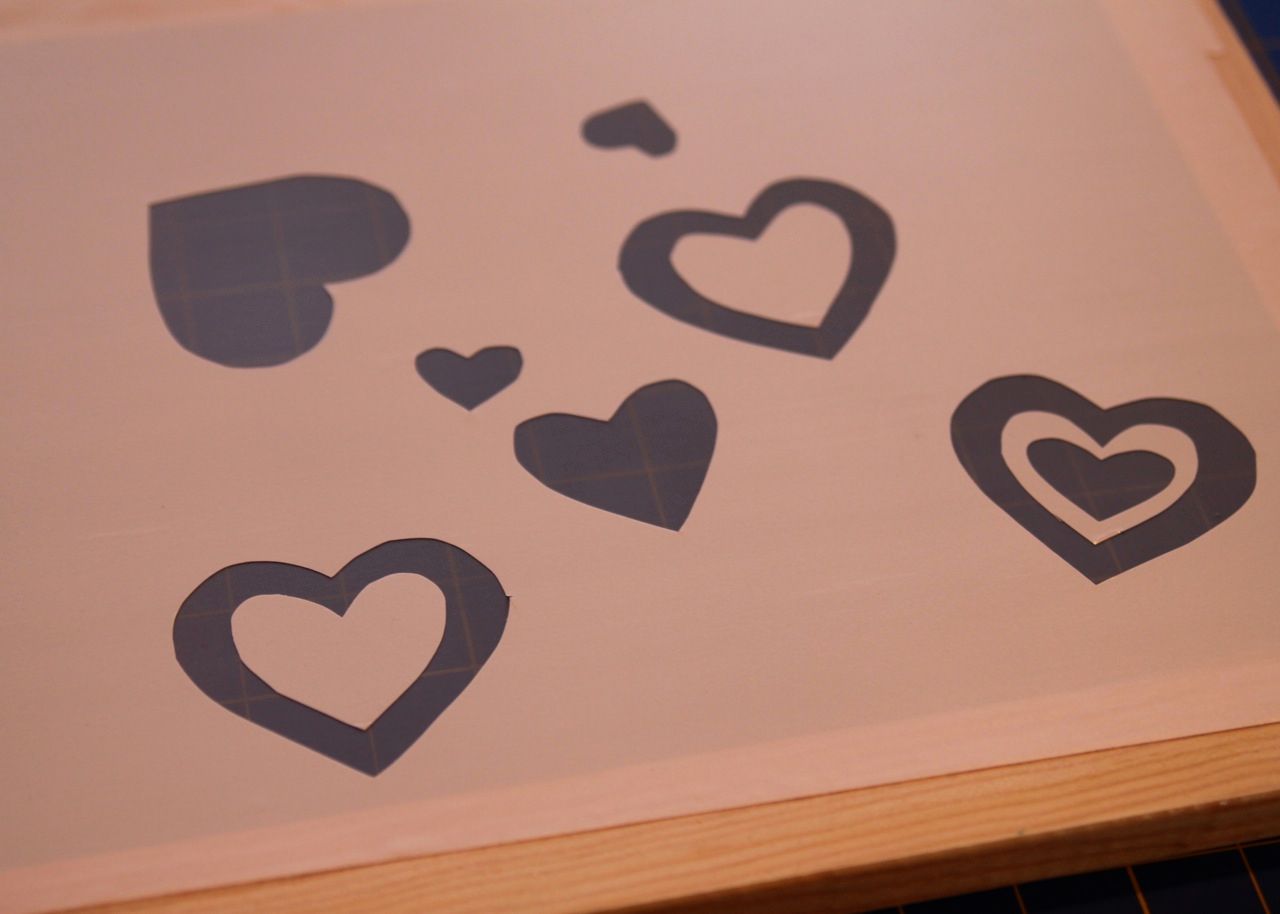
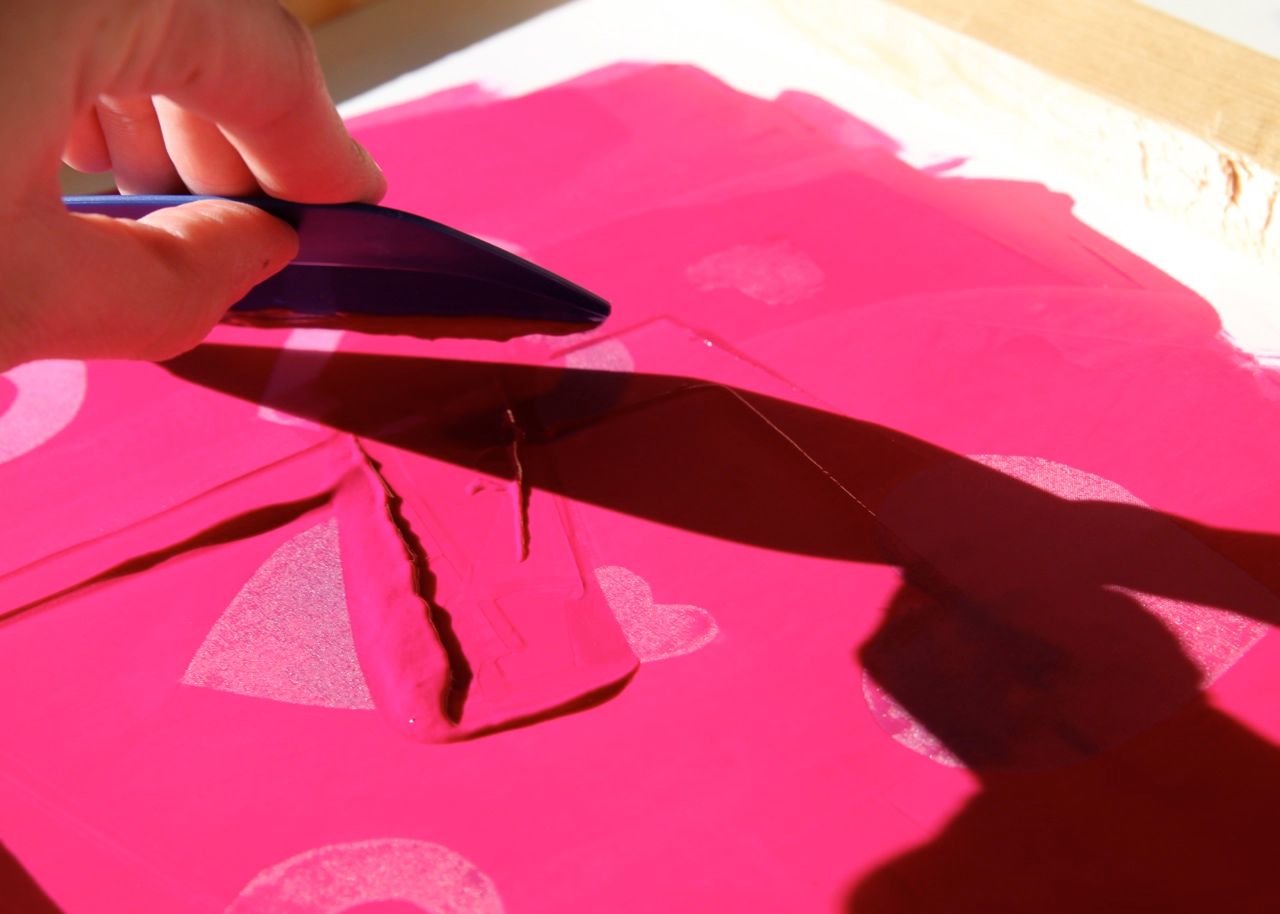
Step 3: Cut out your design using a razor or Exacto knife.

Step 4: Adhere the contact paper to the bottom of the screen (on the non-recessed side).
Step 5: Lay the screen down on the fabric you want to screen the design onto (recessed side up):
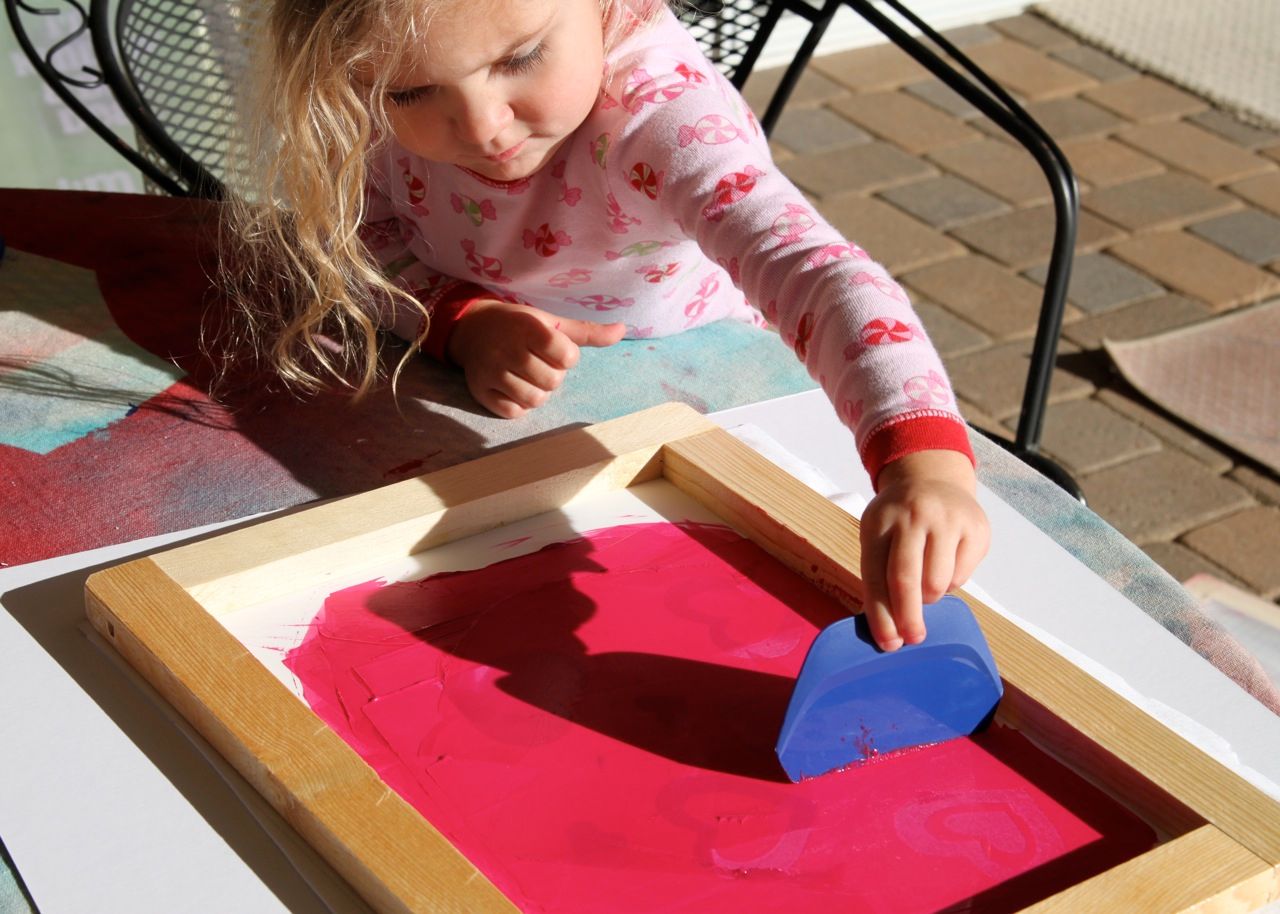
Step 6: Place a small glob of screen printing ink on your screen and using a squeegee pull the ink across the design. (I used Versatex ink for these prints because there are more colors available).
So easy a 2-year-old can do it!
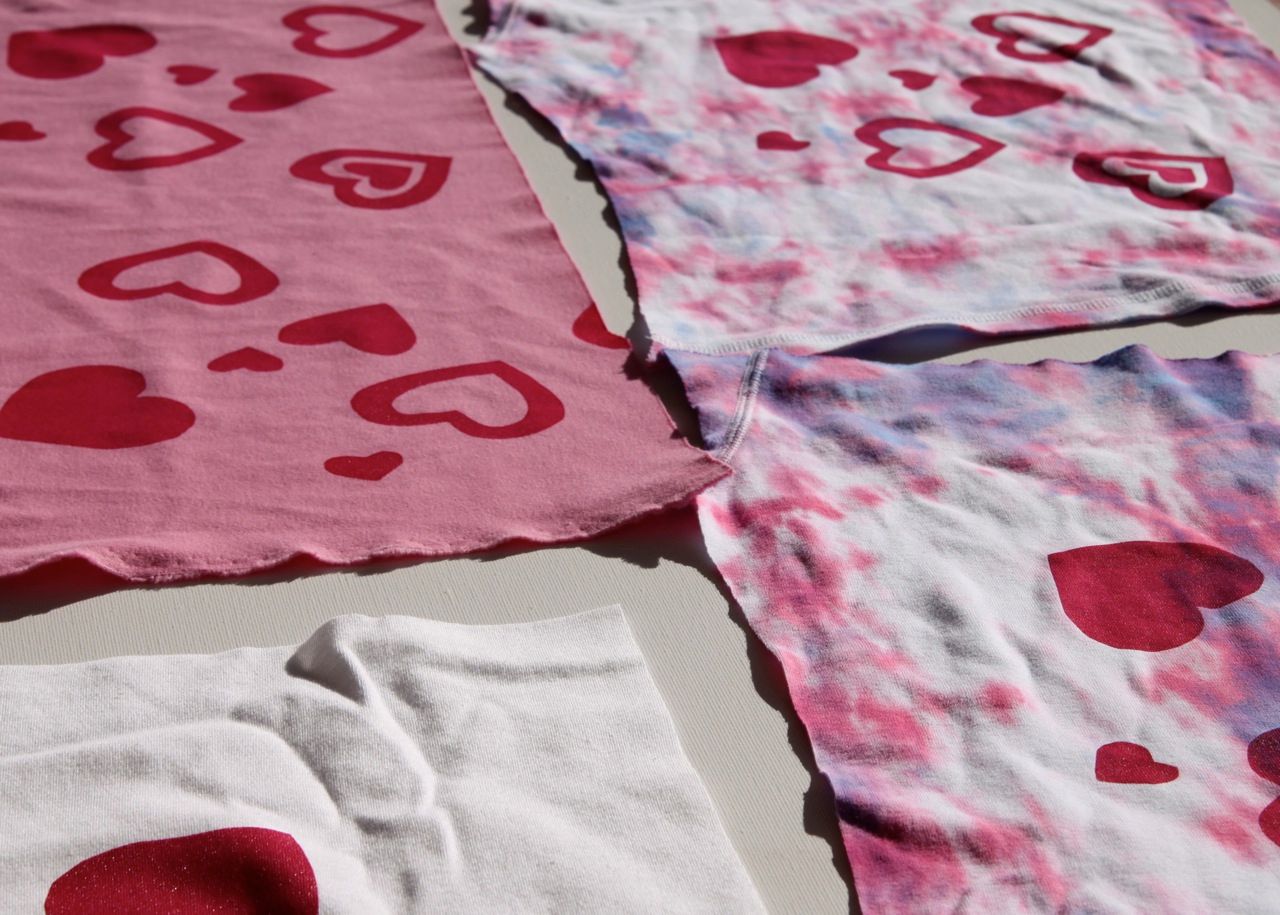
Step 7: Carefully lift your screen off and you have your finished design!

Let your design dry and then use an iron to heat set the ink.
Cleaning: I use a sink sprayer to make sure all the ink is removed from the screen....and as long as the contact paper remains on the screen you can reuse it!
Using Contact Paper to Create Stripes:
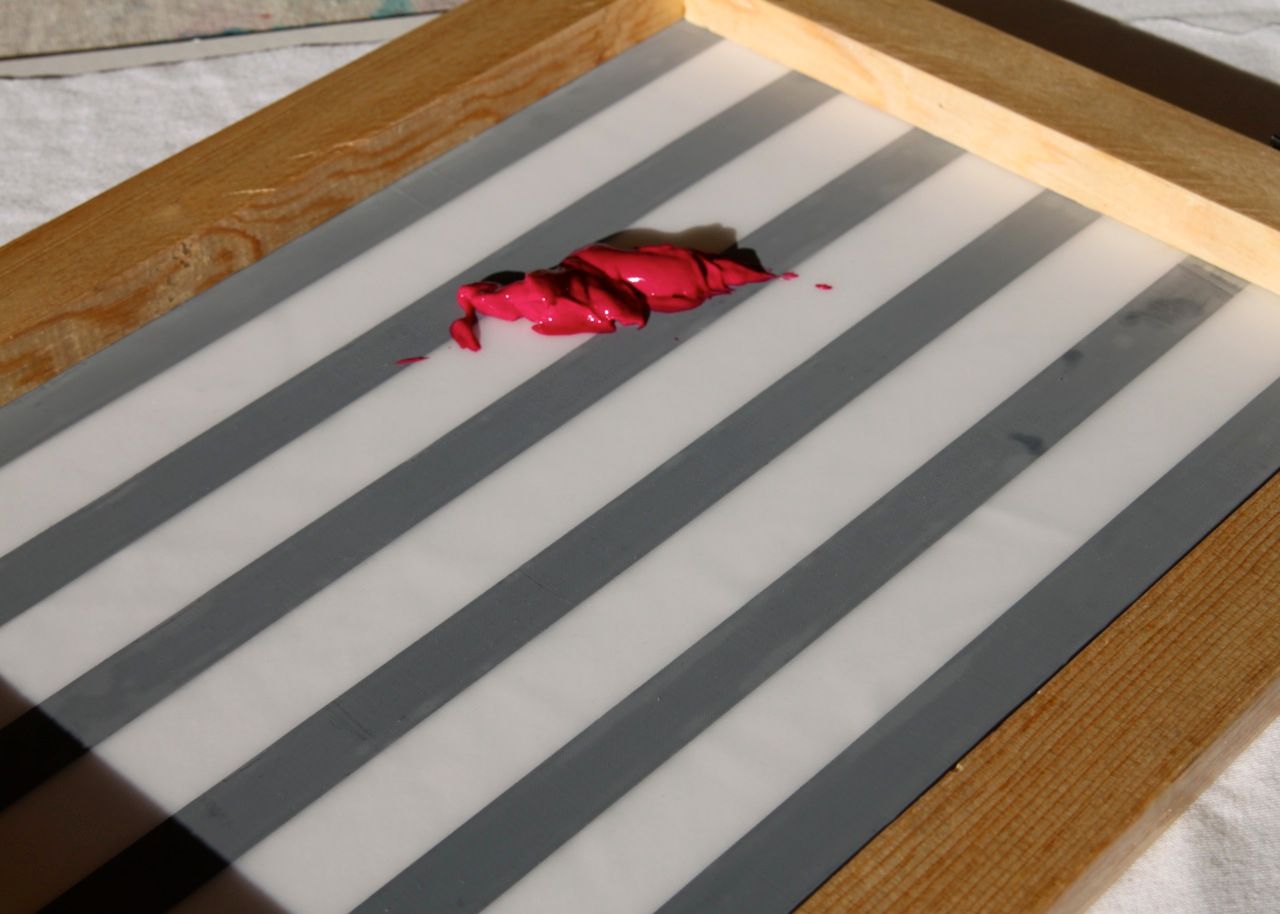
Step 1: Cut strips of contact paper and adhere to the bottom of the screen. Note: I actually used electrical tape for this project because it was the perfect size.

Step 2: Place the screen down onto the fabric either diagonally or straight depending on the angle of stripes you want.

Step 3: Place a small glob of screen printing ink on your screen.....
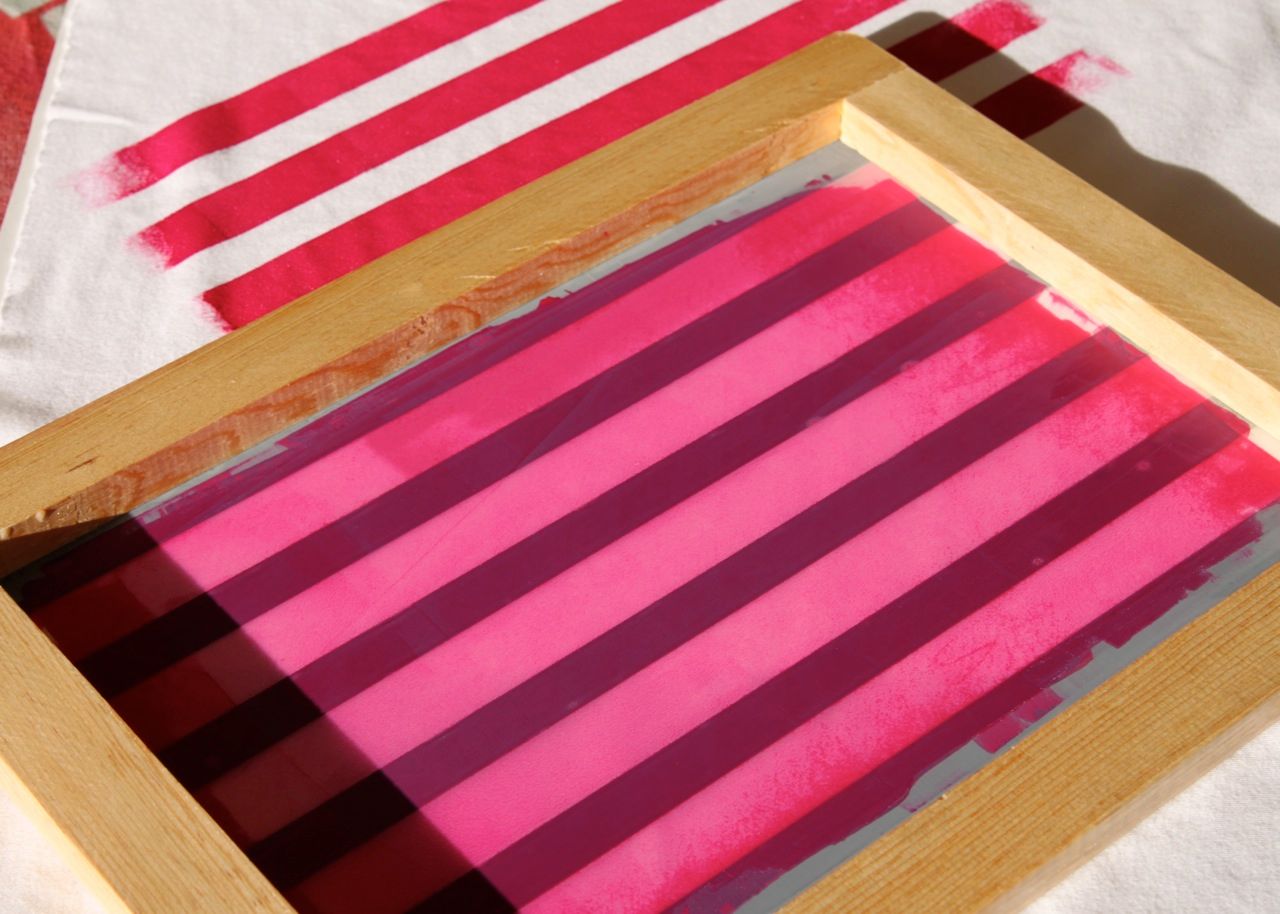
......and using a squeegee pull the ink across the stripes.

Step 4: Carefully lift up your screen and move it to the end of your stripes to start another set.
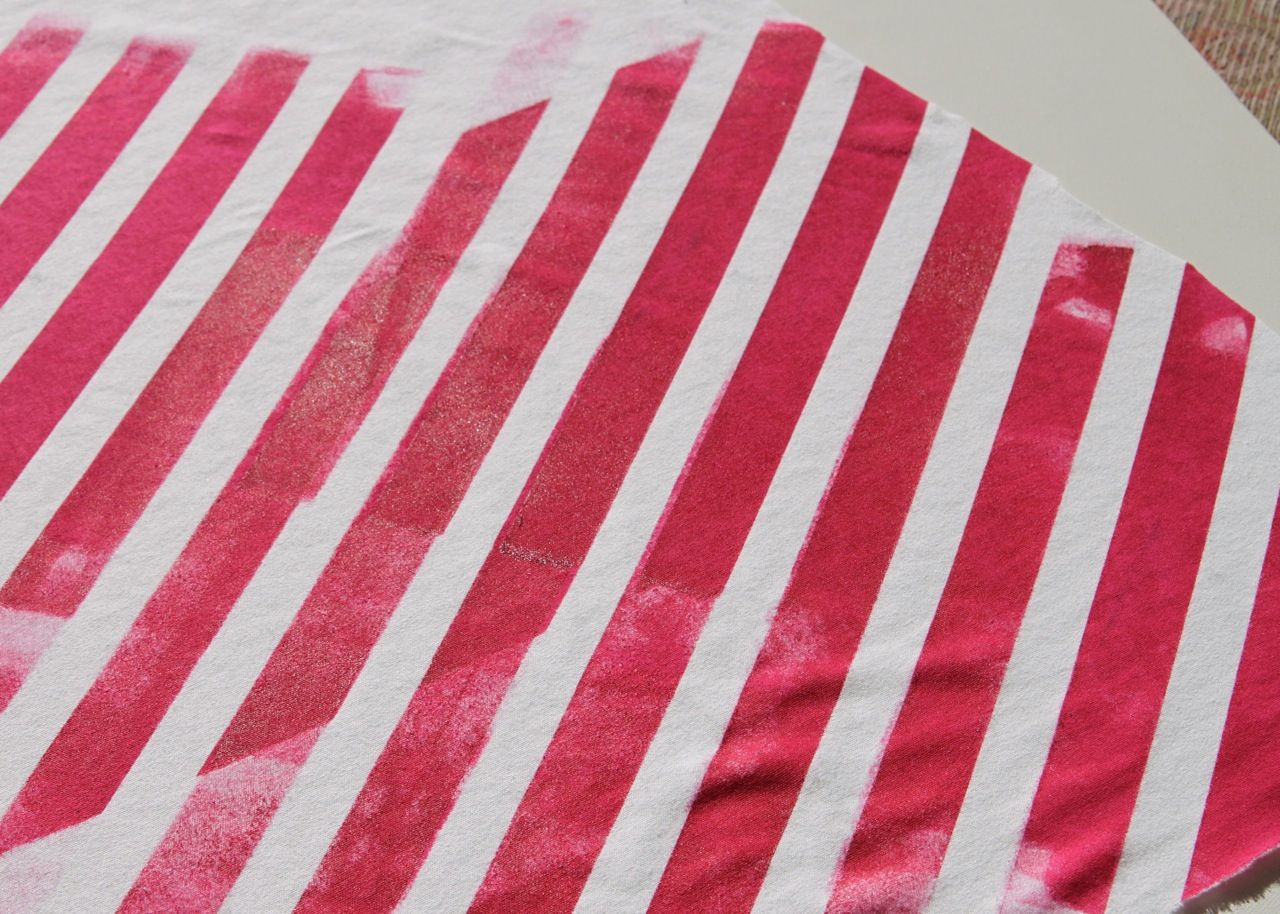
I like the distressed look so I did my stripes a little haphazardly, but you can be as careful and tedious as you want to be in order to get them perfect.
Using Contact Paper to Create a Distressed Plaid Design:
You can also use different sizes of stripes and screen separate colors to create a simple plaid design.
Step 1: First I started with the large stripes. I cut 3" strips of contact paper and placed them on the bottom of the screen as shown.

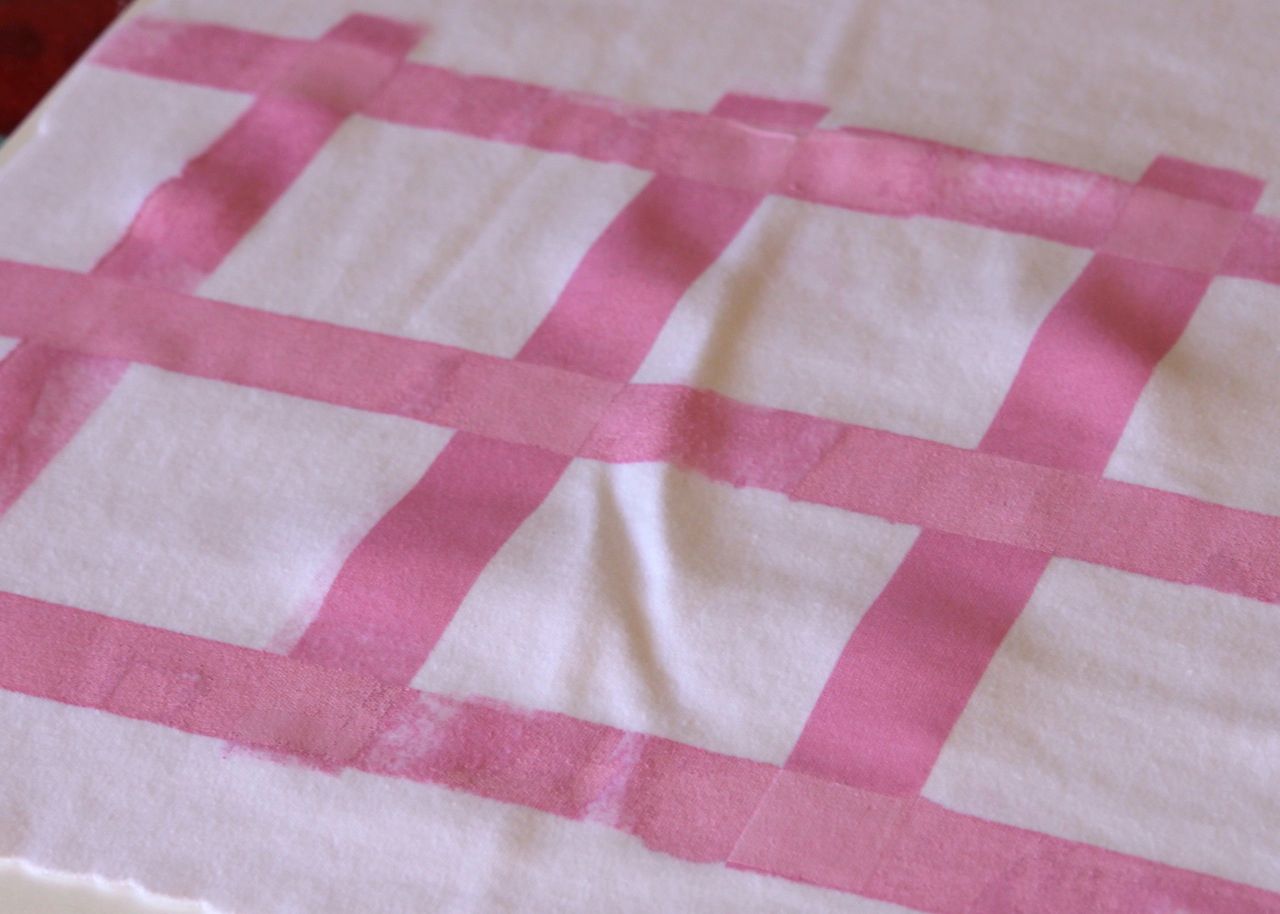
Step 2: I screened my first set of stripes....

....then turned the screen 90 degrees to create new stripes perpendicular to the old ones. Then I set the fabric aside to dry.
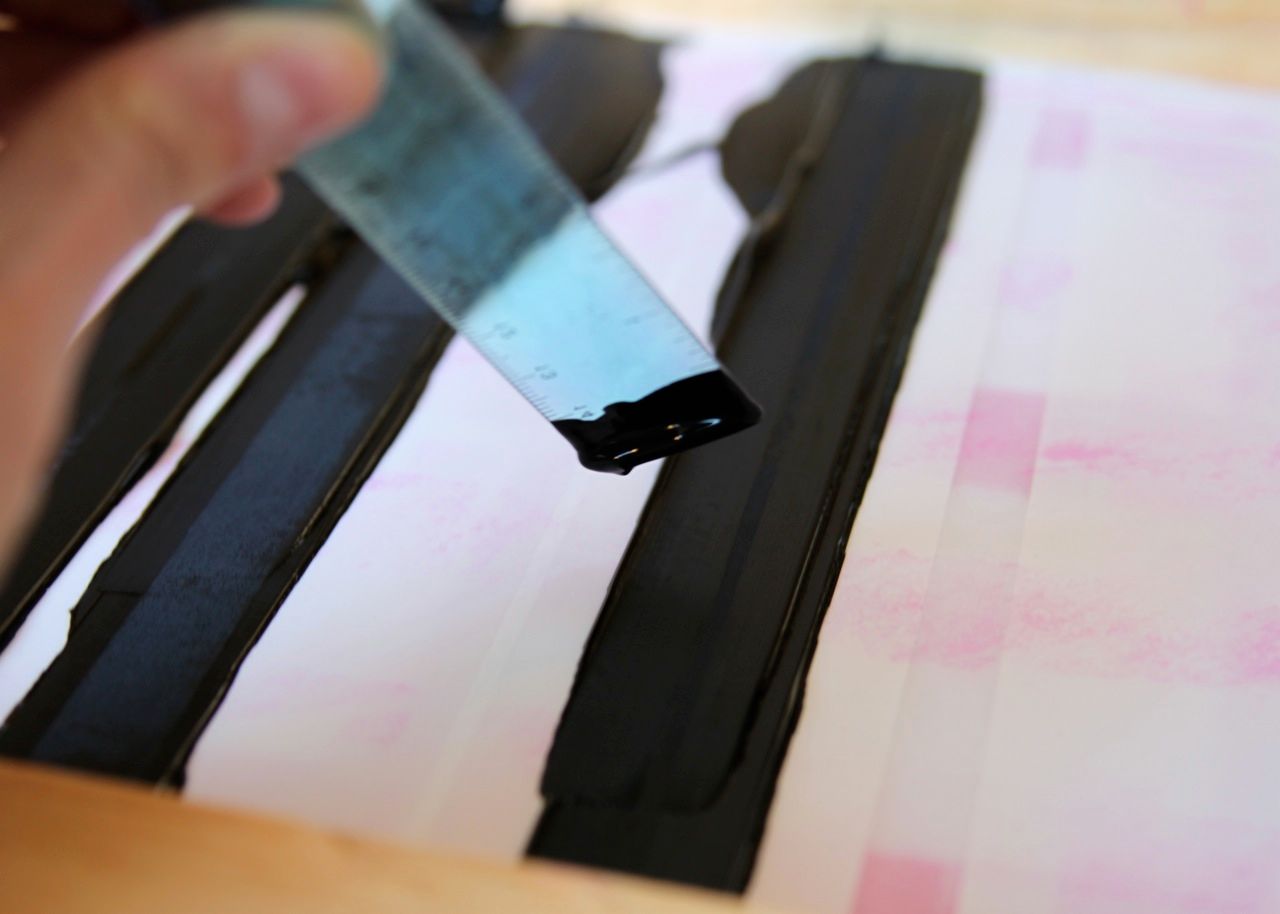
Step 3: I cut new strips of contact paper to create smaller sets of stripes......
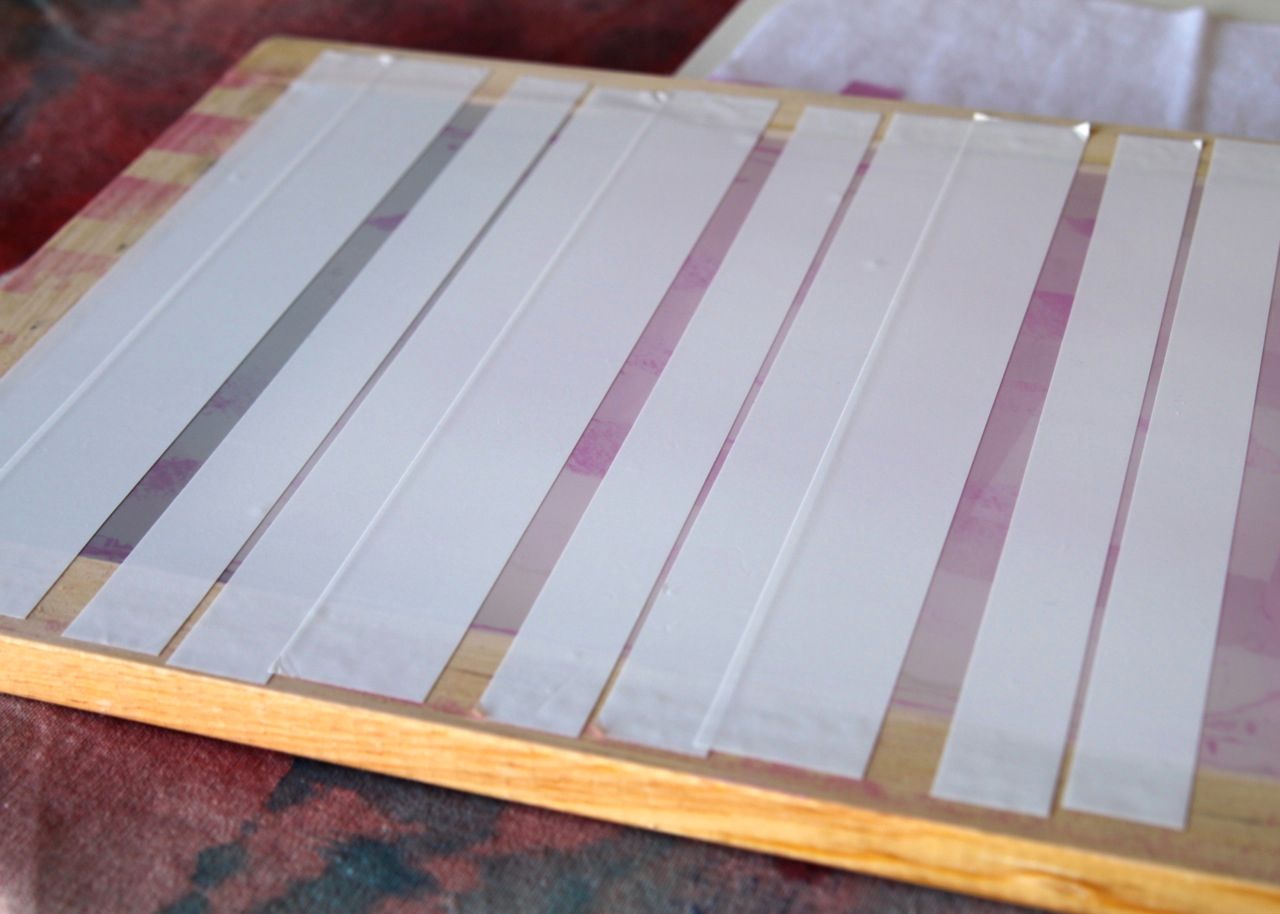
....and screened them in the exact same way using a different color. I used the size of a small plastic ruler as a "mini" squeegee.
A distressed plaid design! So easy...I didn't even measure the stripes...just a rough estimate.
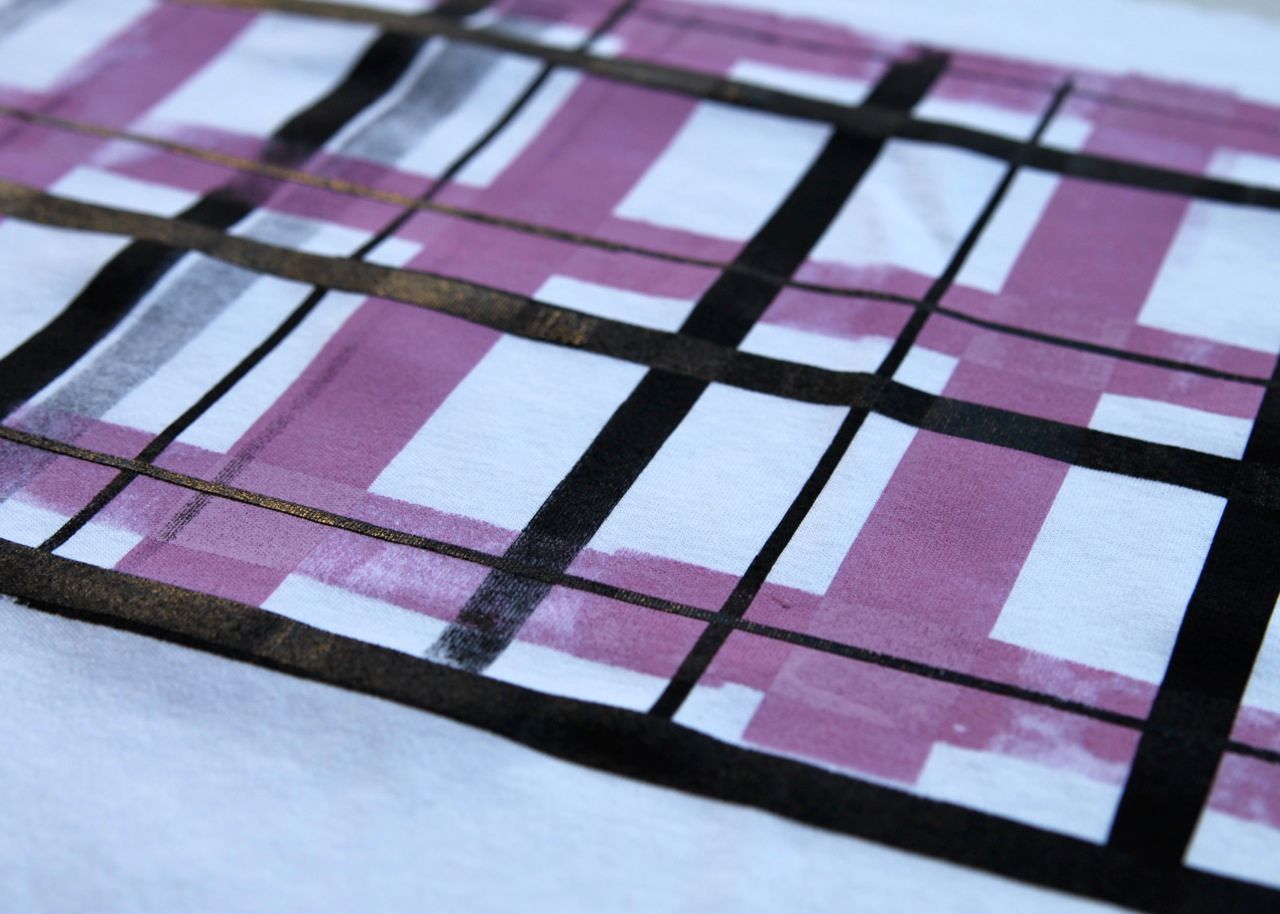
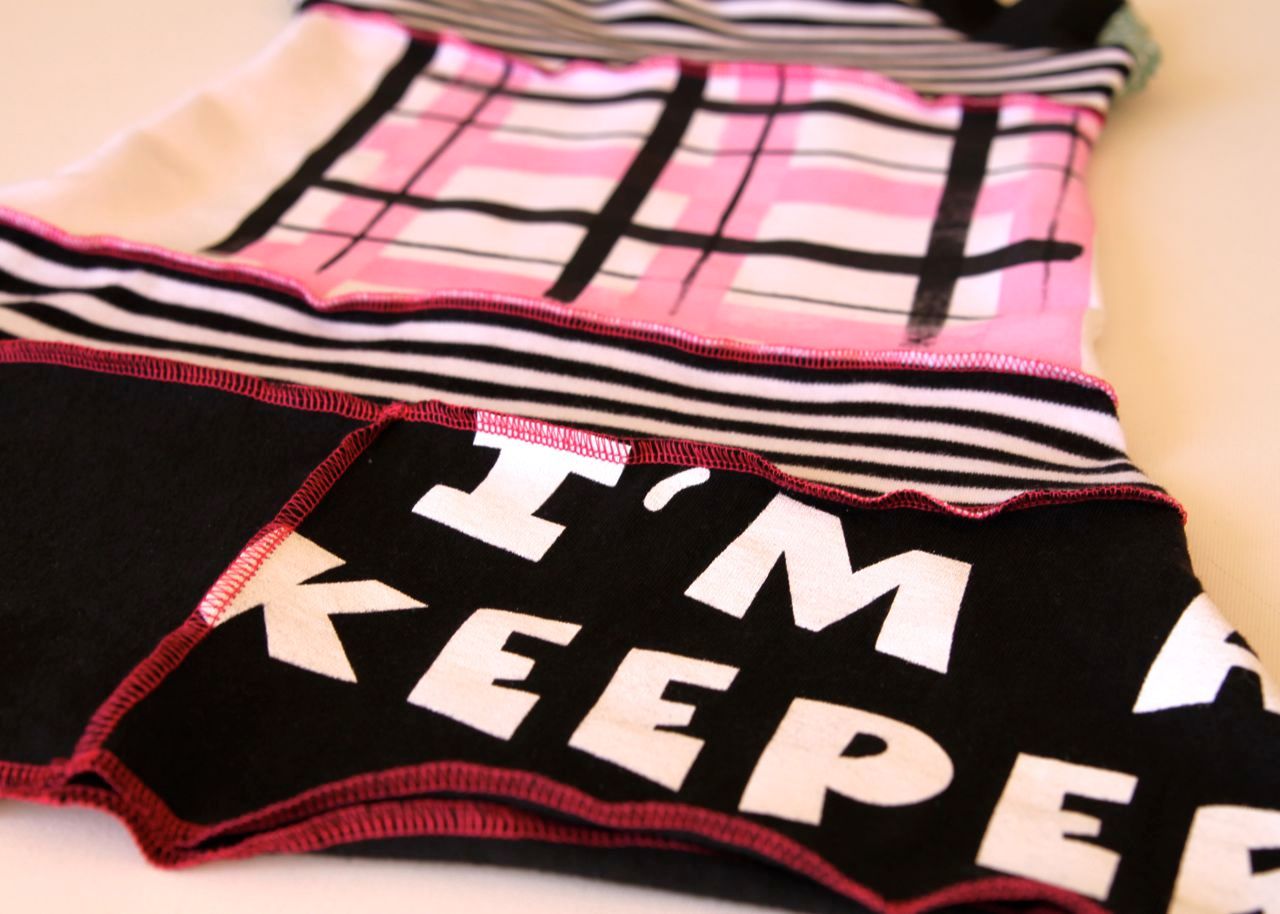
This one was perfect for a plaid dress!
This tutorial is part of a series for the Lil Blue Boo / Dharma Trading Challenge running this month. If you haven't checked it out yet please do! All levels of design/sewing/printing encouraged to enter!

Oooooooh!! My husband's gonna be mad at you!! Lol :) (where do you get your supplies?)
ReplyDeleteWhat a cool technique!! I'm so trying this!
ReplyDeleteLove it! I think we are going to see some Vday dresses soon!
ReplyDeleteThat's a cool technique. PS..my daughter has the same candy pj's! :)
ReplyDeleteI love this! What a simple, well-explained, and helpful tutorial. Can't wait to get my craft on! Thanks!
ReplyDeleteLove this....thanks so much!!! Can't wait to try!
ReplyDeleteThank you for the tutorial. I'm going to have to get all the supplies together so I can try it. Nice job!
ReplyDeleteWOW Ashley, you are sooo talented!!! I wish I had all supplies at hand place so I can explore my creativity! But for now I ma stuck with appliques an some other simple embellishments!
ReplyDeleteAsh, that is BRILLIANT!!!!! will definitely try it....1 fine day :)
ReplyDeleteDuh, how did I never think of contac paper. I use it for EVERYTHING. Nice work. This might be solving my dilemma (for my first entry... I posted what I've got going so far on my ILTWYD blog...asking for some help but now I just sparked a thought)
ReplyDeleteI'm so jealous of the weather there. It is ONE degree here. Count it. ONE. Wanna come hang out? LOL.
cool thanks, hope my contact adhesive holds once it's wet
ReplyDeleteOh this is great and so much fun! Thanks for the how-to, I'll be linking.
ReplyDeleteThanks for the comment, Ashley! Let me just say that I'm not worthy...scrolling through all your recent projects! You a all talent!
ReplyDeleteI'll warn you, though, it will be a slow start back to blogging for me...ha!
Awesome!! I featured your tutorial on Craft Gossip Sewing:
ReplyDeletehttp://sewing.craftgossip.com/tutorial-screenprint-with-contact-paper-to-make-custom-fabric-designs/2010/01/07/
--Anne
Saw this on Craft Gossip...Great idea! I really want to get into altering fabric but was a little daunted by full-on screenprinting. This seems like a nice intro into the process.
ReplyDeleteI have given you an award...you can go here to check it out
ReplyDeletehttp://lifewiththegrovers.blogspot.com/2010/01/guess-what.html
Great idea! My husband just saw an infomercial for the Yudu(sp?) screen printer, but we also have a commercial vinyl cutter. I think we will try that way first. So clever you are!
ReplyDeleteHi Ashley, Another great tutorial. Thanks. I featuring it today over at my Blog. Go check out the other fun features and grab your featured button there too.
ReplyDeletewww.thetrendytreehouse.blogspot.com
Have a wonderful Tuesday! Tara
Wow! Thanks for this, my hubby bought me the Yudu, and those emulsion sheets are so figgen expensive...this is much easier, and better for simple designs! Thanks so much!
ReplyDeleteHow did I miss this one! I saw a post from Not SO Idle hands where she used your tutorial and this is amazing! I am going to blog about it tomorrow!
ReplyDeleteYou are brilliant!! This totally solves my stenciling problem. I have had two roles of contact paper sitting around for years. Now I can put them to good use. Thank you!!!!
ReplyDelete