This tutorial was featured on U-Create last week. I had the hardest time narrowing down what type of tutorial I wanted to put together for my "guest appearance" but I had recently gauged interest on my blog by posting a painting I had done using the same process as I outline below and thought this would be the perfect opportunity!
So here it is:
How To Make a Distressed Folk Art Painting*

*If you've ever been scared to paint before, here is your chance....anyone can do this. Acrylic paint is VERY forgiving. If you mess up, just paint over it!
I love Mexican Folk Art and I was inspired by this Frida-themed fabric for my painting:

I'm a little obsessed with Frida Kahlo. (I was lucky enough to see most of her works in person at the Tate in London a few years ago. They had to kick me out at closing! Did you know Madonna owns Frida's famous "My Birth" painting? I wonder where she hangs that?) Frida and her intellectual circle brought Mexican folk art to the forefront in the early 1900's. Frida surrounded herself with paper-mache figures, traditional weavings, brightly colored embroidery, ribbons etc.

I've worked bright colors and paper mache into my own painting process to reflect the Mexican folk art theme. You can use the following steps to make your own.
Materials needed:
Canvas
Newsprint or phone book pages
Matte medium or glue
Acrylic paint in several colors
Crackle finish kit (any brand)
Acrylic gloss varnish
Sandpaper or an electric sander
Step 1: I took a small 5 x 7 canvas and covered it with matte medium (I prefer Liquitex Matte Medium ...I save my 40% off art store coupons JUST for this stuff!). You could also substitute watered down glue for this step. Once the canvas was covered with a generous amount of medium I took small sections of old phone book pages and adhered them using the excess medium. You may have to add more medium as you go. It is similar to making a paper-mache layer (you can use newsprint as well, I just prefer the way the small font looks from the phone book pages).

Step 2: Once the paper layer was completely dry, I used white gesso to cover the canvas and make it an opaque white. This prepares the surfaces for paint.

I let this layer dry completely.

Step 3: I don't use any fancy kind of paint. I actually prefer the small bottles of acrylic craft paints like the one shown below because they run about $1 a bottle and you can get so many colors (I am lazy when it comes to mixing custom colors).

I painted my entire canvas a base color of "Patina."

Step 4: I sketched my Frida image on to the canvas. If you aren't comfortable drawing your image you can always print one out and trace it using graphite paper.

Step 5: I blocked my colors in using the craft paints. I use a generous amount of paint in this step and did several coats (you will be sanding the layers down later in the process so you want to make sure to get enough paint on the canvas).

Step 6: I took a regular wall stencil and used it to draw some "flourishes" around the canvas. I even drew them onto the sides by wrapping the stencil around. Then I blocked these shapes in with paint.

Step 7: I took a small paint brush and painted little dots around all the shapes to add some more detail (again using a generous amount of paint).

Let your painting dry for a while to ensure your layers are completely dry. This may take several hours.

Step 8: I took my small mouse sander (you can do this by hand with a sanding block as well) and carefully sanded off portions of the painting. Places where your paper layer has wrinkles will sand off easily and give a very random "wear" to your painting.

I sanded the edges as well paying attention to where an old painting would get the most wear.

Here is what my painting looked like at this stage:

Step 9: Take some dark brown paint and water it down a little to make a thin glaze (I use Golden Fluid Acrylics because they thin well and are a nice glaze layer, but any paint will work).

Spread the brown glaze layer making sure to get it into the places where the paper is showing through. The paper layer will soak this glaze up and turn a brownish color. Take a cloth or paper towel and wipe off the excess paint. If it dries too fast just wet your canvas a little and try to wipe it off again. Let this layer dry.

Step 10: You can get a small "fragile" cracklekit like the one below at your art or craft supply. It is two step process and you can follow the directions on the bottle.....

.....but basically you are going to cover your canvas with a thin layer of the "step 1" bottle, let it dry until it is clear and then repeat with the "step 2" bottle. As it dries, tiny hairline "crackle" will begin to form.

Step 11: Once the crackle layer is dry, I sanded the painting again to give it some extra distressing. Wipe any dust off with a damp cloth or paper towel.

Step 12: I spread another layer of brown glaze making sure to work it into the cracks and then wiped off the excess. You may want to do this several times until you achieve the "aging" effect you like.


Step 13: The last thing I did was brush a thin gloss layer over the top for a slight sheen. I like the Liquitex Gloss Medium and Varnish shown below because it dries almost instantly and isn't too shiny.

Here is the finished painting: old and decrepit-looking. Now it looks like it has an interesting past life!

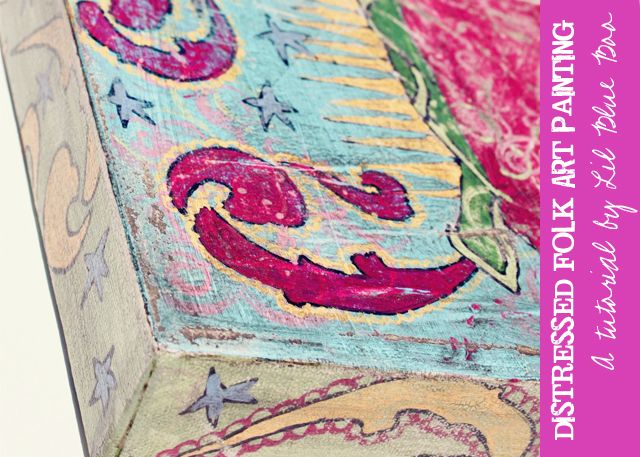
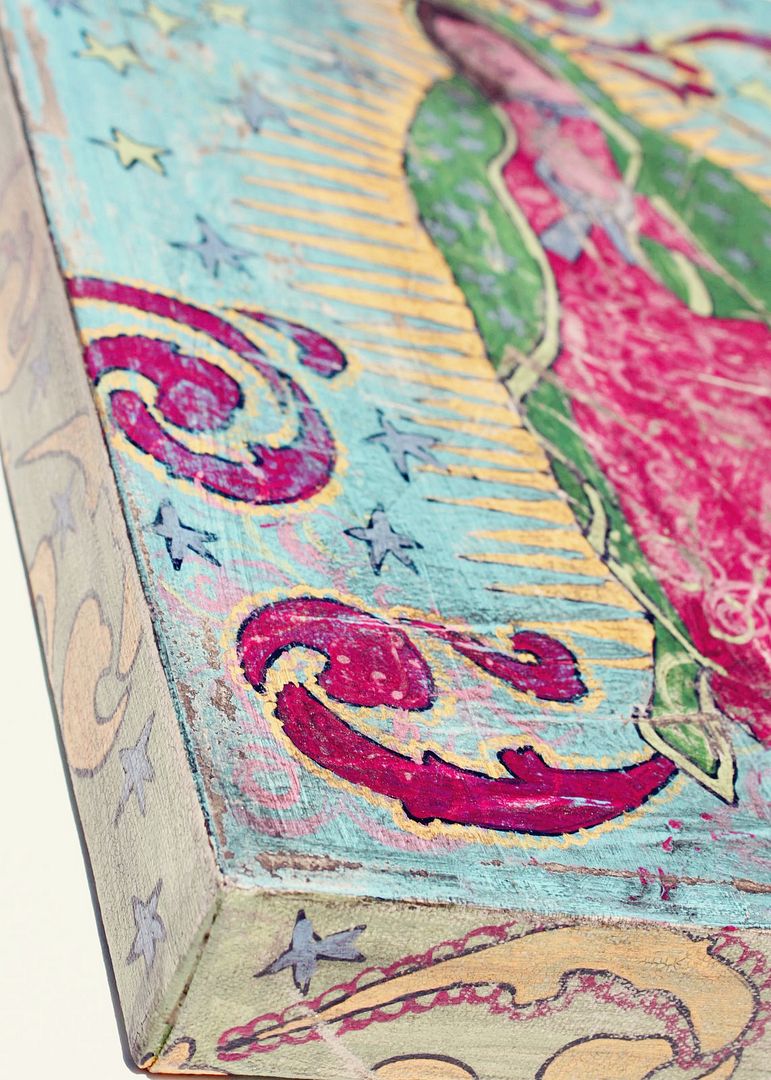
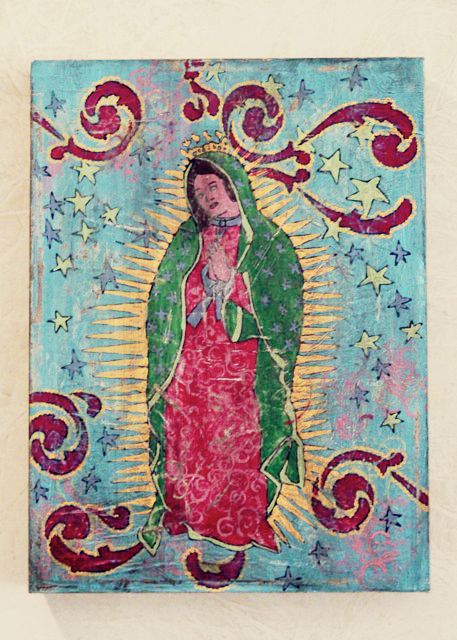
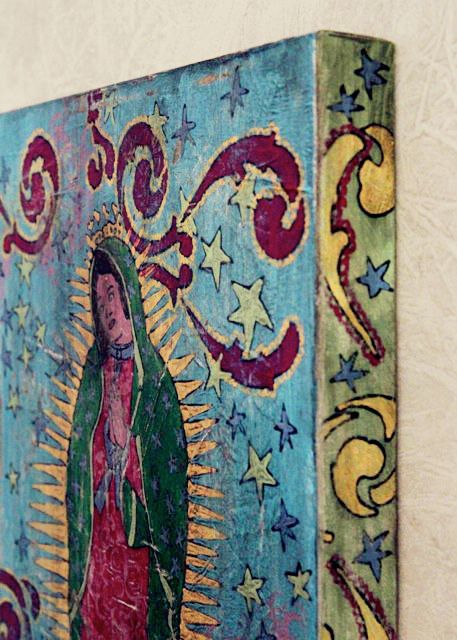
Here is another painting I did of Our Lady of Guadalupe:
Do you ever sleep?
ReplyDeleteLove the blog & tutorials!!
XOXO-
I ordered the supplies last week when I read your blog post and they just arrived :) Yey!! I have never tried painting before but this looks like fun!
ReplyDeleteWhere do you buy your wall stencils from? I could not find any pretty ones.
oh- I totally saw this featured last week!! I've been thinking about it a lot this week and all the possibilties of what I could create!
ReplyDeleteYour blog is great- thanks for all the inspiration! I'll most likely be a regular from now on... I LOVE crafts!
Love seeing the process of how you make stuff! Thanks for sharing!
ReplyDeleteI seriously love your artistic eye and hand! Very creative.
ReplyDeletebtw- I also love Frida!
Great tutorial!
ReplyDeletewow, wonderful job! excellent tutorial, thanks!
ReplyDeleteThanks for breaking the process down so well...you made it so clear and understandable! I think the girls and I are going to do a bunch of your tutorials this summer for fun projects.
ReplyDeleteGreat tutorial! I skipped art history or anything painting related. I'll be keeping an eye for Frida when I'm in San Antonio!
ReplyDelete